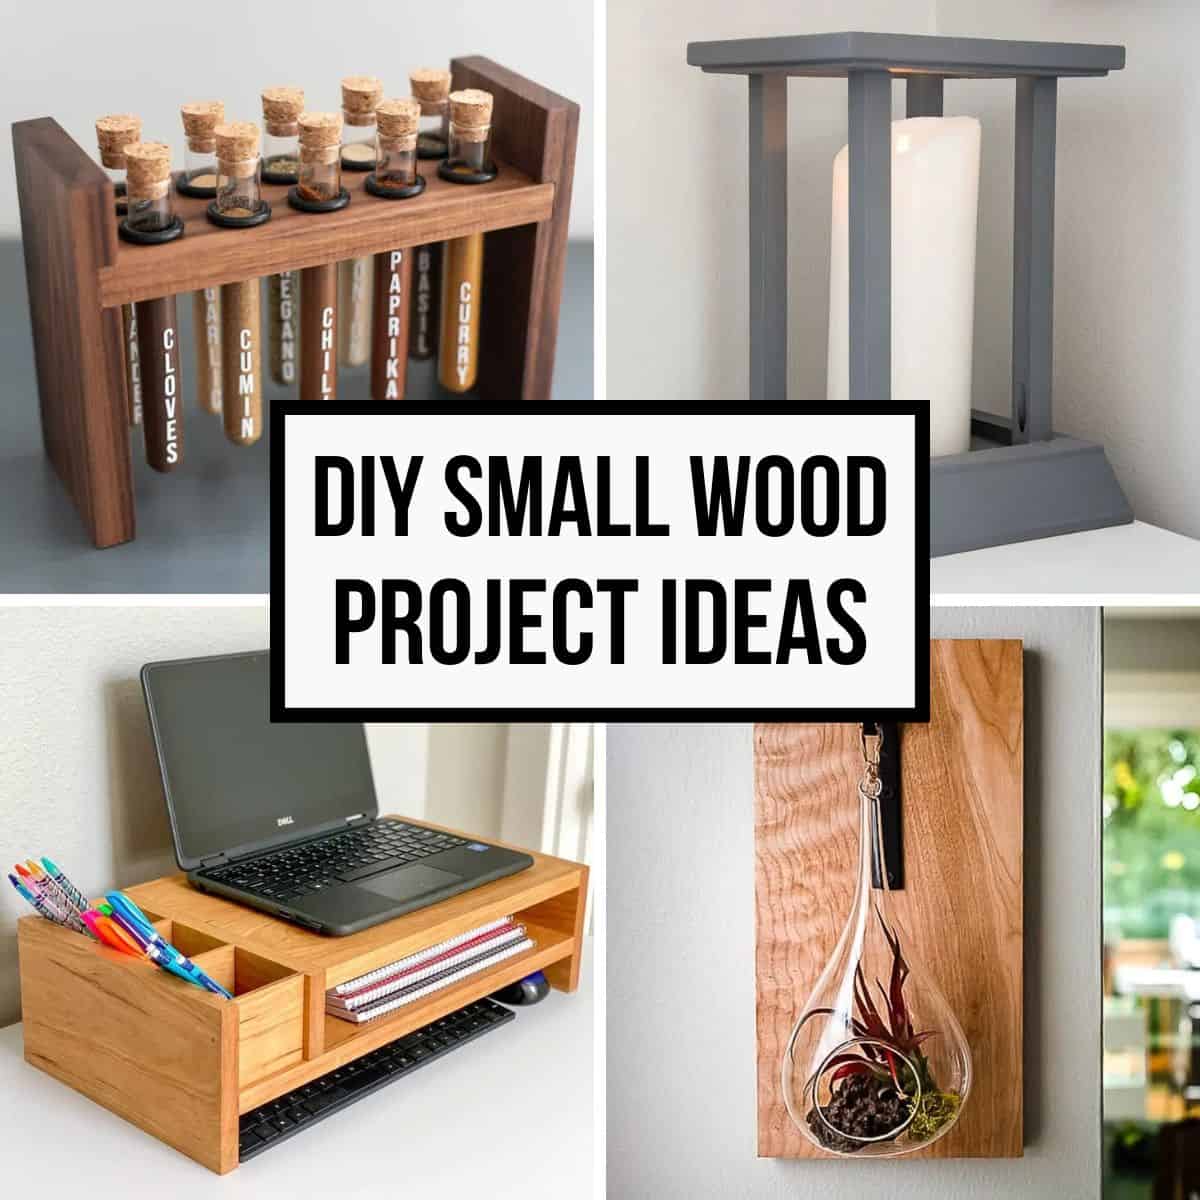
Build These Simple Wood Projects to Add Charm to Any Room
Looking for a way to add some personal touch and warmth to your home? Woodworking is a fantastic hobby that allows you to create beautiful and functional pieces that reflect your style. Even if you're a complete beginner, there are plenty of simple wood projects you can tackle that will make a big impact. From charming decor to practical storage solutions, these easy-to-follow projects are perfect for adding a touch of rustic charm to any room.
1. Rustic Wooden Shelves
Floating shelves are a popular choice for adding storage and display space without taking up valuable floor area. These shelves are perfect for showcasing your favorite books, plants, or decorative items. Here's what you'll need to build them:
- Wooden boards (choose a rustic look for a charming touch)
- Screws or nails
- Measuring tape
- Level
- Drill or screwdriver
- Optional: Stain or paint
Start by measuring the desired length and width of your shelves. Next, carefully cut the boards to size, ensuring they are perfectly straight and even. Use a level to mark the positions for your brackets on the wall and pre-drill holes to prevent splitting. Secure the brackets with screws or nails. Finally, mount your shelves onto the brackets, adjusting them for levelness. If desired, you can stain or paint the shelves to match your decor.
2. DIY Wooden Picture Frame
Create a unique and personalized frame for a cherished photograph or piece of artwork. It’s a simple project for beginners, requiring minimal tools and materials.
- Wooden molding (you can find it at most home improvement stores)
- Mitre saw or handsaw
- Wood glue
- Clamps
- Sandpaper
- Finishing nails or brads
- Hammer
- Optional: Stain or paint
Cut the molding to size using a mitre saw or handsaw, making sure the corners meet perfectly at 45-degree angles. Apply wood glue to the mitre joints and clamp them together, letting them dry thoroughly. Once dry, sand the frame smooth and remove any excess glue. Use finishing nails or brads to secure the joints. Finish by sanding the entire frame and apply a stain or paint to your liking.
3. Wooden Coasters
Wooden coasters are a practical and stylish way to protect your furniture from condensation rings. They are a great project to use up scrap wood or buy some small pieces of wood at a local craft store.
- Small pieces of wood (round or square shapes work well)
- Sandpaper (fine grit)
- Wood glue
- Optional: Stain or paint
- Optional: Felt pads (for the bottom of the coasters)
Cut the wood into your desired shape and size, using a jigsaw or hand saw. Sand the edges to create a smooth finish. If you like, apply a stain or paint the coasters. Allow them to dry completely. Next, attach felt pads to the bottom of each coaster to prevent scratches on your furniture.
These simple woodworking projects are just a starting point. Once you've mastered these basics, you can move on to more challenging and creative projects. With some time and effort, you can transform your home with beautiful handmade wooden pieces that add character and charm. So grab your tools and get creative. You might just surprise yourself with what you can build!

No comments:
Post a Comment
Note: Only a member of this blog may post a comment.