Easy and budget-friendly woodworking ideas for creating personalized wood crafts and home accents.

How to Craft Modern Coffee Tables with Glass and Wood Combinations

How to Craft Modern Coffee Tables with Glass and Wood Combinations

Crafting Modern Coffee Tables with Glass and Wood Combinations: A Comprehensive Guide

The coffee table, a seemingly humble piece of furniture, serves as a focal point in any living room, dictating the overall aesthetic and functionality of the space. Modern design trends increasingly favor the elegant combination of glass and wood in coffee table construction, offering a sophisticated blend of transparency, durability, and visual warmth. This comprehensive guide explores the artistry and technical aspects of crafting such pieces, providing a detailed roadmap for both experienced artisans and enthusiastic beginners.

I. Design Considerations: Balancing Form and Function

Before embarking on the construction process, meticulous planning is crucial. The design phase involves careful consideration of several key aspects to ensure the final product aligns perfectly with the intended aesthetic and practical requirements.

A. Style and Aesthetics

The fusion of glass and wood offers a remarkable versatility in stylistic expression. A minimalist design might feature a simple, rectangular glass top supported by a slender, geometric wooden base. Conversely, a more ornate design could incorporate intricate wood carvings or a sculpted base, contrasting with the clean lines of the glass. Consider the existing décor of the room. Does the space demand a bold statement piece or a subtle, complementary addition? The chosen wood type significantly impacts the overall aesthetic. Light-colored woods like maple or birch impart a sense of airy lightness, while darker woods such as walnut or ebony provide a more dramatic and luxurious feel. The glass itself can contribute to the style; clear glass maintains a sense of openness, while tinted or textured glass introduces an element of sophistication or visual intrigue.

B. Dimensions and Proportions

The dimensions of the coffee table should be carefully considered in relation to the surrounding furniture and the available floor space. A table that is too large will overwhelm the room, while a table that is too small will appear insignificant. The proportions of the glass top and the wooden base should be harmoniously balanced. Consider the height in relation to the surrounding seating; a standard height typically ranges from 16 to 18 inches. The length and width should be proportionate to the size of the seating arrangement. Detailed sketches and potentially even scale models can prove invaluable in refining the dimensions and ensuring a pleasing visual balance.

C. Material Selection

The choice of wood and glass directly influences the table's durability, aesthetic appeal, and overall cost. Hardwoods such as oak, cherry, or mahogany are preferred for their strength and resistance to scratches and dents. These woods also offer a wide variety of grain patterns and colors, adding to the design possibilities. Softwoods, while more affordable, may require additional protection or reinforcement. The type of glass is equally important. Tempered glass is significantly stronger and safer than annealed glass, making it the preferred choice for coffee table tops. Consider the thickness of the glass; thicker glass provides greater stability and a more substantial feel.

II. Construction Techniques: A Step-by-Step Guide

The construction process involves several key steps, each requiring precision and attention to detail. Safety precautions must be observed throughout, particularly when working with glass and power tools.

A. Preparing the Wooden Base

This stage begins with carefully selecting and preparing the wood. The chosen wood pieces must be thoroughly inspected for knots, cracks, or other imperfections that could compromise the structural integrity. Accurate measurements are essential to ensure the base's components fit together perfectly. The wood may require planing, sanding, and finishing before assembly. Different joinery techniques â€" such as mortise and tenon, dowel joints, or even more contemporary methods like using metal fasteners â€" can be employed to construct the base, depending on the desired design complexity and strength requirements.

B. Cutting and Shaping the Glass Top

Precise cutting of the tempered glass is best left to professionals with specialized equipment. Tempered glass is difficult to cut and can shatter unpredictably if not handled correctly. The glass should be ordered to the exact dimensions required, allowing for a precise fit with the wooden base. The edges of the glass should be polished to prevent sharp edges and ensure a smooth, finished appearance. It is vital to wear appropriate safety glasses and gloves when working with or near glass.

C. Assembly and Finishing

Once the wooden base and glass top are ready, assembly can commence. The process involves carefully positioning the glass top on the wooden base, ensuring it rests securely and evenly. Depending on the design, this might involve using adhesive, clips, or other fastening mechanisms to secure the glass. The final stage involves finishing the wooden base. This may involve staining, painting, or applying a clear protective sealant to enhance the wood's natural beauty and protect it from moisture and wear. The chosen finish should complement the overall aesthetic of the coffee table.

III. Advanced Techniques and Customization

Beyond the fundamental construction methods, several advanced techniques can be employed to elevate the coffee table's design and functionality.

A. Incorporating Integrated Storage

Adding storage compartments to the wooden base can enhance practicality. Drawers, shelves, or hidden compartments can provide additional space for storing remotes, magazines, or other items. This requires careful planning during the design phase to ensure sufficient space and accessibility while maintaining a cohesive aesthetic.

B. Implementing Lighting Features

Integrating LED lighting beneath the glass top or within the wooden base can create a dramatic and inviting ambiance. This requires careful consideration of the wiring and power supply, ensuring safety and compliance with electrical codes. The lighting can be controlled via a switch or even integrated with a smart home system for added convenience.

C. Exploring Unique Wood Finishes

Experimenting with different wood finishes can significantly impact the coffee table's visual appeal. Techniques such as ebonizing, bleaching, or using metallic paints can create unique textures and colors. Applying multiple layers of stain or varnish can enhance depth and richness. Consider experimenting with different finishing techniques to achieve the desired effect.

IV. Safety Precautions and Maintenance

Safety should always be paramount when working with glass and power tools. Wear appropriate safety equipment, including safety glasses, gloves, and dust masks. Ensure proper ventilation when using paints, stains, or sealants. Regular maintenance is key to preserving the coffee table’s appearance and functionality. The glass top should be cleaned regularly with a soft cloth and glass cleaner. The wooden base should be periodically dusted and treated with appropriate wood polish or sealant to maintain its luster and protect it from damage. With careful planning, meticulous craftsmanship, and a commitment to safety, creating a stunning modern coffee table combining glass and wood is a rewarding endeavor.

Share:

Simple DIY Wood Serving Trays That Sell Fast

Simple DIY Wood Serving Trays That Sell Fast

Simple DIY Wood Serving Trays That Sell Fast

Hey there, crafty friends! Looking for a DIY project that's both fun and profitable? Look no further than making wood serving trays! They're a timeless and versatile piece that everyone loves, and they're surprisingly easy to create with a little bit of know-how and some basic tools.

The best part? These trays sell like hotcakes! Whether you're selling them at local markets, online, or to friends and family, you'll be surprised by how quickly they fly off the shelves.

Ready to get started? Let's dive into some easy and stylish DIY wood serving tray ideas that are sure to be a hit:

Simple and Sleek: The Classic Tray

Let's start with the basics. This classic tray is perfect for beginners and is a great foundation for more elaborate designs. Here's what you'll need:

  • A piece of plywood or MDF (medium-density fiberboard)
  • Wood stain or paint (optional)
  • Wood glue
  • Finishing nails or brads
  • Wood filler (optional)
  • Sandpaper (various grits)
  • Measuring tape and pencil
  • Saw (jig saw or circular saw)
  • Clamps
  • Finishing oil or wax (optional)

Instructions:

  1. Cut your wood: Measure and cut your plywood or MDF to the desired size and shape of your tray. If you're going for a more rustic look, you can use rough-cut lumber instead.
  2. Sand it down: Smooth out any rough edges and imperfections by sanding with progressively finer grits of sandpaper. This will create a smooth surface for staining or painting.
  3. Optional: Stain or Paint: Choose your desired finish and apply it to the wood surface. You can go for a natural wood look, a bold color, or even a distressed finish. Let the stain or paint dry completely.
  4. Optional: Add a Border: For a more polished look, create a decorative border by cutting thin strips of wood and attaching them to the edges of the tray using wood glue and finishing nails.
  5. Seal it up: Once your tray is completely dry, apply a coat of finishing oil or wax to protect the wood and give it a beautiful shine.

That's it! You've just created a simple and stunning wood serving tray.

Get Creative: Adding Flair to Your Trays

Now that you've mastered the basics, it's time to get creative and add some personality to your trays! Here are some ideas to make your trays stand out from the crowd:

Inlay Designs:

For a unique touch, try creating an inlay design by cutting shapes from different woods and inlaying them into your tray. You can use contrasting colors, patterns, or even wood veneers to achieve a truly personalized look.

Etched Patterns:

For a more subtle but stylish touch, consider etching a pattern onto the wood surface using a woodburning tool or a rotary tool with a specialized bit. This creates intricate designs that can be as simple or elaborate as you like.

Painted Patterns and Designs:

Let your creativity flow! Paint your trays with geometric patterns, abstract designs, or even floral motifs. Stencils are a great way to achieve clean lines and detailed designs.

Handle It:

Add handles to your tray to make it easier to carry and serve. You can use pre-made handles or create your own from wooden dowels, rope, or even leather straps.

Selling Your DIY Wood Serving Trays

Once you've crafted your beautiful trays, it's time to share them with the world! Here are some tips for selling your creations:

  • Online Marketplaces: Platforms like Etsy, Amazon Handmade, and Facebook Marketplace are great places to reach a wider audience.
  • Local Craft Fairs and Markets: Connect with your community and sell your trays in person at local events.
  • Social Media: Showcase your work on Instagram, Pinterest, and Facebook to attract potential customers.
  • Word-of-Mouth: Don't underestimate the power of good old-fashioned word-of-mouth advertising. Let your friends and family know about your creations and spread the word.

Pricing Your Trays:

When it comes to pricing your trays, it's important to consider your materials, time spent, and the market value of similar products. Start by calculating the cost of materials and your labor. Don't undervalue your time and effort. Then, research comparable prices for similar trays and adjust your pricing accordingly.

Don't be afraid to experiment with different pricing strategies to see what works best for you and your target audience.

Commonly Asked Questions

What kind of wood is best for serving trays?

Hardwood like maple, cherry, or walnut is ideal for trays because it's durable, resistant to scratches, and has a beautiful natural grain. But if you're looking for a more affordable option, plywood or MDF can also work well.

What kind of finish should I use?

A clear finish like oil or wax will protect the wood while allowing its natural beauty to shine through. If you want a more durable finish, you can use polyurethane or shellac.

How do I make my trays stand out?

Get creative with your designs! Experiment with different woods, finishes, and embellishments to create unique and personalized trays.

How do I market my trays?

Start by setting up an online shop and promoting your trays through social media. Participate in craft fairs and markets to showcase your work and connect with potential customers.

Good luck with your wood serving tray creations! Remember, the key to success is finding your own style and putting your heart into your craft. With a little effort and creativity, you can create beautiful and functional trays that will be treasured by their owners.

Share:

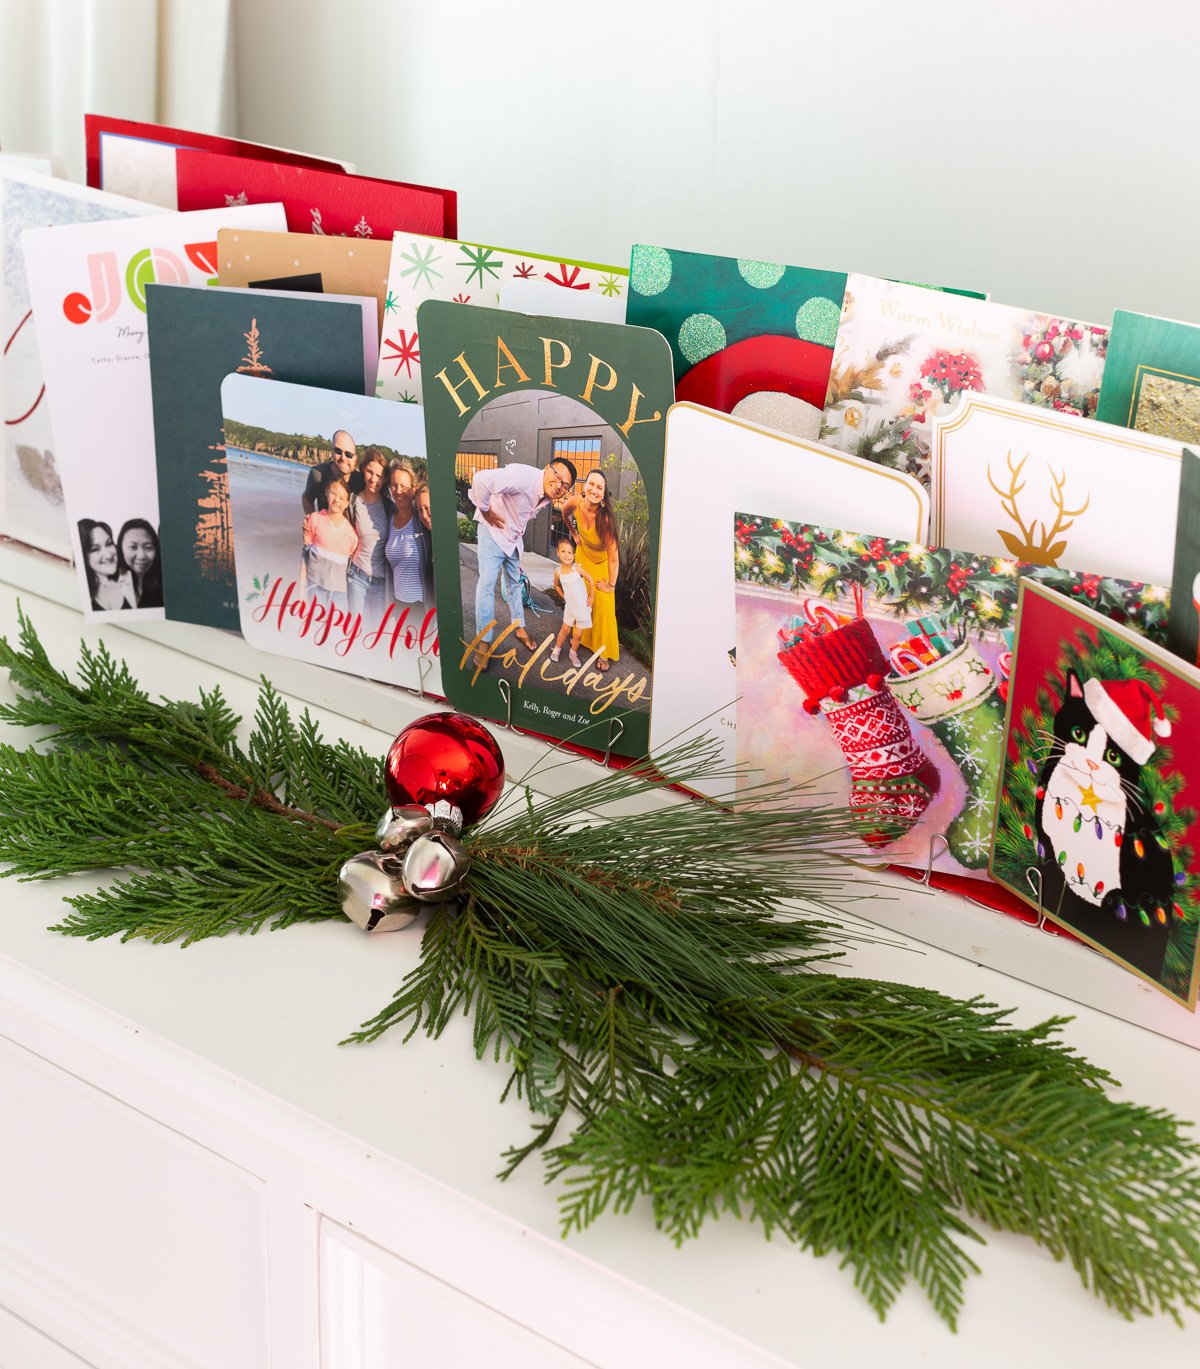
How to Make a Wood Christmas Card Holder

How to Make a Wood Christmas Card Holder

Craft a Charming Christmas Card Holder from Wood

Add a touch of rustic elegance to your holiday decor with a handcrafted wood Christmas card holder. This project is perfect for beginners and requires minimal tools. You can personalize it with paint, stain, or even decoupage to match your festive style.

Gather Your Materials

Before you start crafting, gather the following materials:

  • A piece of wood (approximately 8 inches by 12 inches, thickness around 1/2 inch)
  • Saw (hand saw or circular saw)
  • Sandpaper (various grits, starting from coarse to fine)
  • Pencil
  • Ruler
  • Wood glue
  • Screws (optional)
  • Paint, stain, or decoupage supplies (optional)
  • Protective finish (polyurethane or varnish, optional)

Step-by-Step Instructions

Prepare the Wood

Start by cutting the wood to your desired size. You can use a hand saw or a circular saw for this step. Next, sand the edges and surface of the wood using sandpaper. This will remove any rough edges and create a smooth surface for painting or staining.

Design the Card Holder

Use a pencil and ruler to draw the outline of your card holder on the wood. Consider creating a simple rectangular shape with a small lip on one side to hold the cards upright. If you want a more elaborate design, you can add curves or decorative elements.

Cut Out the Design

Carefully cut out the design using a saw. Be sure to work slowly and steadily to avoid any mistakes. Once the design is cut out, sand the edges again to ensure they are smooth.

Assemble the Card Holder (Optional)

If your design requires multiple pieces of wood, use wood glue or screws to attach them together. Allow the glue to dry completely before proceeding.

Decorate the Card Holder

This is where you can personalize your card holder. You can paint it in festive colors, stain it with a rich wood finish, or use decoupage to create a unique pattern. Allow the paint or stain to dry completely before applying a protective finish like polyurethane or varnish (optional).

Enjoy Your New Card Holder

Once your card holder is dry, you can start displaying your Christmas cards! You can simply lean it against a wall or place it on a table. Your handmade card holder will surely add a touch of charm to your holiday decor.

Remember, this is just a basic guide. You can always modify the design and add your own creative touches to make your wood Christmas card holder truly unique.

Share:

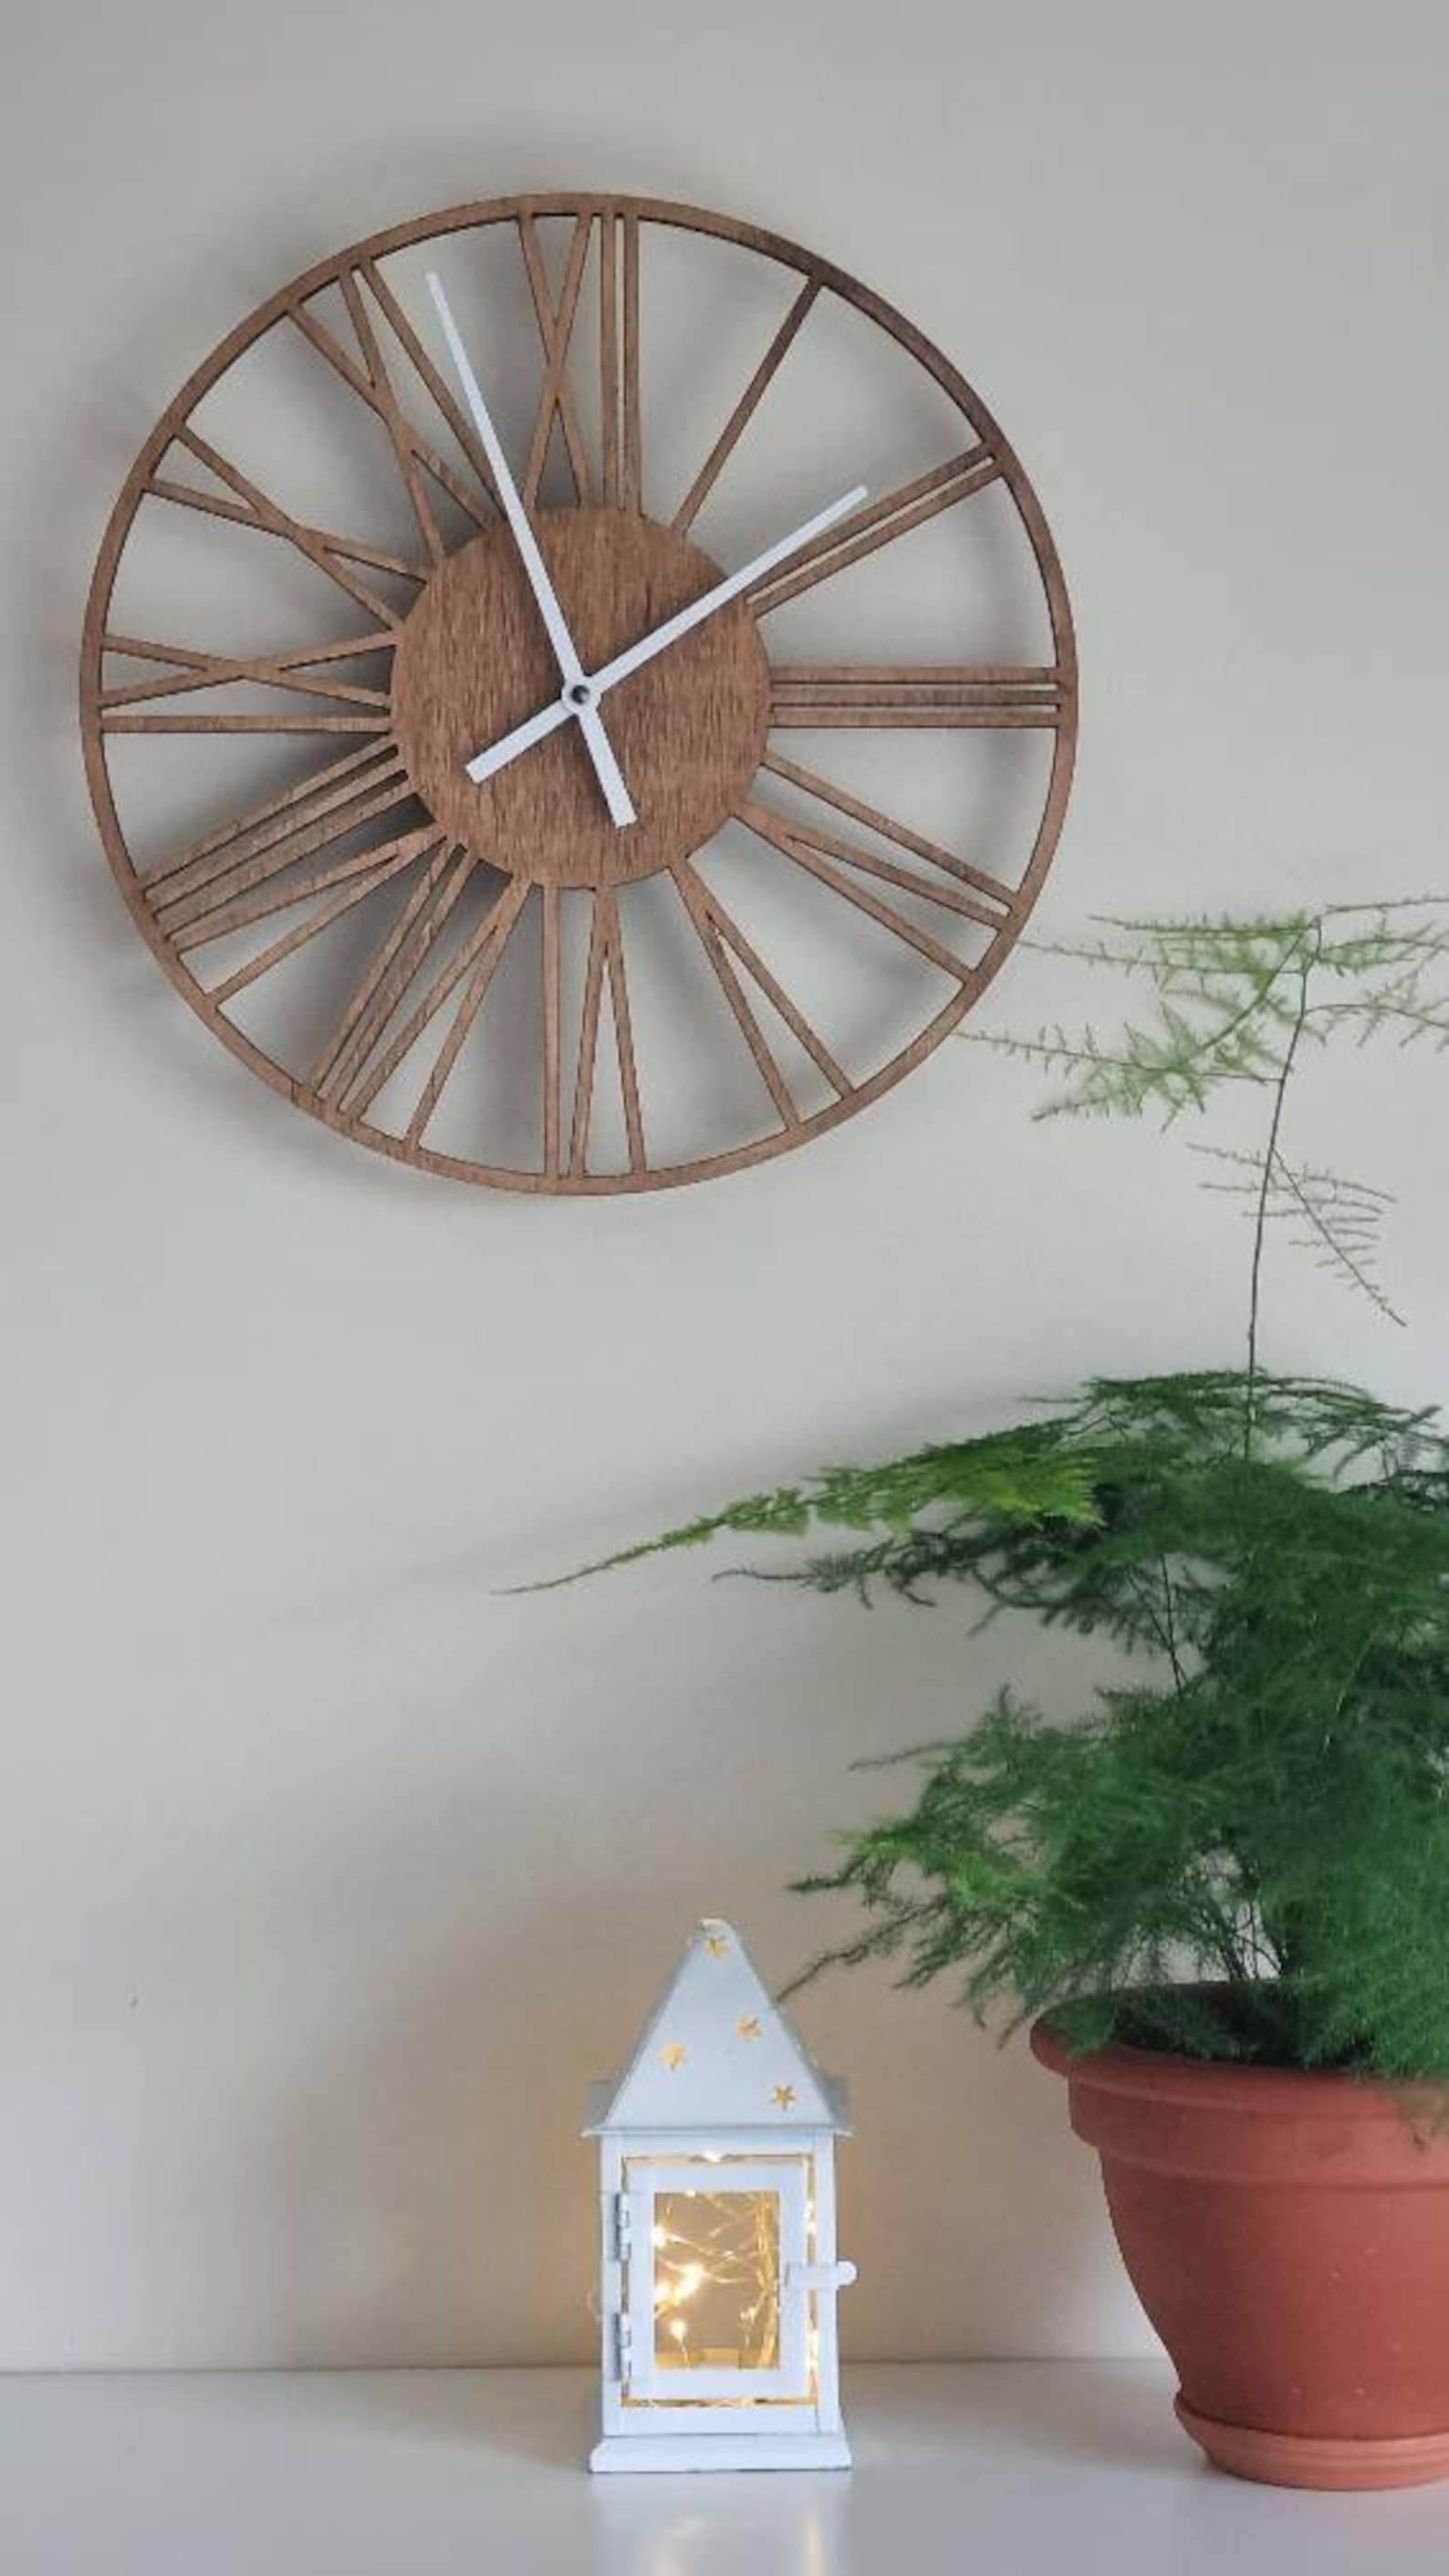
How to Add Roman Numerals or Custom Numbers to Wooden Wall Clocks

How to Add Roman Numerals or Custom Numbers to Wooden Wall Clocks

Add Roman Numerals or Custom Numbers to Wooden Wall Clocks: A Step-by-Step Guide

Hey there, crafty clock enthusiasts! Are you tired of those generic, boring numbers on your wooden wall clocks? Ever dreamt of adding a touch of elegance with Roman numerals or personalizing them with your favorite numbers? Well, you're in luck! This guide will walk you through the process of transforming your clock faces into works of art, step by step.

Gather Your Supplies:

Before we dive into the fun, let's make sure we've got everything we need. Grab these handy tools and materials:

  • Wooden wall clock (preferably with a plain face)
  • Roman numeral stencils or custom number stencils (you can find these online or at craft stores)
  • Acrylic paint in your desired color(s)
  • Paintbrushes (various sizes for different details)
  • Masking tape (for precise application)
  • Pencil (for marking and outlining)
  • Ruler (for accurate measurements)
  • Sandpaper (to smooth any rough edges)
  • Protective gloves (optional, but recommended)
  • Clear sealant (to protect your artwork)

Prepare Your Clock:

Now that you've gathered your tools, let's get ready to create! Here's how to prep your clock for its makeover:

  • Clean the surface: Wipe down the clock face with a damp cloth to remove any dust or debris. Allow it to dry completely before proceeding.
  • Remove existing numbers: If your clock has pre-existing numbers, you'll need to remove them. You can gently sand them down or use a paint stripper (if applicable). Be careful not to damage the clock face.
  • Prime the surface (optional): For a smoother finish and better paint adhesion, consider priming the clock face with a primer specifically designed for wood. Let it dry completely before moving on.

Plan Your Design:

Time to unleash your creativity! This is where your artistic vision comes into play.

  • Choose your numbers: Decide whether you're going with Roman numerals, custom numbers, or a combination of both. Remember, the size and style of your numbers will affect the overall look of your clock.
  • Consider the clock's size: Ensure that the numbers you choose will fit comfortably on the clock face. Leave enough space between them to avoid clutter.
  • Sketch a layout: If you're unsure about the placement, draw a rough outline of your numbers using a pencil on the clock face. This will help you visualize the final design and make any adjustments before you commit to paint.

Apply the Stencils:

Let's get those numbers on the clock! Follow these steps for a precise and neat application:

  • Secure the stencils: Carefully position your stencils on the clock face using masking tape to hold them in place. Ensure the stencil is flat and smooth to avoid paint bleeding.
  • Apply the paint: Using a small paintbrush, carefully apply your desired color to the stencil openings. Work in thin layers, avoiding any paint build-up that could seep under the stencil and create uneven edges.
  • Let it dry: Allow the paint to dry completely before removing the stencil. Once dry, you can peel off the stencil gently. If any paint bleeds, you can use a small paintbrush to clean it up.

Refine and Finish:

You're almost there! Take a moment to admire your handiwork and make any final touches:

  • Touch-ups: Once the paint is completely dry, inspect the numbers for any imperfections and touch them up with a fine paintbrush.
  • Seal the finish: To protect your numbers and ensure they last, apply a coat of clear sealant over the clock face. This will also create a smooth, polished look. Let it dry completely before hanging your clock.

Hang and Enjoy:

Congratulations! You've successfully transformed your wooden wall clock into a personalized masterpiece. Hang it up in your home and enjoy its unique charm.

Beyond Roman Numerals and Custom Numbers:

Want to go beyond the traditional? Unleash your creativity and experiment with other design elements! Here are some fun ideas to consider:

  • Incorporate patterns: Instead of plain numbers, try adding decorative patterns or designs within the numbers. Think floral motifs, geometric shapes, or even simple stripes.
  • Play with color: Don't be afraid to experiment with different colors for your numbers! Create a bold statement with contrasting shades or add a touch of vintage flair with metallic paints.
  • Create a theme: If you have a specific theme in mind for your room or clock, design your numbers to complement it. Nautical, rustic, or modern? The possibilities are endless!

Commonly Asked Questions:

Can I use other types of paint besides acrylic?

While acrylic paint is a popular choice for its quick drying time and ease of application, you can also use other types like oil paints, enamel paints, or even spray paint. However, make sure to test the paint on a small, inconspicuous area of the clock face first to ensure compatibility and avoid any potential issues.

What if I make a mistake?

Don't worry! Mistakes happen. If you make an error while applying paint or stencils, you can use a small brush and a bit of paint thinner to clean up the mistake before it dries completely. Remember, it's all about practice and experimentation!

How do I choose the right size for my numbers?

The size of your numbers should be proportionate to the size of the clock face. For a small clock, opt for smaller numbers. For a larger clock, you can go for larger numbers to make a bold statement. It's a good idea to try different sizes with your stencils to see what looks best on your clock.

Now you're ready to take your clock from ordinary to extraordinary. Remember, have fun, embrace your creativity, and don't be afraid to experiment! Happy crafting!

Share:

Wooden Project Ideas for Seasonal Decorations and Gifts

Wooden Project Ideas for Seasonal Decorations and Gifts

Wooden Project Ideas for Seasonal Decorations and Gifts

Woodworking is a rewarding hobby that allows you to create beautiful and functional objects. One of the most enjoyable aspects of woodworking is making seasonal decorations and gifts for loved ones. Wood is a versatile material that can be used to create a wide variety of projects, from simple ornaments to elaborate furniture. With a little creativity and some basic woodworking skills, you can make unique and personalized gifts that will be cherished for years to come.

Fall-Themed Wooden Projects

Fall is a season of warmth, abundance, and change. It is a time to celebrate the harvest and enjoy the beautiful colors of nature. Here are some wooden project ideas that capture the essence of fall:

Wooden Pumpkins

Wooden pumpkins are a classic fall decoration that can be made in various sizes and styles. You can carve them from a single piece of wood or use wood scraps to create a mosaic pumpkin. Paint them in traditional orange or experiment with other fall colors. Add a stem made of wood or a twig to complete the look.

Wooden Leaf Garland

A wooden leaf garland is a beautiful way to add a touch of fall to your home. Cut out leaves of various sizes from plywood or a thin board. Paint them in autumn colors and string them together with twine or wire. You can also add beads or other decorations to the garland.

Wooden Acorn Ornaments

Acorn ornaments are a charming and easy-to-make fall decoration. Cut out acorn shapes from a thin board or plywood. Paint them brown and add a little green paint to the top for the cap. You can add a loop of twine or ribbon to hang them on the tree or add a small magnet to the back so they can be used as refrigerator ornaments.

Winter-Themed Wooden Projects

Winter is a time for cozy evenings by the fireplace and celebrating the holidays. Here are some wooden project ideas that are perfect for the winter season:

Wooden Snowflake Ornaments

Wooden snowflake ornaments are a delicate and elegant way to decorate your Christmas tree. Cut out snowflake shapes from thin wood or plywood. You can paint them white or leave them natural. Add a loop of twine or ribbon to hang them on the tree.

Wooden Reindeer Ornaments

Wooden reindeer ornaments are a whimsical and festive decoration for the holiday season. Cut out reindeer shapes from plywood or a thin board. Paint them brown and add antlers made from wood or wire. You can also add a red nose and other festive decorations. Add a loop of twine or ribbon to hang them on the tree.

Wooden Christmas Tree Stand

A wooden Christmas tree stand is a practical and decorative way to display your holiday tree. You can make a simple stand from scrap wood or create a more elaborate design. Paint the stand to match your holiday decor or leave it natural.

Spring-Themed Wooden Projects

Spring is a time of renewal and rebirth. It is a time to celebrate the arrival of warmer weather and the beauty of blooming flowers. Here are some wooden project ideas that capture the spirit of spring:

Wooden Flower Planters

Wooden flower planters are a beautiful and functional way to add a touch of spring to your home. You can make them in various sizes and shapes to fit your needs. You can paint them in bright colors or leave them natural. Plant flowers or herbs in your planters to enjoy the beauty of spring.

Wooden Birdhouses

Wooden birdhouses are a charming and practical way to attract birds to your yard. You can make them in various styles and sizes. Paint them in bright colors or leave them natural. Add a small hole to the front for the birds to enter and a perch for them to land on.

Wooden Easter Egg Ornaments

Wooden Easter egg ornaments are a whimsical and festive way to celebrate Easter. Cut out egg shapes from a thin board or plywood. Paint them in bright colors and decorate them with dots, stripes, or other designs. You can also add a loop of twine or ribbon to hang them on the tree or add a small magnet to the back so they can be used as refrigerator ornaments.

Summer-Themed Wooden Projects

Summer is a time for fun, relaxation, and outdoor activities. Here are some wooden project ideas that are perfect for the summer season:

Wooden Coasters

Wooden coasters are a practical and decorative way to protect your furniture from condensation rings. Cut out coaster shapes from plywood or a thin board. You can paint them in bright colors, stain them, or leave them natural. You can also add a layer of cork to the bottom to make them more durable and prevent scratching. You can even add a personal touch by adding names or initials to the coasters.

Wooden Serving Tray

A wooden serving tray is a versatile and stylish way to serve food and drinks. You can make it in various sizes and shapes to fit your needs. You can paint it, stain it, or leave it natural. Add handles to the sides for easy carrying.

Wooden Picture Frames

Wooden picture frames are a classic way to display your favorite photos. You can make them in various sizes and shapes to fit your needs. You can paint them, stain them, or leave them natural. You can also add embellishments like decorative trim or metal accents. These custom-made picture frames make unique and cherished gifts for any occasion.

No matter what time of year it is, woodworking is a great way to create beautiful and functional objects. With a little creativity and some basic skills, you can make unique and personalized decorations and gifts that will be cherished for years to come. So get out your tools and start creating!

Share:

DIY Wooden Toys That Sell Like Hotcakes

DIY Wooden Toys That Sell Like Hotcakes

DIY Wooden Toys That Sell Like Hotcakes

Hey there, crafty friends! Are you looking for a way to turn your woodworking skills into a profitable venture? Look no further than DIY wooden toys! These adorable and timeless creations are always in high demand, especially with parents seeking eco-friendly and safe playthings for their little ones.

Not only are wooden toys beautiful and durable, but they also offer a plethora of benefits for children. They encourage imaginative play, develop fine motor skills, and stimulate creativity. And the best part? You can whip up these charming toys with just a few basic tools and some wood.

So, are you ready to unleash your inner woodworker and start crafting toys that will sell like hotcakes? Let's dive into some of the most popular and profitable wooden toy ideas!

Classic Wooden Toys That Never Go Out Of Style

These tried-and-true toys have stood the test of time for a reason. They're simple, engaging, and endlessly enjoyable for kids of all ages.

Wooden Puzzles

Wooden puzzles are a timeless classic and a great way to introduce kids to problem-solving and spatial reasoning. You can create puzzles of varying difficulties, from simple shapes for toddlers to intricate images for older children. Plus, you can personalize them with different themes like animals, vehicles, or even family portraits!

Wooden Blocks

Wooden blocks are the ultimate open-ended toy, inspiring endless creativity and imagination. From building towers to constructing imaginary worlds, the possibilities are endless! You can create sets with different shapes, sizes, and colors to enhance the play experience.

Wooden Dolls and Animals

Wooden dolls and animals are charming and durable toys that encourage imaginative play and storytelling. They can be painted, decorated, and even personalized with clothing and accessories. Think about creating different sets, like farm animals, woodland creatures, or characters from beloved children's books.

Wooden Trains

Wooden trains never fail to capture a child's imagination. You can craft simple train sets with tracks and carriages, or even create more complex layouts with tunnels, bridges, and stations.

Trendy Wooden Toys That Are All The Rage

Stay ahead of the curve with these modern wooden toys that are capturing hearts and minds.

Wooden Teethers

With the growing demand for natural and safe baby products, wooden teethers are a hot commodity. You can carve unique shapes and patterns that are easy for little hands to grasp and soothe their gums. Add a touch of natural oils or beeswax for extra comfort and appeal.

Wooden Stacking Toys

Stacking toys are a fun and educational way for toddlers to develop their fine motor skills and hand-eye coordination. Get creative with different shapes, colors, and textures to create visually appealing and engaging toys.

Wooden Activity Cubes

Activity cubes are multi-faceted toys that offer endless entertainment. They can include various features like spinning gears, sliding beads, shape sorters, and more. You can create unique designs with different themes like farm animals, vehicles, or letters and numbers.

Wooden Toys with Sensory Elements

Sensory toys are all the rage right now, and wooden toys can incorporate them beautifully. Think about adding elements like textured surfaces, beads, rattles, or even sound-making components.

Tips for Selling Your DIY Wooden Toys

Now that you've got some fantastic toy ideas, let's talk about turning your creations into a thriving business!

High-Quality Materials

Invest in high-quality wood, like maple, cherry, or walnut, that is safe for children and durable enough to withstand rough play.

Safe and Non-Toxic Finishes

Use non-toxic paints, stains, and finishes that are safe for children to touch and put in their mouths. Look for water-based options and always follow the manufacturer's instructions carefully.

Creative Packaging and Presentation

First impressions matter! Present your toys in attractive packaging that reflects your brand and highlights their unique features. Use natural materials like burlap or kraft paper for a rustic and eco-friendly look.

Online Marketplaces

Utilize online platforms like Etsy, Amazon Handmade, and Shopify to reach a wider audience. Create engaging product listings with high-quality photos and detailed descriptions.

Local Craft Fairs and Markets

Participate in local craft fairs and markets to showcase your handmade toys and interact directly with potential customers. You can get valuable feedback and build a following for your brand.

Social Media Marketing

Leverage social media platforms like Instagram and Facebook to share photos of your toys, engage with customers, and promote your brand. Run contests, offer discounts, and share behind-the-scenes glimpses of your creative process.

Commonly Asked Questions

What tools do I need to get started?

You'll need basic woodworking tools like a saw, drill, sandpaper, and a sander. A jigsaw and a router can be helpful for more intricate designs.

How do I find woodworking plans for wooden toys?

You can find free plans online, purchase plans from woodworking websites, or even create your own designs. There are endless resources available to help you create your dream wooden toys.

What are the best woods to use for wooden toys?

Hardwoods like maple, cherry, and walnut are durable and safe for children. You can also consider using softwoods like pine or cedar, but make sure they are well-finished and safe for little mouths.

How do I price my wooden toys?

Consider the cost of materials, time spent crafting, and the market value of similar toys. Research what others are charging and set a competitive price that reflects the quality and craftsmanship of your creations.

Is it profitable to sell wooden toys?

Absolutely! Wooden toys are always in high demand, especially with parents seeking high-quality, handcrafted gifts. With careful planning, marketing, and quality craftsmanship, you can create a profitable business selling your DIY wooden toys.

So, what are you waiting for? Grab your tools, unleash your creativity, and start crafting wooden toys that will bring joy to children and make your heart happy!

Share:

Festive Christmas Wood Crafts to Make This Holiday Season

Festive Christmas Wood Crafts to Make This Holiday Season

Festive Christmas Wood Crafts to Make This Holiday Season

As the air grows crisp and the scent of pine fills the air, the holiday season is upon us. What better way to embrace the festive spirit than by crafting beautiful, handcrafted decorations from wood? This timeless material adds warmth and rustic charm to any Christmas decor, making it a perfect choice for your holiday projects. Let your creativity flow as you transform simple wood into stunning Christmas ornaments, festive signs, and charming gift tags.

Ornaments for Your Tree

Bring the warmth and beauty of nature into your home with handmade wood ornaments. These unique ornaments will add a special touch to your Christmas tree and become cherished family heirlooms for years to come. You can find pre-cut wooden shapes at craft stores, or unleash your inner artist and cut your own.

Nature-Inspired Ornaments

Embrace the beauty of the season with nature-inspired wood ornaments. Cut out simple shapes like snowflakes, stars, or Christmas trees from thin wood slices. Paint them in natural colors like white, brown, or green, and add details with glitter or metallic paint.

Personalized Ornaments

Make your ornaments truly special by personalizing them. Paint wooden circles or squares and add your family name, the year, or a special message. You can also carve small details or use stencils to create intricate designs.

Festive Wooden Signs

Welcome guests to your home with a festive wooden sign. Choose a rustic piece of wood and paint it with holiday colors and designs. You can create a simple "Merry Christmas" sign or a more elaborate scene with Santa, snowmen, or reindeer.

Vintage Christmas Signs

Give your signs a vintage feel by using distressed paint and a weathered wood finish. Add embellishments like burlap ribbon, antique-style lettering, or metal bells for a nostalgic touch.

Modern Christmas Signs

For a modern twist, opt for bold colors and geometric shapes. Use stencils to create clean lines and contemporary designs. You can even add a touch of metallic paint for a glamorous look.

Charming Gift Tags

Elevate your gift wrapping with handmade wooden gift tags. These small details add a personal touch to your presents and make them truly unique. Cut small shapes from scrap wood and personalize them with names, messages, or holiday illustrations.

Painted Gift Tags

Paint the tags with festive colors and decorate them with glitter, sequins, or ribbons. You can also use stencils to create simple patterns.

Engraved Gift Tags

For a more rustic and elegant look, engrave the tags with names, dates, or a special message. You can use a wood-burning tool or a laser cutter for precise details.

As you craft these festive wood decorations, remember to embrace the joy of the season. Each piece will hold a special place in your home, filled with memories of the holidays spent creating and celebrating with loved ones.

Share:

人気の投稿

Powered by Blogger.