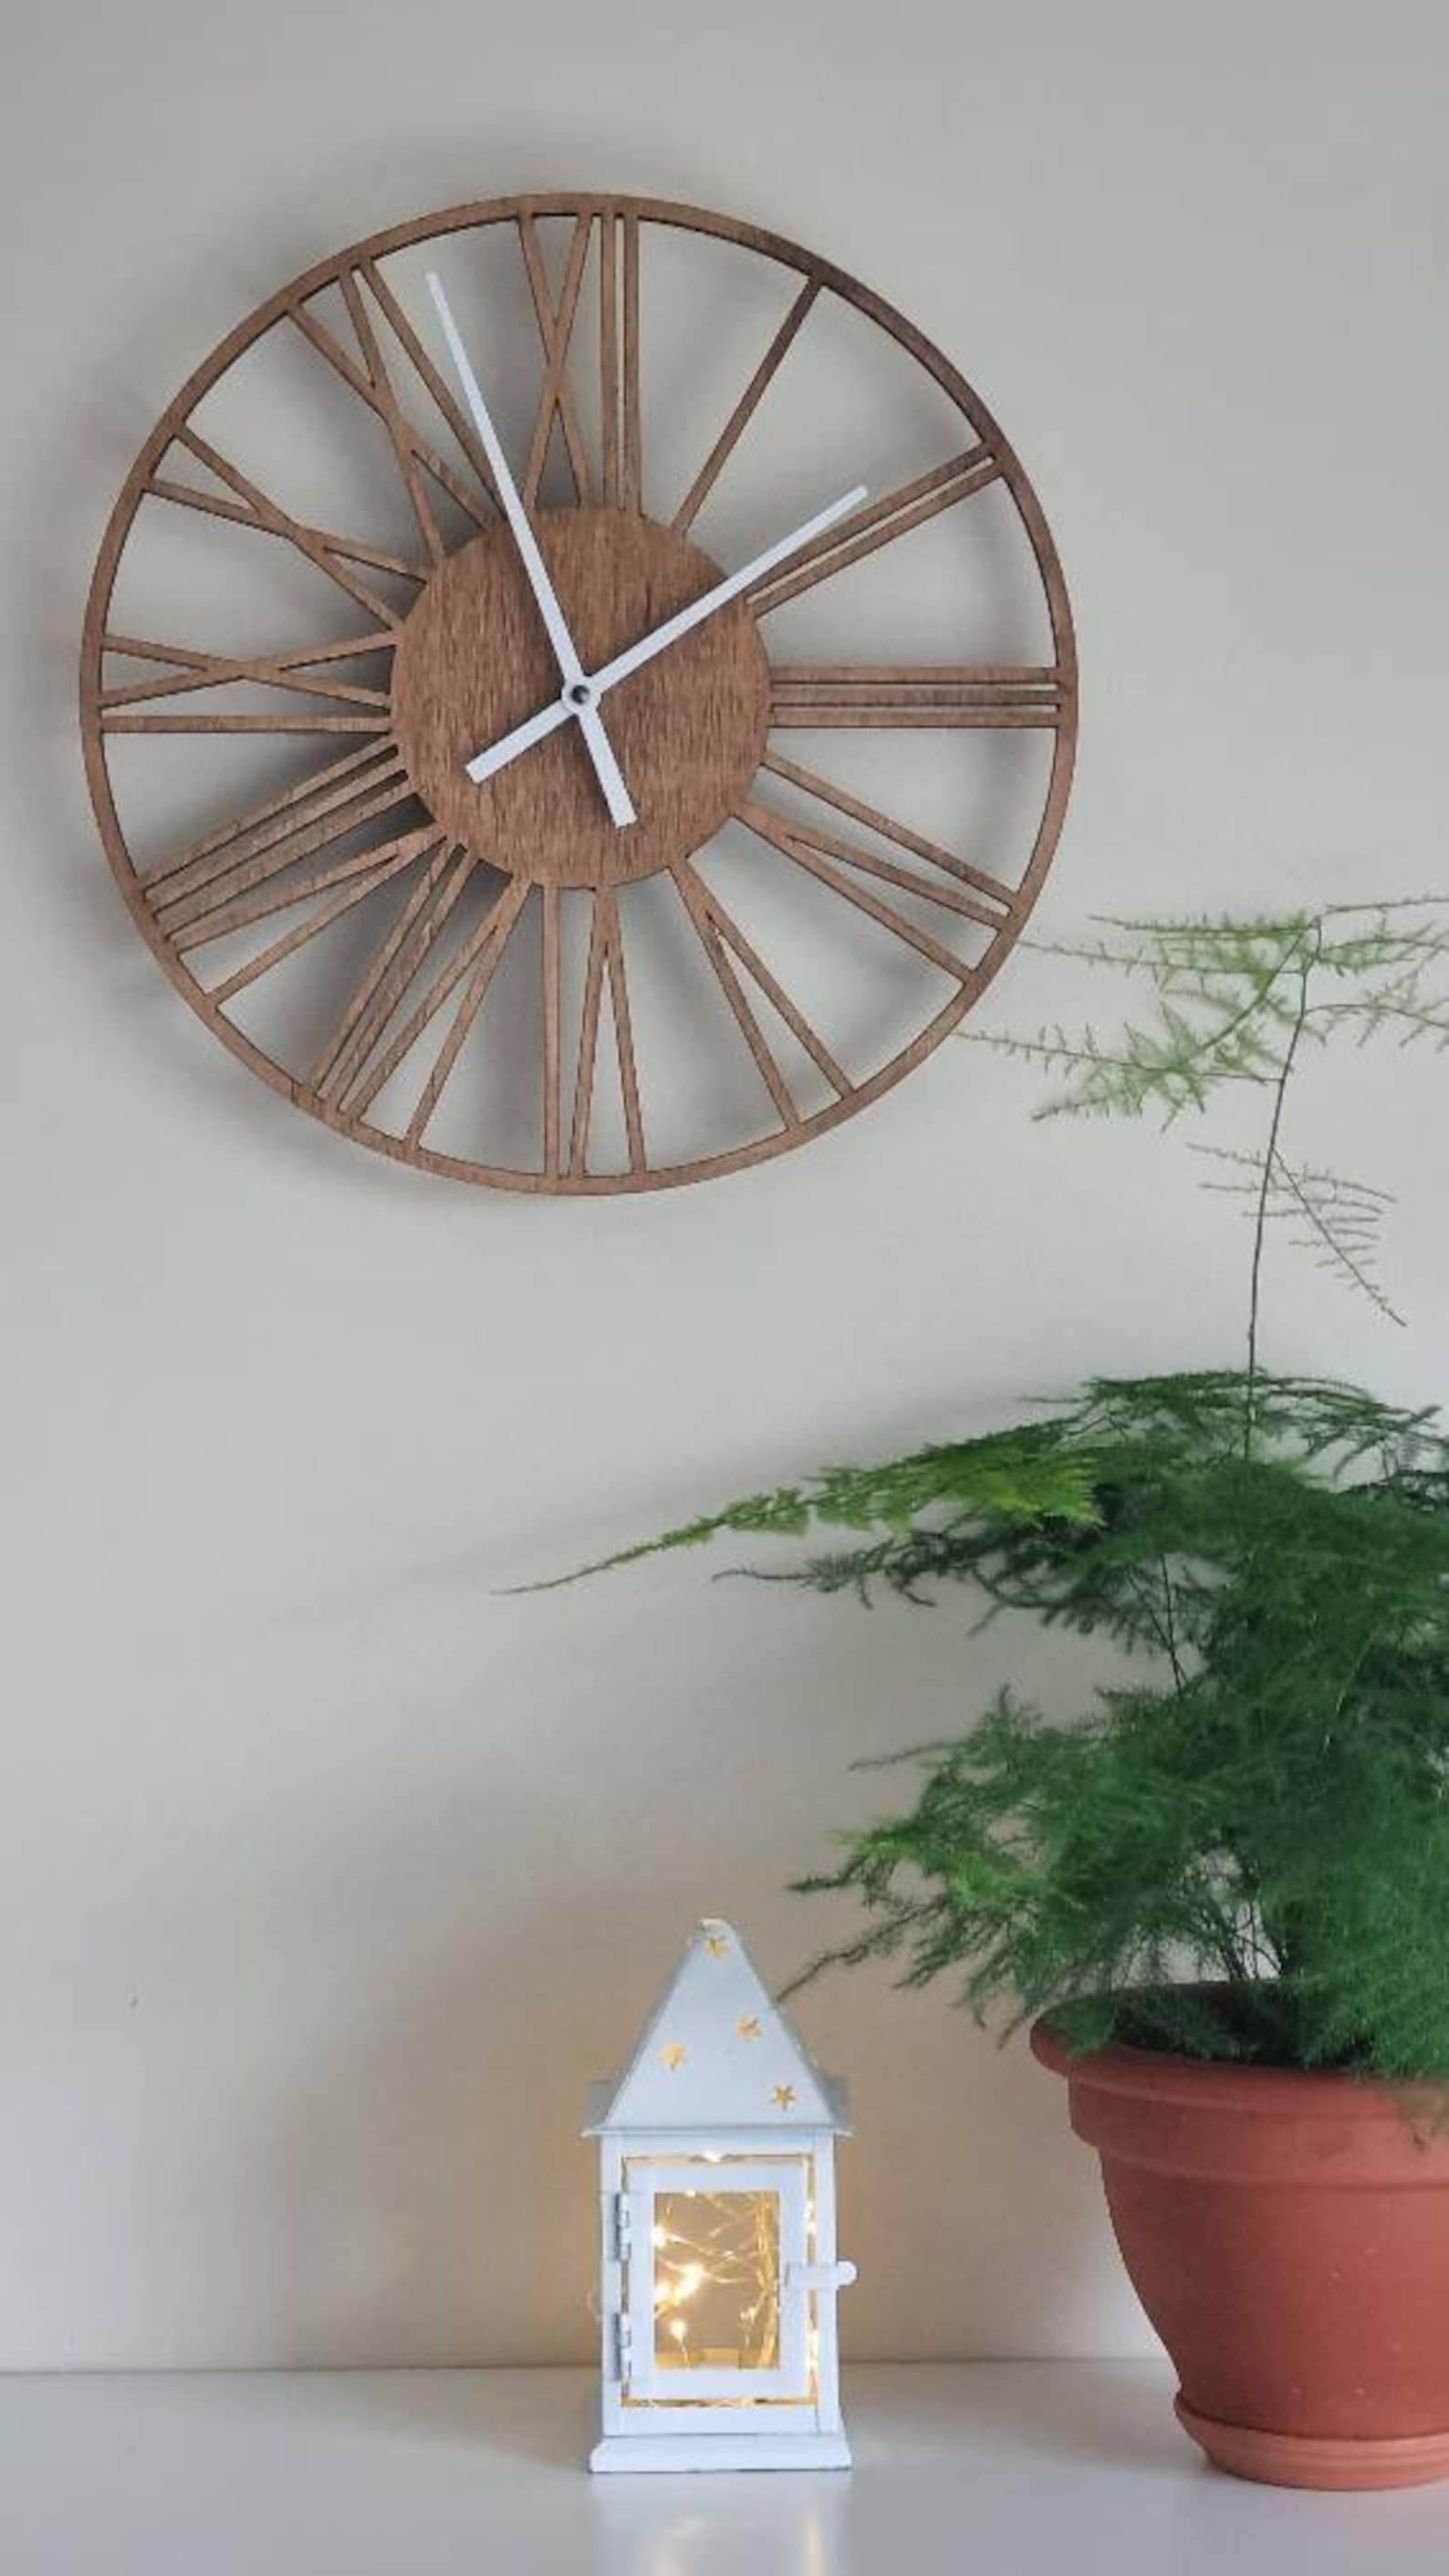
Add Roman Numerals or Custom Numbers to Wooden Wall Clocks: A Step-by-Step Guide
Hey there, crafty clock enthusiasts! Are you tired of those generic, boring numbers on your wooden wall clocks? Ever dreamt of adding a touch of elegance with Roman numerals or personalizing them with your favorite numbers? Well, you're in luck! This guide will walk you through the process of transforming your clock faces into works of art, step by step.
Gather Your Supplies:
Before we dive into the fun, let's make sure we've got everything we need. Grab these handy tools and materials:
- Wooden wall clock (preferably with a plain face)
- Roman numeral stencils or custom number stencils (you can find these online or at craft stores)
- Acrylic paint in your desired color(s)
- Paintbrushes (various sizes for different details)
- Masking tape (for precise application)
- Pencil (for marking and outlining)
- Ruler (for accurate measurements)
- Sandpaper (to smooth any rough edges)
- Protective gloves (optional, but recommended)
- Clear sealant (to protect your artwork)
Prepare Your Clock:
Now that you've gathered your tools, let's get ready to create! Here's how to prep your clock for its makeover:
- Clean the surface: Wipe down the clock face with a damp cloth to remove any dust or debris. Allow it to dry completely before proceeding.
- Remove existing numbers: If your clock has pre-existing numbers, you'll need to remove them. You can gently sand them down or use a paint stripper (if applicable). Be careful not to damage the clock face.
- Prime the surface (optional): For a smoother finish and better paint adhesion, consider priming the clock face with a primer specifically designed for wood. Let it dry completely before moving on.
Plan Your Design:
Time to unleash your creativity! This is where your artistic vision comes into play.
- Choose your numbers: Decide whether you're going with Roman numerals, custom numbers, or a combination of both. Remember, the size and style of your numbers will affect the overall look of your clock.
- Consider the clock's size: Ensure that the numbers you choose will fit comfortably on the clock face. Leave enough space between them to avoid clutter.
- Sketch a layout: If you're unsure about the placement, draw a rough outline of your numbers using a pencil on the clock face. This will help you visualize the final design and make any adjustments before you commit to paint.
Apply the Stencils:
Let's get those numbers on the clock! Follow these steps for a precise and neat application:
- Secure the stencils: Carefully position your stencils on the clock face using masking tape to hold them in place. Ensure the stencil is flat and smooth to avoid paint bleeding.
- Apply the paint: Using a small paintbrush, carefully apply your desired color to the stencil openings. Work in thin layers, avoiding any paint build-up that could seep under the stencil and create uneven edges.
- Let it dry: Allow the paint to dry completely before removing the stencil. Once dry, you can peel off the stencil gently. If any paint bleeds, you can use a small paintbrush to clean it up.
Refine and Finish:
You're almost there! Take a moment to admire your handiwork and make any final touches:
- Touch-ups: Once the paint is completely dry, inspect the numbers for any imperfections and touch them up with a fine paintbrush.
- Seal the finish: To protect your numbers and ensure they last, apply a coat of clear sealant over the clock face. This will also create a smooth, polished look. Let it dry completely before hanging your clock.
Hang and Enjoy:
Congratulations! You've successfully transformed your wooden wall clock into a personalized masterpiece. Hang it up in your home and enjoy its unique charm.
Beyond Roman Numerals and Custom Numbers:
Want to go beyond the traditional? Unleash your creativity and experiment with other design elements! Here are some fun ideas to consider:
- Incorporate patterns: Instead of plain numbers, try adding decorative patterns or designs within the numbers. Think floral motifs, geometric shapes, or even simple stripes.
- Play with color: Don't be afraid to experiment with different colors for your numbers! Create a bold statement with contrasting shades or add a touch of vintage flair with metallic paints.
- Create a theme: If you have a specific theme in mind for your room or clock, design your numbers to complement it. Nautical, rustic, or modern? The possibilities are endless!
Commonly Asked Questions:
Can I use other types of paint besides acrylic?
While acrylic paint is a popular choice for its quick drying time and ease of application, you can also use other types like oil paints, enamel paints, or even spray paint. However, make sure to test the paint on a small, inconspicuous area of the clock face first to ensure compatibility and avoid any potential issues.
What if I make a mistake?
Don't worry! Mistakes happen. If you make an error while applying paint or stencils, you can use a small brush and a bit of paint thinner to clean up the mistake before it dries completely. Remember, it's all about practice and experimentation!
How do I choose the right size for my numbers?
The size of your numbers should be proportionate to the size of the clock face. For a small clock, opt for smaller numbers. For a larger clock, you can go for larger numbers to make a bold statement. It's a good idea to try different sizes with your stencils to see what looks best on your clock.
Now you're ready to take your clock from ordinary to extraordinary. Remember, have fun, embrace your creativity, and don't be afraid to experiment! Happy crafting!


No comments:
Post a Comment
Note: Only a member of this blog may post a comment.