Crafting Charming Wood Signs for Weddings and Events
Hey there, crafty friends! Are you looking to add a touch of rustic charm to your wedding or event? Look no further than homemade wood signs! They're not just beautiful, they're also a fantastic way to personalize your celebration and make it truly unique.
Don't be intimidated if you're not a seasoned woodworker – making wood signs is surprisingly easy and incredibly rewarding! Let's dive into the fun and learn how to bring your sign-making dreams to life.
Choosing Your Wood
The first step is to choose the perfect wood for your sign. You have a ton of options, so let's break them down:
Popular Wood Choices
- Pine: Affordable, light, and easy to work with, making it a great choice for beginners. It's often available in various thicknesses and sizes.
- Birch: Offers a beautiful, light-colored grain with a smooth finish. It's strong and durable, making it perfect for signs that will be handled frequently.
- Oak: A classic choice for its durability and rich color. It has a stunning grain pattern, adding a rustic and elegant look to your signs.
- Reclaimed Wood: Gives your signs a unique and environmentally conscious touch. Look for salvaged wood from old barns, pallets, or furniture for an authentic, vintage vibe.
The choice of wood will depend on the style of your event, your budget, and the desired finish. Consider what would best complement your overall theme and decor.
Gathering Your Supplies
Once you've picked your wood, it's time to gather your supplies. You'll need:
- Wood: The foundation of your sign!
- Saw: Use a jigsaw, circular saw, or handsaw to cut your wood to size.
- Sandpaper: Essential for smoothing out your wood and removing imperfections.
- Stain or Paint: To add color and enhance the natural beauty of your wood.
- Paintbrushes: Apply the stain or paint evenly.
- Stencils or Templates: For creating lettering and designs.
- Pencil: For outlining your lettering and designs.
- Measuring Tape: To ensure accurate measurements and cuts.
- Safety Gear: Always protect yourself with safety glasses, a dust mask, and work gloves.
You can also add some extra flair with things like:
- Embellishments: Ribbons, lace, flowers, or other decorative elements.
- Hardware: Screws, hooks, or other hardware for mounting or hanging.
- Sealer: To protect your finished sign from water damage and UV rays.
Prepping Your Wood
Now it's time to prep your wood for creating your masterpiece. Follow these steps:
- Measure and Cut: Determine the size and shape of your sign. Measure twice and cut once to avoid any mistakes.
- Sand: Sand the wood thoroughly to create a smooth surface. Use coarse sandpaper to remove rough edges, then switch to finer grits for a polished finish.
- Clean: Wipe away any sawdust or debris from the wood surface with a damp cloth.
With your wood prepped and ready, it's time to unleash your creativity!
Designing Your Sign
This is where the fun truly begins! Here are some ideas to get your creative juices flowing:
Wedding Sign Ideas
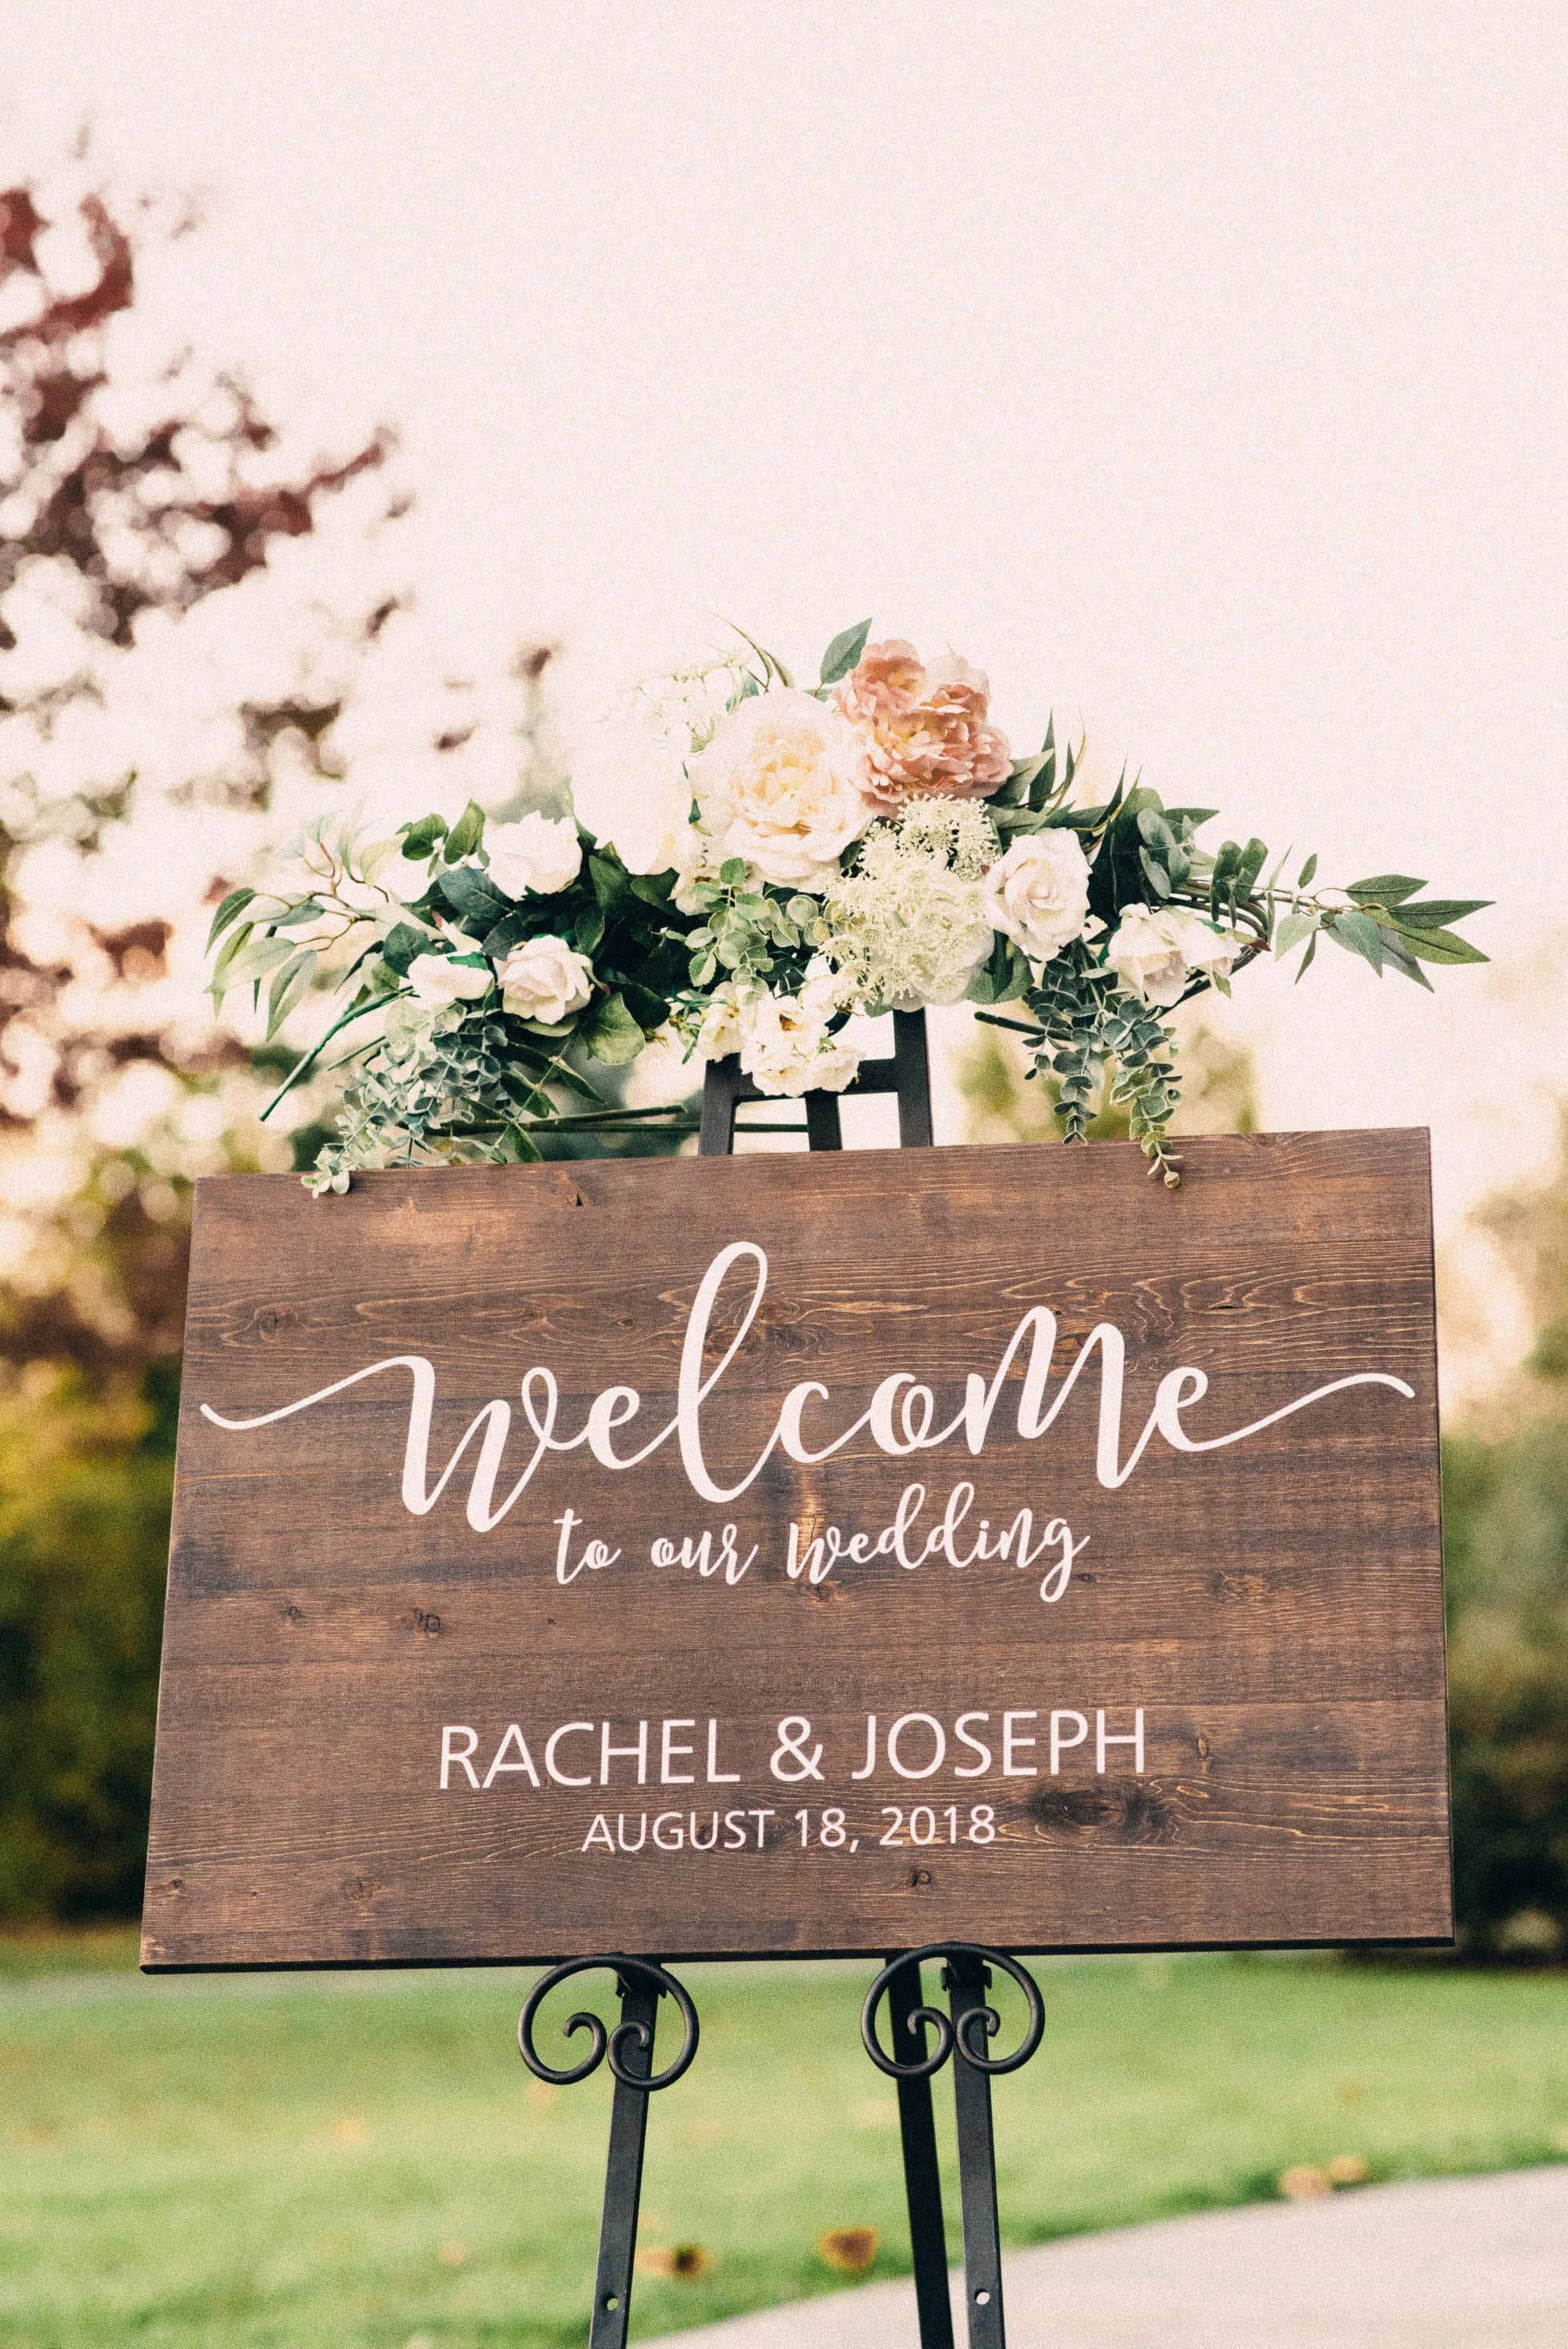
- Welcome Sign: A classic choice for greeting guests.
- Table Numbers: Elegant and practical for organizing your reception tables.
- Directional Signs: Guide your guests to the ceremony, reception, or photo booth.
- Guest Book Sign: Encourage guests to leave messages for the happy couple.
- Love Story Sign: Share a special message or quote about your love journey.
Event Sign Ideas
- Party Sign: Set the tone for your event with a playful and festive sign.
- Menu Board: Showcase your delicious food and drinks.
- Photo Booth Sign: Encourage guests to capture memories.
- Quote Sign: Add inspiration or a funny quote to your event.
- Hashtag Sign: Promote your event with a unique hashtag.
Don't be afraid to get creative and add your own personal touch to the design. Let your imagination run wild and create something truly unique that reflects your style and the theme of your event.
Adding Lettering and Designs
Now it's time to turn your design into reality. Here are some tips for creating your sign's lettering and design:
- Stencils or Templates: Use pre-made stencils or templates for lettering and designs. They provide a consistent and accurate look.
- Freehand Drawing: If you're feeling confident, try freehand drawing with a pencil.
- Vinyl Lettering: For a clean and professional look, use vinyl lettering that can be applied directly to your sign.
- Paintbrushes: Use a brush with the right size and shape for your design.
- Paint Markers: For a quick and easy application, use paint markers to create your lettering and designs.
Choose a method that suits your skill level and the desired aesthetic for your sign. Be sure to practice on a scrap piece of wood before working on your final project to get the hang of it.
Finishing Touches
You're almost there! Now it's time to add those finishing touches that will make your sign truly shine:
- Stain or Paint: Apply your chosen stain or paint to the wood. Make sure to work in a well-ventilated area and use the correct application techniques for your chosen medium.
- Let Dry: Allow the stain or paint to dry completely before moving on. Refer to the manufacturer's instructions for drying times.
- Sealer: Apply a sealer to protect your sign from the elements and extend its lifespan.
- Embellishments: Add ribbons, lace, flowers, or other embellishments to enhance the look of your sign.
- Hardware: Attach any necessary hardware for mounting or hanging your sign.
Take a step back and admire your creation! You've just made a beautiful, personalized sign that will add a special touch to your event.
Tips for Success
Here are some extra tips to make your sign-making journey even smoother:
- Plan Ahead: Think about the design, size, and materials before you start.
- Practice: Practice your lettering and design on a scrap piece of wood before working on the final sign.
- Patience: Let the stain or paint dry completely between coats.
- Have Fun: Remember, the process should be enjoyable! Don't be afraid to experiment and have fun with it.
Commonly Asked Questions
Got questions about making wood signs? Here are some answers to common inquiries:
Q: What kind of wood should I use for my wedding or event sign?
A: It really depends on the style of your event and your budget. Pine is a popular choice for beginners due to its affordability and ease of use. Birch offers a beautiful, light-colored grain, while oak is a classic choice for its durability and rich color. Reclaimed wood gives your signs a unique and environmentally conscious touch.
Q: How do I create lettering on a wood sign?
A: You have several options: use stencils or templates, draw freehand with a pencil, or use vinyl lettering. Choose the method that suits your skill level and desired aesthetic.
Q: How do I seal my wood sign?
A: A sealer protects your sign from the elements and extends its lifespan. You can use polyurethane, varnish, or a wax-based sealant. Apply the sealer according to the manufacturer's instructions.
Q: How do I make my sign stand out?
A: Add embellishments like ribbons, lace, flowers, or other decorative elements. You can also use different paint techniques, like distressing or layering colors.
There you have it, friends! Making wood signs for your wedding or event is a fun and rewarding project. So get those creative juices flowing and let your DIY spirit shine!


No comments:
Post a Comment
Note: Only a member of this blog may post a comment.