How to Make Floating Shelves That Are Perfect for Displaying Plants
Floating shelves are a fantastic way to add a touch of greenery to any space, creating a vibrant and refreshing atmosphere. Whether you have a small apartment or a spacious living room, these shelves offer a unique and stylish solution for showcasing your favorite plants. In this article, we'll walk you through the process of building your own floating shelves, making them perfect for displaying your beloved botanical companions.
Choosing the Right Materials
The first step in building your floating shelves is selecting the right materials. Here's what you'll need:
- Wood planks: Select a wood type that's both sturdy and aesthetically pleasing. Some popular choices include pine, maple, or oak.
- Brackets: These are essential for supporting the shelves. Look for brackets specifically designed for floating shelves, often made of metal or wood. They should be strong enough to hold the weight of your plants.
- Screws: Choose screws that are long enough to securely fasten the brackets to the wall and the shelves to the brackets.
- Sandpaper: You'll need sandpaper to smooth out the wood and create a polished finish.
- Wood stain or paint: (Optional) Use these to add color and protect the wood from moisture and damage.
- Measuring tape, level, and pencil: These are crucial for ensuring your shelves are perfectly aligned and level.
- Drill: A drill with the appropriate drill bits is necessary for creating pilot holes and fastening screws.
Cutting and Preparing the Wood
With your materials gathered, it's time to cut the wood planks to your desired size. Carefully measure the length and width of the shelves you want to create. You can use a circular saw or a handsaw for this step. Once the wood is cut, use sandpaper to smooth out any rough edges and create a smooth surface for your plants.
Finishing Touches
To enhance the look and protect your shelves, you can apply a wood stain or paint. Select a color that complements your decor and brings out the beauty of your wood. Allow the stain or paint to dry completely before proceeding to the next step.
Installing the Brackets
Now comes the critical step of attaching the brackets to the wall. Choose a location that's stable and can support the weight of your shelves and plants. Using a level, mark the placement of the brackets on the wall. Then, use your drill to create pilot holes for the screws. This prevents the wood from splitting when you drive in the screws. Securely fasten the brackets to the wall with the appropriate screws.
Attaching the Shelves
With the brackets installed, you're ready to attach the shelves. Gently lift the shelves onto the brackets. Before fully securing the shelves, double-check that they are level and perfectly aligned. Once satisfied, use the remaining screws to attach the shelves to the brackets.
Adding the Finishing Touches
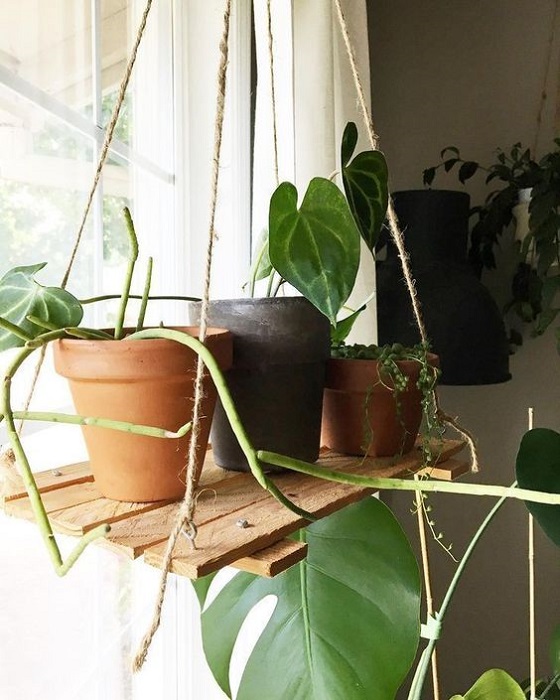
Your floating shelves are now ready to be adorned with your plant collection! Choose plants that complement the size and style of your shelves, and enjoy the beauty they bring to your space. You can experiment with different plant arrangements to create a unique and eye-catching display. Here are some extra tips:
- Use a variety of plant sizes and shapes. Mix and match different types of plants to create visual interest.
- Incorporate hanging plants. Create a cascading effect by hanging plants from the shelves.
- Add decorative elements. Enhance the display with small decorative items like pebbles, ornaments, or small sculptures.
- Consider lighting. Add LED lights to highlight the shelves and showcase your plants.
Creating floating shelves is a fun and rewarding project that allows you to display your plants in a stylish and modern way. With a little effort and a bit of creativity, you can transform your home into a lush green oasis, making it a more beautiful and inviting space for you and your plants.


No comments:
Post a Comment
Note: Only a member of this blog may post a comment.