Easy and budget-friendly woodworking ideas for creating personalized wood crafts and home accents.

Showing posts with label Ideas. Show all posts

How to Create Custom Floating Shelves for Your Home Office

How to Create Custom Floating Shelves for Your Home Office

How to Create Custom Floating Shelves for Your Home Office: A DIY Guide

Hey there, fellow home office enthusiast! Tired of staring at the same boring walls? Want to add some personality and functionality to your workspace? Look no further! We're about to dive into the exciting world of DIY floating shelves.

Why Choose Floating Shelves?

Let's be real, floating shelves are awesome. They're super stylish, offering a clean, minimalist look that just screams "organized and put-together." But that's not all! They also provide:
  • Maximum storage space: No bulky brackets or legs to get in the way, so you can maximize your vertical space and keep things organized.
  • Visual appeal: Floating shelves add a touch of contemporary design to your home office, giving it a modern edge.
  • Flexibility: Want to rearrange your shelves or switch up the decor? No problem! Floating shelves are easy to move and adjust.
  • Customizability: The beauty of DIY is that you can create shelves that perfectly fit your space and style. Think unique materials, sizes, and finishes!

Planning Your DIY Floating Shelves

Before you grab your tools and start sawing, it's important to plan your shelves. This will ensure your project runs smoothly and you end up with exactly what you envisioned:

1. Decide on the Size and Quantity

* Think about the space you're working with: Measure the wall where you want to install the shelves to determine how many shelves you can fit and the optimal size for each. * Consider what you'll be storing: Need space for books? Artwork? Office supplies? The size and quantity of your shelves will depend on what you plan to store on them.

2. Choose Your Materials

* Wood: A popular choice for its durability and affordability. Consider pine, oak, or walnut for a classic look. * Metal: Metal shelves can add a modern and industrial vibe. Look for materials like iron or steel. * Reclaimed wood: Give your shelves a unique and sustainable touch with reclaimed wood. Think old barn wood, salvaged pallets, or repurposed wood.

3. Pick Your Finishing Touches

* Paint or Stain: Match your shelves to your existing decor or create a statement piece with a bold color. * Hardware: Consider the type of mounting hardware (hidden brackets, shelf pins, etc.) that best suits your needs. * Decorative elements: Add character to your shelves with unique finishes, like metal accents, stencils, or decorative edging.

Building Your Floating Shelves

Okay, let's get down to the fun part - building those shelves! Here's a step-by-step guide:

1. Cut Your Shelf Boards

* Measure carefully: Use a tape measure to ensure accurate measurements and make sure your shelves will fit perfectly. * Use a saw: A circular saw, jigsaw, or miter saw will help you cut the boards to the desired length. * Sand the edges: Smooth out any rough edges with sandpaper for a clean and finished look.

2. Install the Mounting Brackets

* Locate the studs: Use a stud finder to locate the wall studs, which will provide the most secure support for your shelves. * Mark the bracket positions: Mark the desired positions for the brackets using a pencil or marker. * Install the brackets: Secure the brackets to the wall using appropriate screws or anchors. Make sure they are level and aligned.

3. Finish Your Shelves

* Apply paint or stain: If desired, paint or stain your shelves to achieve your desired look. * Add any decorative elements: Get creative with your finishing touches to create a truly personalized look.

4. Mount Your Shelves

* Align the shelves: Carefully place the shelves onto the brackets, ensuring they are level and secure. * Secure the shelves: Use shelf pins, hidden brackets, or other mounting mechanisms to secure the shelves to the wall.

Styling Your Home Office Floating Shelves

Now that you've got your DIY floating shelves in place, it's time to style them! Here are some ideas to get you started:
  • Create a visual flow: Arrange your items in a way that creates a cohesive and eye-catching display. Think about the colors, shapes, and textures of your objects.
  • Mix and match: Don't be afraid to combine different items, textures, and colors to add interest and personality to your shelves.
  • Add greenery: Plants add a touch of nature and life to any space. Choose small potted plants or succulents to place on your shelves.
  • Highlight your favorite items: Use your shelves to display your favorite books, artwork, or sentimental items. Let your personality shine!
  • Keep it organized: While you want your shelves to look stylish, it's also important to keep them organized. Use baskets, trays, or other storage solutions to keep things tidy.

Commonly Asked Questions

1. How do I make sure my floating shelves are strong enough?

* Use strong materials like hardwood or metal for your shelves. * Make sure your mounting brackets are securely attached to wall studs. * Don't overload your shelves with heavy items.

2. What tools do I need for this project?

* Tape measure * Pencil * Saw (circular saw, jigsaw, or miter saw) * Sandpaper * Stud finder * Drill * Screwdriver * Level * Paint or stain (optional) * Paintbrush or roller (optional)

3. How can I hide the brackets?

* Use hidden brackets that attach directly to the back of the shelf. * Paint the brackets to match the wall color. * Use decorative elements to cover the brackets, such as a plant or a piece of art.

4. Can I create floating shelves without using wall studs?

* Yes, you can use heavy-duty anchors for attaching the brackets to drywall. However, make sure the anchors are rated for the weight you plan to put on the shelves.

5. What are some alternative floating shelf designs?

* L-shaped shelves: Create a unique look with shelves that extend out from the wall at a 90-degree angle. * Corner shelves: Maximize space in corners with shelves designed to fit snugly. * Floating desks: Combine a floating shelf with a desk top for a sleek and functional workspace. There you have it, your complete guide to DIY floating shelves! With a little planning and creativity, you can transform your home office into a stylish and functional space. Get those tools ready, and let's get building!
Share:

How to Craft a Wooden Plant Stand with a Scandinavian or Mid-Century Modern Look

How to Craft a Wooden Plant Stand with a Scandinavian or Mid-Century Modern Look

Craft a Wooden Plant Stand with Scandinavian or Mid-Century Modern Flair

Elevate your greenery with a stylish wooden plant stand that embodies the minimalist aesthetic of Scandinavian or Mid-Century Modern design. Whether you're a seasoned woodworker or a DIY novice, this guide will walk you through crafting a unique and functional piece that complements your home's decor.

Choosing Your Materials

The heart of your plant stand lies in the choice of wood. Opt for materials known for their durability and natural beauty, echoing the core values of Scandinavian and Mid-Century design. Here are some excellent choices:

Scandinavian Style

Embrace the light and airy feel of Scandinavian design with:

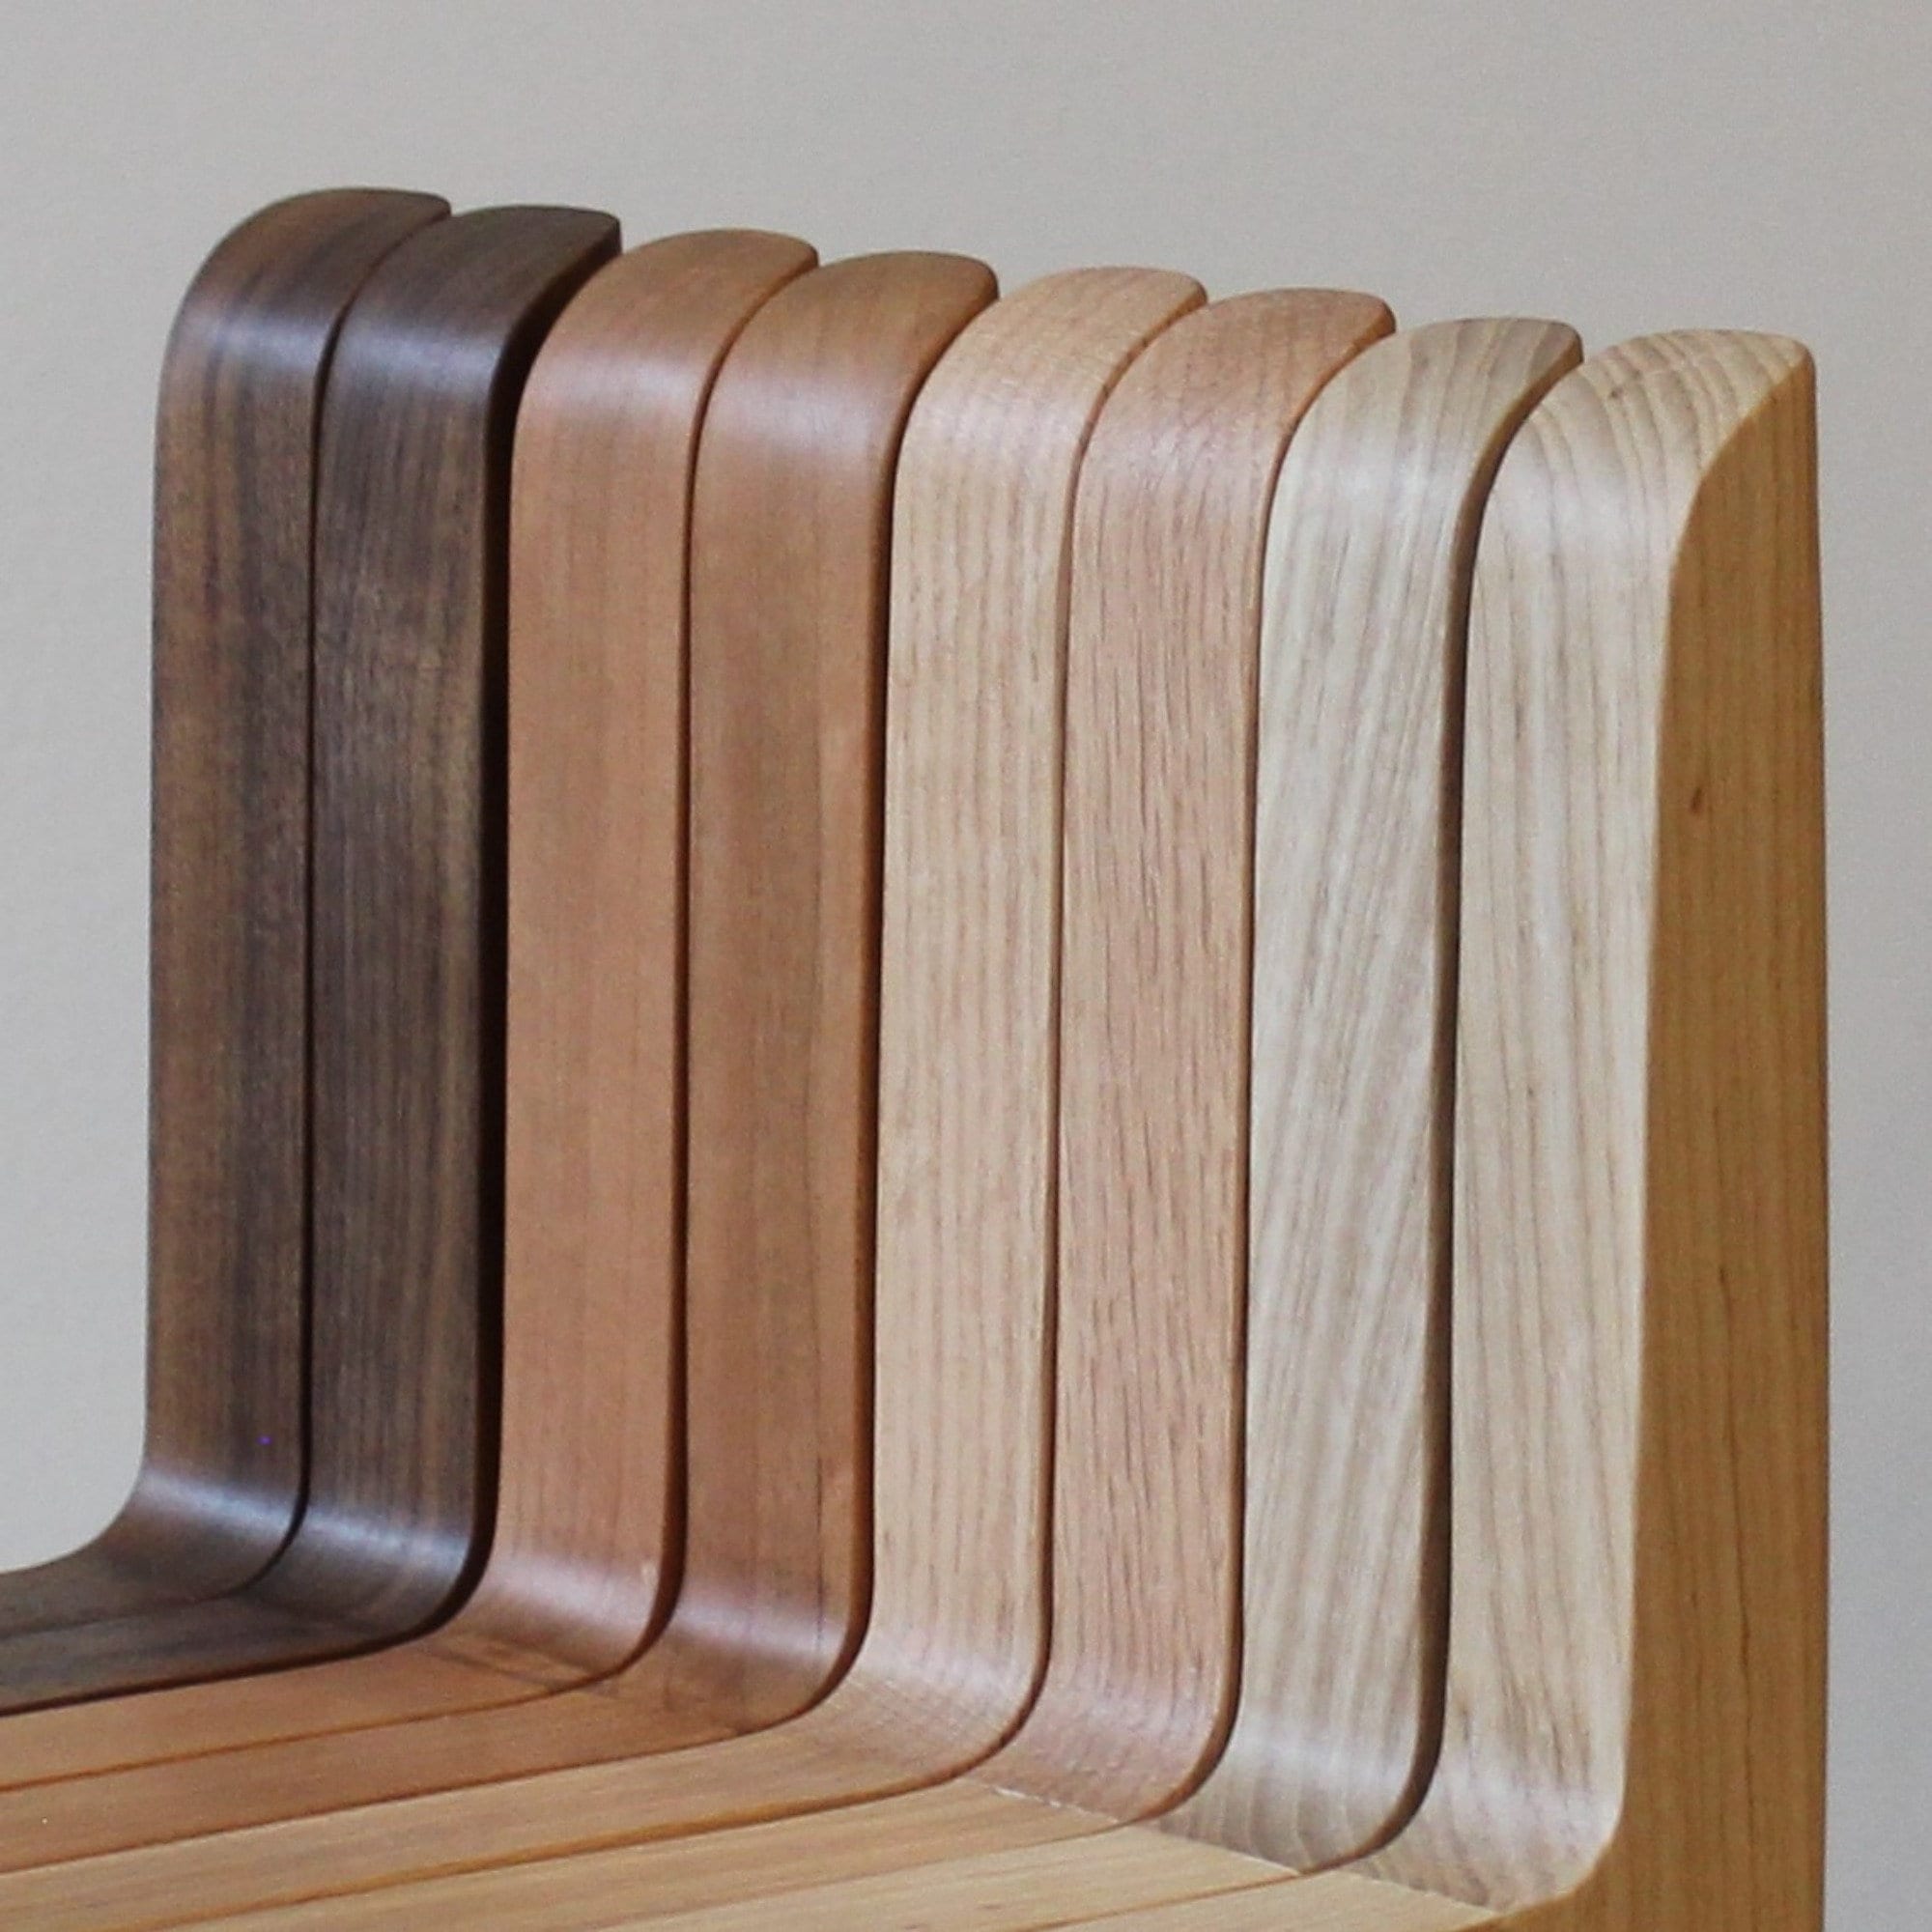
  • Pine: Its soft, pale hue and affordability make pine a classic choice for Scandinavian projects.
  • Birch: Birch's natural grain patterns and light color add warmth and sophistication.

Mid-Century Modern Style

Embrace the bolder aesthetic of Mid-Century Modern with:

  • Walnut: Walnut's rich, dark tones and distinctive grain patterns deliver a timeless appeal.
  • Teak: Teak boasts a unique, golden hue and durability that ages gracefully.

Designing Your Plant Stand

Before diving into construction, sketch your plant stand's design. Consider:

Shape and Size

Choose from classic shapes like a round, square, or rectangular base. Determine the height and width that best accommodate your plants and your space.

Legs

Scandinavian designs often favor simple, tapered legs or hairpin legs. Mid-Century Modern styles often feature splayed legs for a more dramatic look.

Shelves

Decide on the number of shelves and their configuration. A single shelf provides a simple platform, while multiple shelves allow you to display a collection of plants.

Building Your Plant Stand

Now for the hands-on part!

Cutting and Assembling

Cut your wood pieces to your desired dimensions using a saw. Join the base and legs securely with wood glue and screws.

Adding Shelves

Attach shelves to the base, ensuring stability and alignment. You can use brackets, cleats, or dowels to create a secure and aesthetically pleasing finish.

Finishing Touches

Enhance your plant stand's beauty and durability with a finishing touch.

Sanding and Staining

Sand your wood smooth to create a uniform surface. Apply a stain in a color that complements your chosen wood and desired style.

Sealing

Seal your stand with a clear polyurethane or wax to protect it from scratches, moisture, and daily wear and tear.

Displaying Your Greenery

Your plant stand is ready to showcase your favorite houseplants! Arrange them thoughtfully, taking into account light requirements and creating a visually pleasing display.

With your own handcrafted plant stand, you'll have a stylish and functional piece that enhances your home's ambiance and celebrates the beauty of your plants.

Share:

How to Make Wood Signs for Weddings and Events

How to Make Wood Signs for Weddings and Events

Crafting Charming Wood Signs for Weddings and Events

Hey there, crafty friends! Are you looking to add a touch of rustic charm to your wedding or event? Look no further than homemade wood signs! They're not just beautiful, they're also a fantastic way to personalize your celebration and make it truly unique.

Don't be intimidated if you're not a seasoned woodworker – making wood signs is surprisingly easy and incredibly rewarding! Let's dive into the fun and learn how to bring your sign-making dreams to life.

Choosing Your Wood

The first step is to choose the perfect wood for your sign. You have a ton of options, so let's break them down:

Popular Wood Choices

  • Pine: Affordable, light, and easy to work with, making it a great choice for beginners. It's often available in various thicknesses and sizes.
  • Birch: Offers a beautiful, light-colored grain with a smooth finish. It's strong and durable, making it perfect for signs that will be handled frequently.
  • Oak: A classic choice for its durability and rich color. It has a stunning grain pattern, adding a rustic and elegant look to your signs.
  • Reclaimed Wood: Gives your signs a unique and environmentally conscious touch. Look for salvaged wood from old barns, pallets, or furniture for an authentic, vintage vibe.

The choice of wood will depend on the style of your event, your budget, and the desired finish. Consider what would best complement your overall theme and decor.

Gathering Your Supplies

Once you've picked your wood, it's time to gather your supplies. You'll need:

  • Wood: The foundation of your sign!
  • Saw: Use a jigsaw, circular saw, or handsaw to cut your wood to size.
  • Sandpaper: Essential for smoothing out your wood and removing imperfections.
  • Stain or Paint: To add color and enhance the natural beauty of your wood.
  • Paintbrushes: Apply the stain or paint evenly.
  • Stencils or Templates: For creating lettering and designs.
  • Pencil: For outlining your lettering and designs.
  • Measuring Tape: To ensure accurate measurements and cuts.
  • Safety Gear: Always protect yourself with safety glasses, a dust mask, and work gloves.

You can also add some extra flair with things like:

  • Embellishments: Ribbons, lace, flowers, or other decorative elements.
  • Hardware: Screws, hooks, or other hardware for mounting or hanging.
  • Sealer: To protect your finished sign from water damage and UV rays.

Prepping Your Wood

Now it's time to prep your wood for creating your masterpiece. Follow these steps:

  1. Measure and Cut: Determine the size and shape of your sign. Measure twice and cut once to avoid any mistakes.
  2. Sand: Sand the wood thoroughly to create a smooth surface. Use coarse sandpaper to remove rough edges, then switch to finer grits for a polished finish.
  3. Clean: Wipe away any sawdust or debris from the wood surface with a damp cloth.

With your wood prepped and ready, it's time to unleash your creativity!

Designing Your Sign

This is where the fun truly begins! Here are some ideas to get your creative juices flowing:

Wedding Sign Ideas

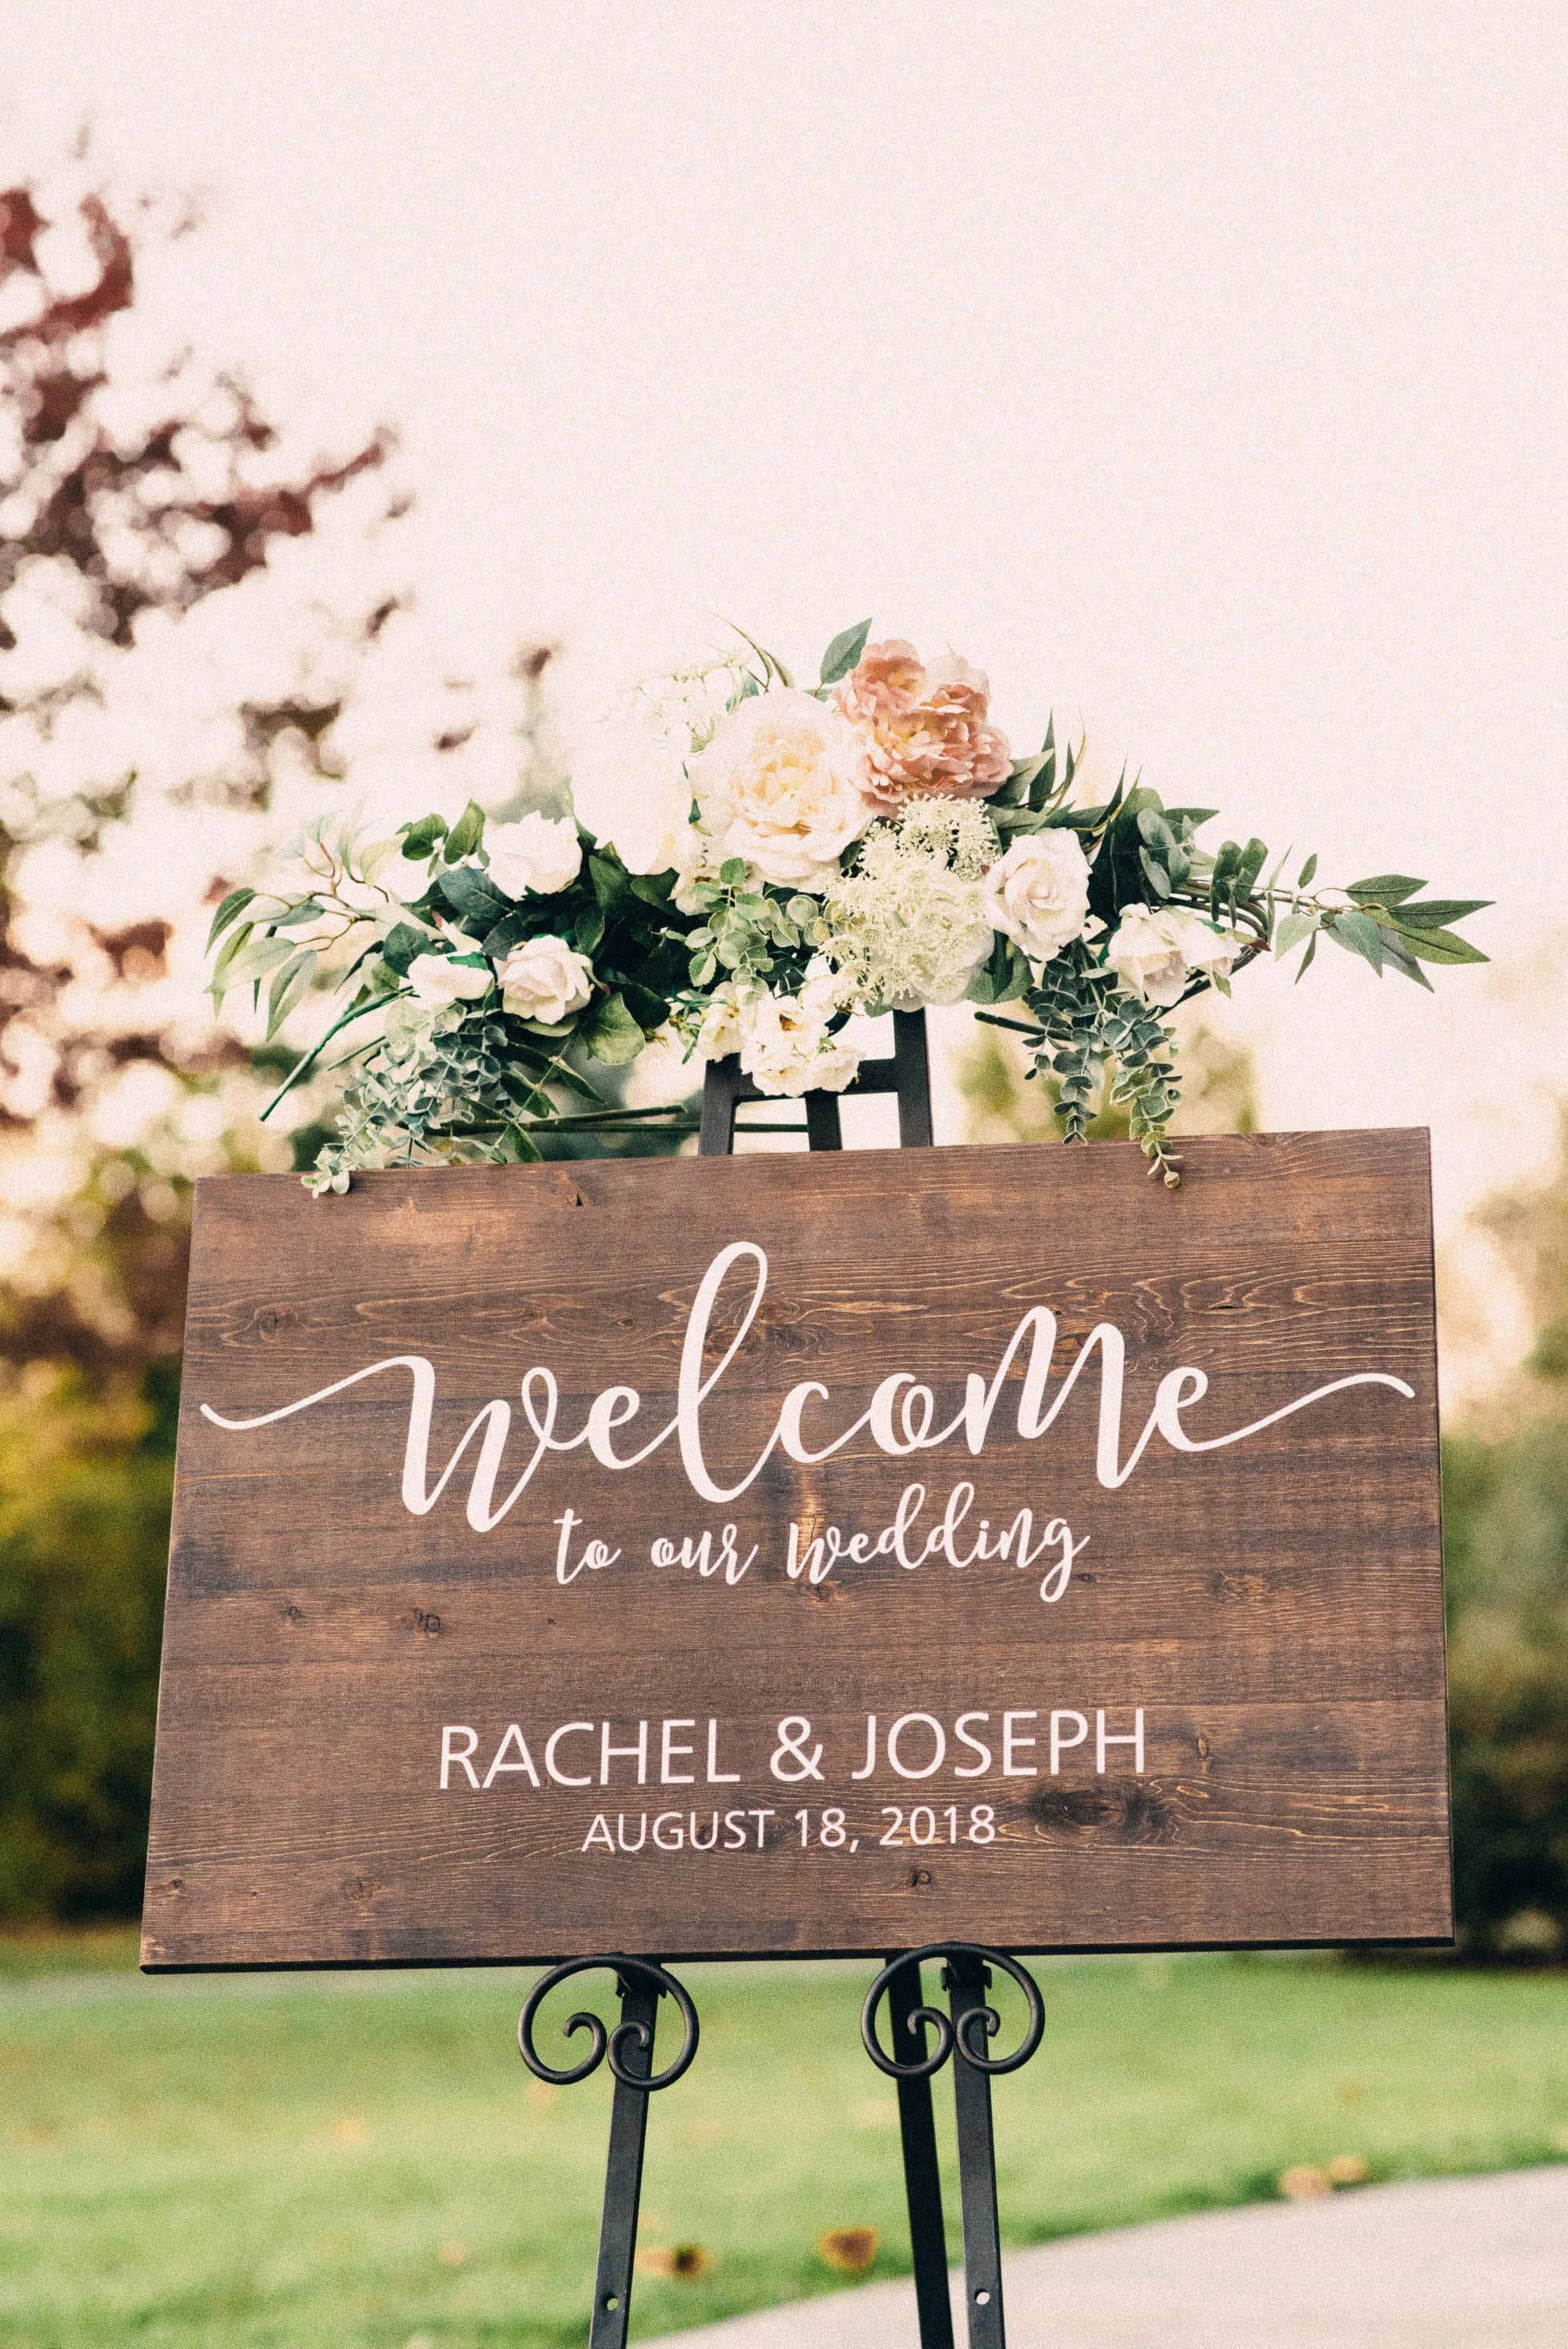
  • Welcome Sign: A classic choice for greeting guests.
  • Table Numbers: Elegant and practical for organizing your reception tables.
  • Directional Signs: Guide your guests to the ceremony, reception, or photo booth.
  • Guest Book Sign: Encourage guests to leave messages for the happy couple.
  • Love Story Sign: Share a special message or quote about your love journey.

Event Sign Ideas

  • Party Sign: Set the tone for your event with a playful and festive sign.
  • Menu Board: Showcase your delicious food and drinks.
  • Photo Booth Sign: Encourage guests to capture memories.
  • Quote Sign: Add inspiration or a funny quote to your event.
  • Hashtag Sign: Promote your event with a unique hashtag.

Don't be afraid to get creative and add your own personal touch to the design. Let your imagination run wild and create something truly unique that reflects your style and the theme of your event.

Adding Lettering and Designs

Now it's time to turn your design into reality. Here are some tips for creating your sign's lettering and design:

  1. Stencils or Templates: Use pre-made stencils or templates for lettering and designs. They provide a consistent and accurate look.
  2. Freehand Drawing: If you're feeling confident, try freehand drawing with a pencil.
  3. Vinyl Lettering: For a clean and professional look, use vinyl lettering that can be applied directly to your sign.
  4. Paintbrushes: Use a brush with the right size and shape for your design.
  5. Paint Markers: For a quick and easy application, use paint markers to create your lettering and designs.

Choose a method that suits your skill level and the desired aesthetic for your sign. Be sure to practice on a scrap piece of wood before working on your final project to get the hang of it.

Finishing Touches

You're almost there! Now it's time to add those finishing touches that will make your sign truly shine:

  1. Stain or Paint: Apply your chosen stain or paint to the wood. Make sure to work in a well-ventilated area and use the correct application techniques for your chosen medium.
  2. Let Dry: Allow the stain or paint to dry completely before moving on. Refer to the manufacturer's instructions for drying times.
  3. Sealer: Apply a sealer to protect your sign from the elements and extend its lifespan.
  4. Embellishments: Add ribbons, lace, flowers, or other embellishments to enhance the look of your sign.
  5. Hardware: Attach any necessary hardware for mounting or hanging your sign.

Take a step back and admire your creation! You've just made a beautiful, personalized sign that will add a special touch to your event.

Tips for Success

Here are some extra tips to make your sign-making journey even smoother:

  • Plan Ahead: Think about the design, size, and materials before you start.
  • Practice: Practice your lettering and design on a scrap piece of wood before working on the final sign.
  • Patience: Let the stain or paint dry completely between coats.
  • Have Fun: Remember, the process should be enjoyable! Don't be afraid to experiment and have fun with it.

Commonly Asked Questions

Got questions about making wood signs? Here are some answers to common inquiries:

Q: What kind of wood should I use for my wedding or event sign?

A: It really depends on the style of your event and your budget. Pine is a popular choice for beginners due to its affordability and ease of use. Birch offers a beautiful, light-colored grain, while oak is a classic choice for its durability and rich color. Reclaimed wood gives your signs a unique and environmentally conscious touch.

Q: How do I create lettering on a wood sign?

A: You have several options: use stencils or templates, draw freehand with a pencil, or use vinyl lettering. Choose the method that suits your skill level and desired aesthetic.

Q: How do I seal my wood sign?

A: A sealer protects your sign from the elements and extends its lifespan. You can use polyurethane, varnish, or a wax-based sealant. Apply the sealer according to the manufacturer's instructions.

Q: How do I make my sign stand out?

A: Add embellishments like ribbons, lace, flowers, or other decorative elements. You can also use different paint techniques, like distressing or layering colors.

There you have it, friends! Making wood signs for your wedding or event is a fun and rewarding project. So get those creative juices flowing and let your DIY spirit shine!

Share:

How to Build Wooden Shoe Racks for Under-the-Bed Storage

How to Build Wooden Shoe Racks for Under-the-Bed Storage

Build Your Own Under-the-Bed Shoe Storage: A DIY Guide

Tired of shoe clutter taking over your entryway or bedroom? You're not alone! Many people struggle with shoe storage, especially if you're a sneakerhead or just have a lot of footwear. But what if I told you there's a simple and stylish solution right under your bed? That's right, building your own under-the-bed shoe racks is a fantastic way to maximize your space and keep those kicks organized. And the best part? It's a DIY project even beginners can tackle!

Ready to get started? Let's dive into the world of under-the-bed shoe rack building. We'll cover everything from choosing the right materials to assembling your new storage solution with step-by-step instructions. So, grab your tools and let's build!

Materials You'll Need

Before we get our hands dirty, let's gather all the necessary materials. You'll need:

  • Wood: Pine or plywood are great budget-friendly options, while hardwoods like oak or maple add durability and a classic touch. You'll need boards for the rack's frame and shelves. Think about how many shelves you need based on your shoe collection.
  • Wood Glue: This helps ensure sturdy and long-lasting connections.
  • Wood Screws: Choose screws that are long enough to penetrate through the boards and into the frame.
  • Screwdriver or Drill: Make sure you have a driver bit that matches your screw size.
  • Sandpaper: Sand the wood to create a smooth surface and prevent splinters.
  • Wood Stain or Paint (Optional): Personalize your shoe rack with a stain or paint that complements your decor.
  • Measuring Tape: Crucial for getting your measurements right.
  • Pencil: For marking cuts and assembly lines.
  • Safety Glasses: Protect your eyes from sawdust and flying debris.
  • Saw: Choose a saw that's comfortable to use and appropriate for the thickness of your wood. A circular saw or jigsaw is perfect for precise cuts.
  • Clamps: Help hold pieces together while gluing and screwing.

Tip: If you don't have all the necessary tools, consider renting them from a local hardware store. It's a great way to save money on expensive tools you might only use once.

Planning Your Shoe Rack Design

Now that you've gathered your materials, let's plan the perfect shoe rack for your needs. Think about:

  • Dimensions: Measure the space under your bed carefully to determine the width and depth of your shoe rack. Remember to leave some clearance for easy access and sliding the rack in and out.
  • Height: Consider the height of your shoes. You'll need enough vertical space for your tallest heels or boots.
  • Number of Shelves: How many shelves do you need to store your entire collection comfortably? More shelves mean more storage space, but it can also make the rack heavier and harder to move. Strike a balance based on your needs.
  • Style: Do you want a simple, minimalist design, or something more elaborate? You can add decorative touches like trim, molding, or decorative hardware. Let your creativity run wild!
  • Mobility: Do you want to be able to easily slide the rack in and out from under the bed? If so, consider adding casters to the bottom of the rack.

Step-by-Step Construction

Get ready to put your design into action! Here's a detailed guide for building your under-the-bed shoe rack:

1. Cut the Wood

  • Cut your wood boards to the desired dimensions according to your plan.
  • Use a measuring tape and pencil to mark your cuts precisely.
  • Double-check your measurements before making any cuts!

2. Build the Frame

  • Create the frame of your shoe rack by joining together the longer side pieces.
  • Align the boards with the edges flush and use wood glue and screws to secure them together.
  • Repeat this process for the shorter side pieces, creating a rectangular frame.
  • Use clamps to hold the boards in place while the glue dries.

3. Add the Shelves

  • Cut the shelf boards to the width of your frame.
  • Attach the shelves to the inside of the frame, using wood glue and screws to ensure stability.
  • Space the shelves according to your desired shoe storage needs.

4. Sand and Finish

  • Once the glue has dried completely, sand the entire surface of the shoe rack with sandpaper. This creates a smooth finish and removes any rough edges.
  • Apply wood stain or paint, if desired, to add color and protect the wood. Follow the manufacturer's instructions for application and drying time.

5. Optional: Add Casters

  • For added mobility, attach casters to the bottom of the shoe rack.
  • This will make it easier to slide the rack in and out from under the bed.

Tips for Success

Here are some helpful tips to make your under-the-bed shoe rack building experience smoother:

  • Plan ahead: Sketch out your shoe rack design before you start cutting wood. This will help you visualize the final product and prevent mistakes.
  • Measure twice, cut once: Accuracy is crucial in woodworking. Double-check your measurements before making any cuts to ensure the pieces fit together perfectly.
  • Use clamps: Clamps are essential for holding pieces together while gluing and screwing. They prevent the wood from shifting and ensure a strong bond.
  • Sand thoroughly: Thorough sanding is important for a smooth and splinter-free finish. Sand the entire surface of your shoe rack, paying special attention to the edges and corners.
  • Don't rush the drying time: Allow the glue to dry completely before moving on to the next step. This ensures a strong and lasting bond.
  • Have fun! Building a shoe rack can be a rewarding project. Enjoy the process, and don't be afraid to get creative.

Commonly Asked Questions

Here are some frequently asked questions about under-the-bed shoe racks:

How much does it cost to build a shoe rack?

The cost of building a shoe rack varies depending on the materials you choose. Pine and plywood are budget-friendly options, while hardwoods like oak or maple will be more expensive. You can expect to spend anywhere from $20 to $100 for materials, depending on your design and choice of wood.

What is the best type of wood to use for a shoe rack?

Pine and plywood are excellent choices for shoe racks because they are affordable, lightweight, and easy to work with. Hardwoods like oak or maple are more durable and resistant to scratches, but they are also more expensive. Ultimately, the best wood for your shoe rack depends on your budget and desired aesthetic.

Can I stain or paint a shoe rack?

Absolutely! Staining or painting a shoe rack is a great way to personalize it and match your décor. Choose a stain or paint color that complements your bedroom or entryway. You can also add decorative touches like stencils, trim, or molding.

How do I make a shoe rack more durable?

Use high-quality wood and hardware. Choose screws that are long enough to penetrate through the boards and into the frame. Apply wood glue liberally to create a strong bond between the pieces. And don't forget to sand thoroughly to prevent splinters and ensure a smooth finish.

Now that you have all the information you need, grab your tools, get creative, and start building your own under-the-bed shoe rack! It's a fun and rewarding project that will help you get organized and make the most of your space.

Share:

Easy and Affordable Wood Signs to Make and Sell

Easy and Affordable Wood Signs to Make and Sell

Easy and Affordable Wood Signs to Make and Sell

Hey there, crafty friends! Are you looking for a fun and profitable side hustle? Look no further than making and selling wood signs! They're trendy, customizable, and surprisingly easy to create. Plus, you can get started with minimal investment, making it a super affordable venture.

Getting Started with Wood Signs

Before you dive into the world of wood signs, let's talk about the basics. You'll need a few essential tools and supplies, but don't worry, you can find them easily at your local craft store or online. Here's what you'll need:

  • Wood: Pine is a popular choice for beginners because it's affordable and easy to work with. You can find pre-cut boards or cut your own. Experiment with different sizes and shapes to find your style.
  • Stain: Stain adds a beautiful color and finish to your wood signs. Choose from a range of colors and finishes, from light and natural to rich and dark.
  • Paint: Use acrylic paint for lettering and design details. It dries quickly and comes in a rainbow of colors.
  • Paintbrushes: You'll need brushes for both painting the background and applying lettering. Choose a variety of sizes for different tasks.
  • Stencil: Stencils are great for creating crisp lettering and designs. You can buy pre-made stencils or create your own using vinyl or contact paper.
  • Sandpaper: Sanding smooths out the wood surface and prepares it for painting. Use different grits to achieve the desired finish.
  • Polyurethane: Polyurethane protects your finished sign from scratches and water damage. You can apply it with a brush or a spray can.

Easy Wood Sign Ideas

Now that you've got your supplies, it's time to choose a project! Here are a few easy and popular wood sign ideas that are sure to sell well:

Welcome Signs

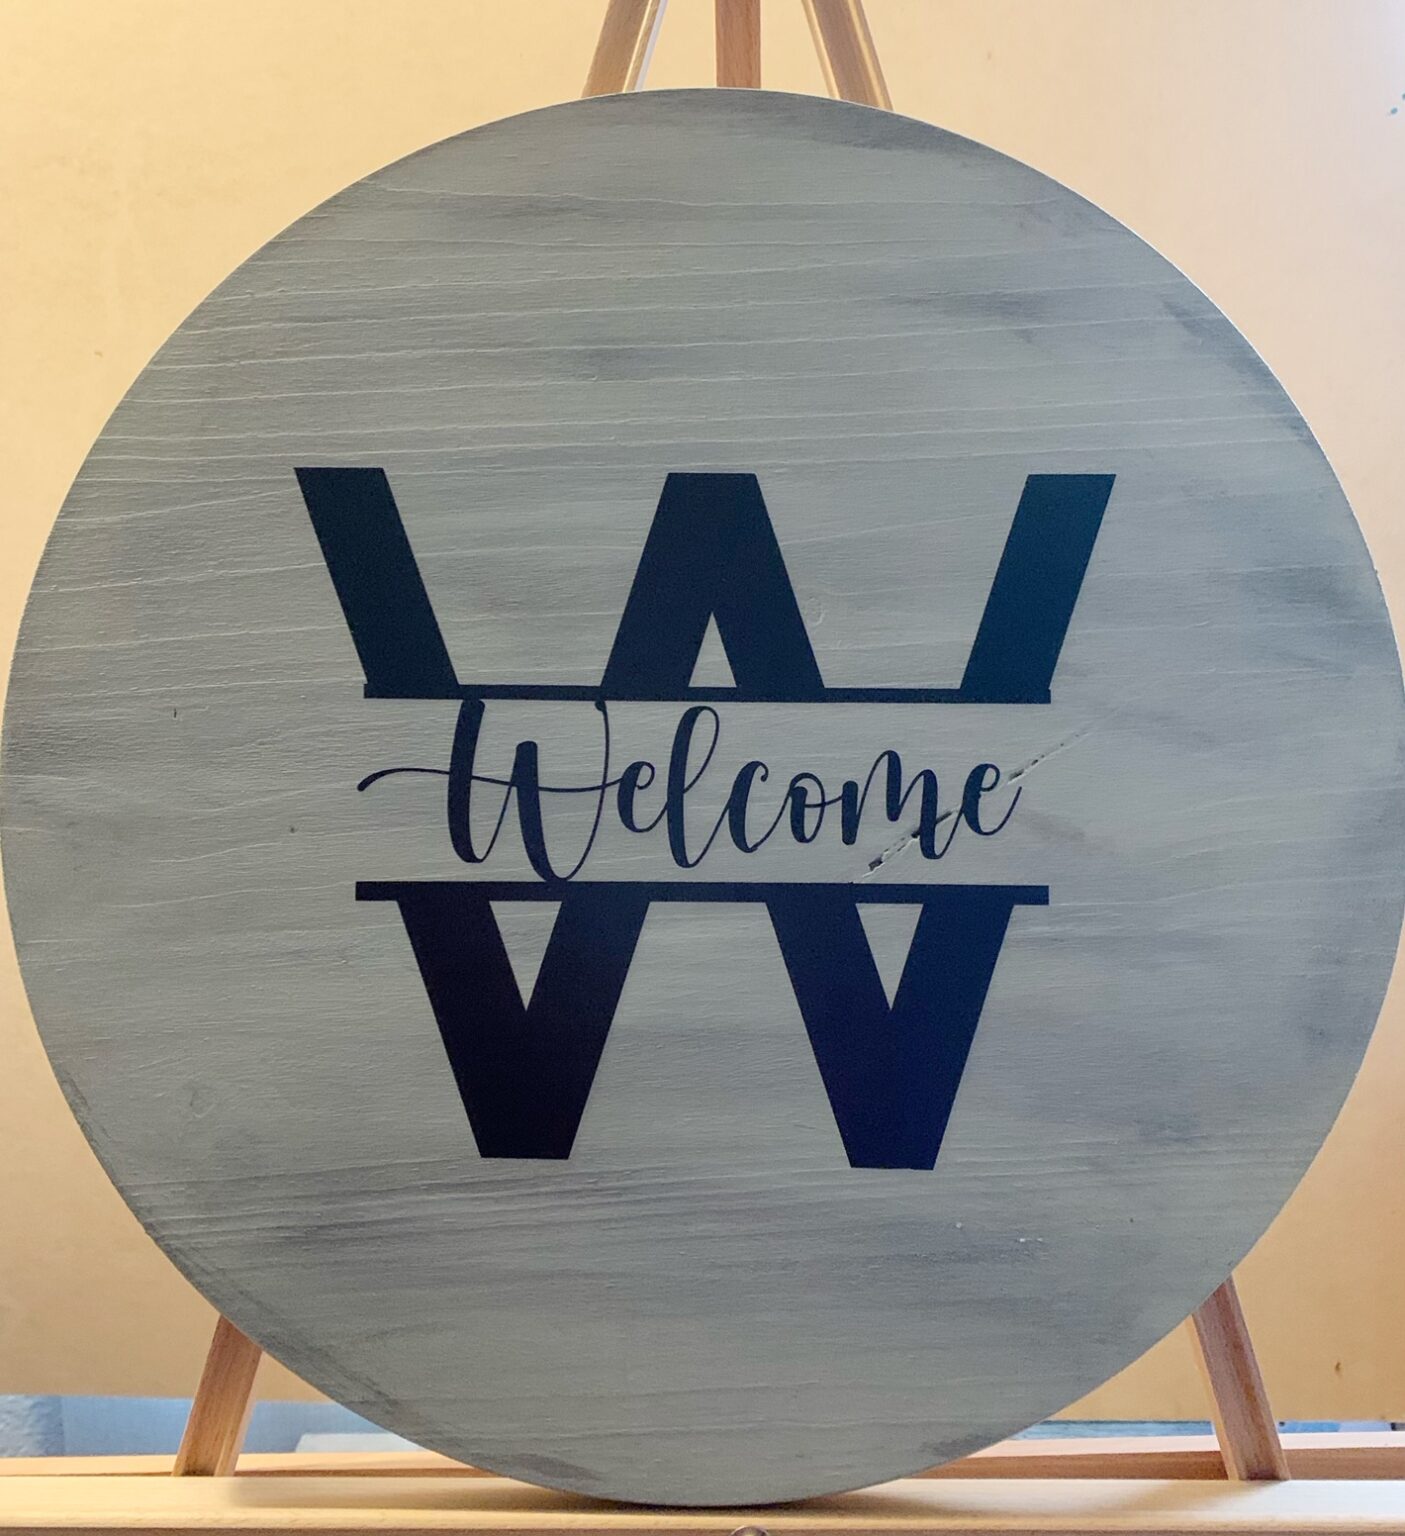
Welcome signs are a classic and always in demand. They can be personalized for different occasions, such as a housewarming, wedding, or birthday. Add a personal touch with names, dates, or special messages.

Farmhouse Style Signs

Farmhouse style is super trendy right now, so these signs are always a hit. Think rustic designs with inspirational quotes, farmhouse sayings, and cute animals.

Kitchen and Bathroom Signs

These signs are perfect for adding a touch of personality to any home. Create signs with funny quotes, recipes, or inspirational messages for the kitchen. For the bathroom, think quotes about relaxation, hygiene, or funny sayings.

Seasonal Signs

Capitalize on holidays and seasons by creating themed signs. Think Halloween, Thanksgiving, Christmas, and springtime.

Personalized Signs

Offer personalized signs with names, dates, and special messages. These make great gifts for birthdays, anniversaries, and other occasions.

Tips for Selling Your Wood Signs

Now that you've created some beautiful wood signs, it's time to sell them! Here are a few tips to help you get started:

  • Set up an online shop: Create a website or use online platforms like Etsy or Shopify to sell your signs.
  • Sell at local craft fairs and markets: Get your signs in front of potential customers by selling at local events.
  • Promote your business on social media: Use platforms like Instagram, Facebook, and Pinterest to showcase your work and attract customers.
  • Offer custom orders: Allow customers to personalize their signs with their own names, dates, and messages. This adds value and allows you to create unique pieces.
  • Provide excellent customer service: Respond to inquiries quickly, ship orders promptly, and offer refunds or exchanges if needed.

Pricing Your Wood Signs

Pricing your signs can be tricky, but here are some factors to consider:

  • Cost of materials: Factor in the cost of wood, stain, paint, brushes, and other supplies.
  • Time spent: Account for the time it takes to create the sign, from planning to finishing.
  • Competition: Research the prices of similar signs from other makers to get an idea of what people are willing to pay.
  • Value and uniqueness: If your signs are unique and well-made, you can charge more.

Start with a price that you feel is fair and adjust it based on customer feedback. Don't be afraid to charge what your work is worth!

Commonly Asked Questions

Q: How do I make the lettering look good on my wood signs?

A: Use a stencil for crisp lettering. If you're freehanding, practice on a scrap piece of wood before you start on the sign. Apply paint in thin coats to avoid bleeding.

Q: What kind of wood is best for making signs?

A: Pine is a good choice for beginners. It's affordable and easy to work with. You can also experiment with other woods, like cedar or oak, for a more rustic look.

Q: How do I seal my wood signs?

A: Apply a polyurethane sealant to protect your sign from scratches and water damage. You can apply it with a brush or a spray can.

Q: Where can I sell my wood signs?

A: You can sell your signs online through platforms like Etsy or Shopify, or at local craft fairs and markets. You can also consider selling through consignment shops or contacting businesses that might be interested in carrying your products.

There you have it, friends! Making and selling wood signs is a fun and rewarding way to express your creativity and earn some extra cash. So grab your supplies and get started! I hope you find success in your creative ventures.

Share:

How to Craft Wooden Toys with a Personal Touch for Special Gifts

How to Craft Wooden Toys with a Personal Touch for Special Gifts

Crafting Wooden Toys with a Personal Touch: Unique Gifts for Cherished Occasions

In an era of mass-produced goods, there's something deeply meaningful about gifting a handcrafted item, especially a wooden toy. Wooden toys exude warmth, longevity, and a sense of craftsmanship that resonates with the recipient. By adding a personal touch, these toys transform into treasured keepsakes, capturing the spirit of the occasion and the love invested in their creation. This article provides a comprehensive guide to crafting personalized wooden toys, exploring various techniques, design ideas, and considerations for making these gifts truly special.

Choosing the Right Wood for Your Project

The first step in crafting wooden toys is selecting the right wood. The type of wood you choose will influence the toy's appearance, durability, and even the overall aesthetic. Consider the following factors:

Wood Properties

  • Hardwoods: Oak, maple, cherry, and walnut are known for their strength, durability, and beautiful grain patterns. They are ideal for toys that will withstand rough play.
  • Softwoods: Pine, cedar, and fir are softer, lighter, and easier to work with. They are well-suited for toys with intricate designs or those requiring delicate carving.

Wood Safety

Safety is paramount when working with wood for toys. Ensure the wood is free of knots, cracks, or other imperfections that could pose a choking hazard. Opt for woods that are non-toxic and comply with safety standards.

Wood Appearance

The appearance of the wood can significantly impact the toy's aesthetic. Consider the grain pattern, color, and texture. Some woods, like cherry and walnut, darken with age, adding a vintage charm to the toy.

Tools and Techniques for Crafting Wooden Toys

Crafting wooden toys requires a range of tools and techniques, depending on the complexity of the design. Here's a basic toolkit for beginners:

  • Hand saw: For cutting wood to size.
  • Sandpaper: For smoothing surfaces and removing rough edges.
  • Wood glue: For securing wood pieces together.
  • Screwdriver: For assembling parts.
  • Hammer: For driving nails or assembling wooden structures.
  • Measuring tape and pencil: For marking and transferring measurements.

For more intricate designs, you might need:

  • Power saw: For precise cuts and detailed shapes.
  • Woodcarving tools: For creating detailed features and ornaments.
  • Drill: For creating holes for dowels, screws, or other fasteners.
  • Router: For shaping edges and creating grooves.

Basic Techniques

Here are some basic woodworking techniques essential for crafting toys:

  • Cutting: Using a saw to cut wood to the desired shape and size.
  • Sanding: Smoothing wood surfaces with sandpaper to achieve a smooth and polished finish.
  • Gluing: Bonding wood pieces together using wood glue.
  • Screwing: Using screws to fasten wood pieces securely.

Designing Personal Touches: Making Your Wooden Toys Unique

The beauty of crafting wooden toys lies in the opportunity to personalize them with thoughtful details. Here are some ways to infuse your creations with a unique touch:

Engraving or Carving

Engraving or carving names, dates, or special messages onto the toy adds a deeply personal touch. This technique can be done by hand or using a laser engraving machine for greater precision. Consider adding decorative elements like hearts, stars, or initials to enhance the design.

Painting and Staining

Adding color and finishing touches to wooden toys can bring them to life. Explore different paint techniques, from simple solid colors to intricate patterns and artistic designs. You can also use stains to enhance the natural wood grain or create a rustic aesthetic.

Personalized Accessories

Enhance the functionality and playability of your toys with personalized accessories. For example, create custom wooden wheels for a toy car, a personalized name tag for a wooden doll, or custom buttons for a wooden puzzle.

Unique Shapes and Designs

Don't be afraid to explore unique shapes and designs. Incorporate elements inspired by the recipient's interests, hobbies, or favorite characters. Consider crafting a toy train for a young enthusiast or a wooden flower for a nature-loving child.

Safety and Finishing Touches

After crafting your wooden toy, it's crucial to ensure its safety and durability. Follow these guidelines:

Sanding and Smoothing

Thoroughly sand all edges and surfaces to remove any rough spots that could be harmful. Aim for a smooth, polished finish that feels comfortable to touch.

Finishing Touches

Apply a protective finish, such as a sealant or varnish, to protect the wood from scratches, moisture, and wear and tear. Choose non-toxic and child-safe finishes that comply with safety standards.

Quality Control

Inspect the toy carefully for loose parts, sharp edges, or potential choking hazards. Ensure all parts are securely attached and the overall construction is stable.

Sharing Your Creations and Inspiring Others

Crafting personalized wooden toys is not just about creating gifts; it's about sharing your skills, passion, and love with others. Encourage the recipient to play with and enjoy the toy. Share your experience and inspire others to create their own personalized wooden toys.

In conclusion, crafting wooden toys with a personal touch is an enriching experience that allows you to create truly special and meaningful gifts. By selecting the right wood, mastering basic woodworking techniques, and adding personalized details, you can transform these toys into lasting memories. Embrace the joy of creating, and let your wooden toys be a testament to the love and care you invest in them.

Share:

How to Make and Sell Custom Jewelry Boxes with a Personalized Touch

How to Make and Sell Custom Jewelry Boxes with a Personalized Touch

Crafting and Selling Personalized Jewelry Boxes: A Guide to Success

In the realm of luxury and presentation, jewelry boxes stand as elegant vessels that enhance the value and appreciation of treasured pieces. For those seeking a unique and personalized touch, crafting and selling custom jewelry boxes presents a lucrative opportunity to cater to discerning customers. This comprehensive guide will delve into the intricacies of this endeavor, outlining the essential steps from conception to sales.

1. Defining Your Niche and Target Market

Before embarking on this journey, it's crucial to define your niche and target market. This involves identifying the types of jewelry boxes you'll specialize in and the audience you aim to serve.

1.1 Types of Jewelry Boxes:

  • Classic and Elegant: These boxes often feature traditional materials like wood, velvet, or leather, exuding timeless elegance.
  • Modern and Minimalist: Emphasizing sleek lines and contemporary design, these boxes use materials like acrylic or metal.
  • Personalized and Themed: These boxes incorporate custom engravings, monograms, or designs tailored to specific occasions or themes.
  • Eco-Friendly and Sustainable: Focusing on environmentally conscious materials like recycled paper or bamboo.

1.2 Target Market:

Consider the demographics and preferences of your target market. For example:

  • Luxury Jewelry Retailers: High-end stores seeking premium packaging for their exclusive pieces.
  • Wedding Planners and Event Coordinators: Providing personalized boxes for bridal jewelry or wedding favors.
  • Direct-to-Consumer Customers: Individuals seeking custom boxes for special occasions, gifts, or personal use.
  • E-commerce Platforms: Selling through online marketplaces to reach a wider audience.

2. Mastering the Art of Jewelry Box Construction

Creating high-quality jewelry boxes requires a blend of craftsmanship and attention to detail. Here are the key steps involved:

2.1 Material Selection:

The choice of materials is paramount. Consider:

  • Wood: Durable and versatile, offering various finishes and styles.
  • Leather: Adds a touch of luxury and sophistication.
  • Velvet: Soft and plush, ideal for lining interiors.
  • Acrylic: Transparent and modern, allowing for unique visual displays.
  • Metal: Adds a touch of elegance and durability.

2.2 Box Design and Construction:

Sketch out your box design, considering:

  • Size and Dimensions: Must accommodate the jewelry items it will hold.
  • Shape and Style: Round, square, rectangular, or unique shapes.
  • Compartments and Divisions: For organizing and separating different jewelry pieces.
  • Lids and Hinges: Secure closures with smooth hinges for easy access.
  • Decorative Elements: Inlays, carvings, or embellishments to enhance visual appeal.

2.3 Finishing Touches:

Add finishing touches that elevate the boxes to a premium level:

  • Polishing and Staining: Enhances the wood's natural beauty or creates desired color effects.
  • Lining: Soft velvet or satin lining protects jewelry and adds a touch of opulence.
  • Hardware: High-quality hinges, clasps, and handles.
  • Embellishments: Rhinestones, pearls, or other decorative elements to personalize the box.

3. Personalization and Customization

The key to success in custom jewelry boxes lies in personalization. This involves:

3.1 Engraving:

Laser engraving allows for precise and permanent inscriptions. Add:

  • Names: Personalize the box with the recipient's name or initials.
  • Dates: Commemorate special occasions like birthdays, anniversaries, or weddings.
  • Sentimental Messages: Engrave heartfelt quotes, verses, or personalized messages.
  • Logos and Branding: For businesses or designers seeking branded packaging.

3.2 Custom Designs:

Offer customers the option to create their own designs:

  • Personalized Monograms: Incorporate the customer's initials or a special symbol.
  • Themed Designs: Create boxes tailored to specific occasions like birthdays, graduations, or holidays.
  • Artistic Patterns: Allow customers to choose from a selection of pre-designed patterns or create their own.
  • Custom Colors and Finishes: Offer a variety of color options and finishes to match the customer's preferences.

4. Marketing and Sales Strategies

Once your jewelry boxes are crafted, it's time to market and sell them to your target audience. Here are some effective strategies:

4.1 Online Presence:

  • E-commerce Website: Create a professional online store to showcase your products and process orders.
  • Social Media Marketing: Utilize platforms like Instagram, Pinterest, and Facebook to showcase your creations and engage with potential customers.
  • Online Marketplaces: Expand your reach by selling through Etsy, Amazon Handmade, or other relevant platforms.

4.2 Offline Sales Channels:

  • Craft Fairs and Events: Participate in local events to connect with potential customers in person.
  • Boutique and Gift Shops: Partner with retailers who align with your brand and target market.
  • Direct Sales: Offer personalized consultations and custom order services.

4.3 Pricing Strategies:

  • Cost-Plus Pricing: Calculate your material costs, labor, and overhead, then add a markup to determine your selling price.
  • Value-Based Pricing: Focus on the perceived value of your custom boxes and their ability to enhance the presentation of jewelry.
  • Competitive Pricing: Research prices of similar products offered by competitors and adjust accordingly.

5. Building Your Brand and Reputation

Sustaining long-term success in the custom jewelry box market requires building a strong brand and reputation:

5.1 Brand Identity:

  • Brand Name: Choose a memorable and relevant name that reflects your brand values.
  • Logo and Visual Identity: Develop a unique logo and consistent visual style for all marketing materials.
  • Brand Story: Craft a compelling narrative about your brand's origin, mission, and values.

5.2 Customer Service:

  • Responsiveness: Respond promptly to customer inquiries and concerns.
  • Personalization: Go the extra mile to personalize the customer experience.
  • Quality Control: Ensure high-quality craftsmanship and consistent standards.

5.3 Feedback and Reviews:

Encourage customers to leave reviews and testimonials. Positive feedback can boost your credibility and attract new customers.

Conclusion

Creating and selling personalized jewelry boxes can be a rewarding and lucrative endeavor. By defining your niche, mastering craftsmanship, embracing personalization, implementing effective marketing strategies, and building a strong brand, you can establish a successful business in this niche market. Remember to prioritize quality, customer satisfaction, and continuous innovation to stand out in a competitive landscape.

Share:

人気の投稿

Powered by Blogger.