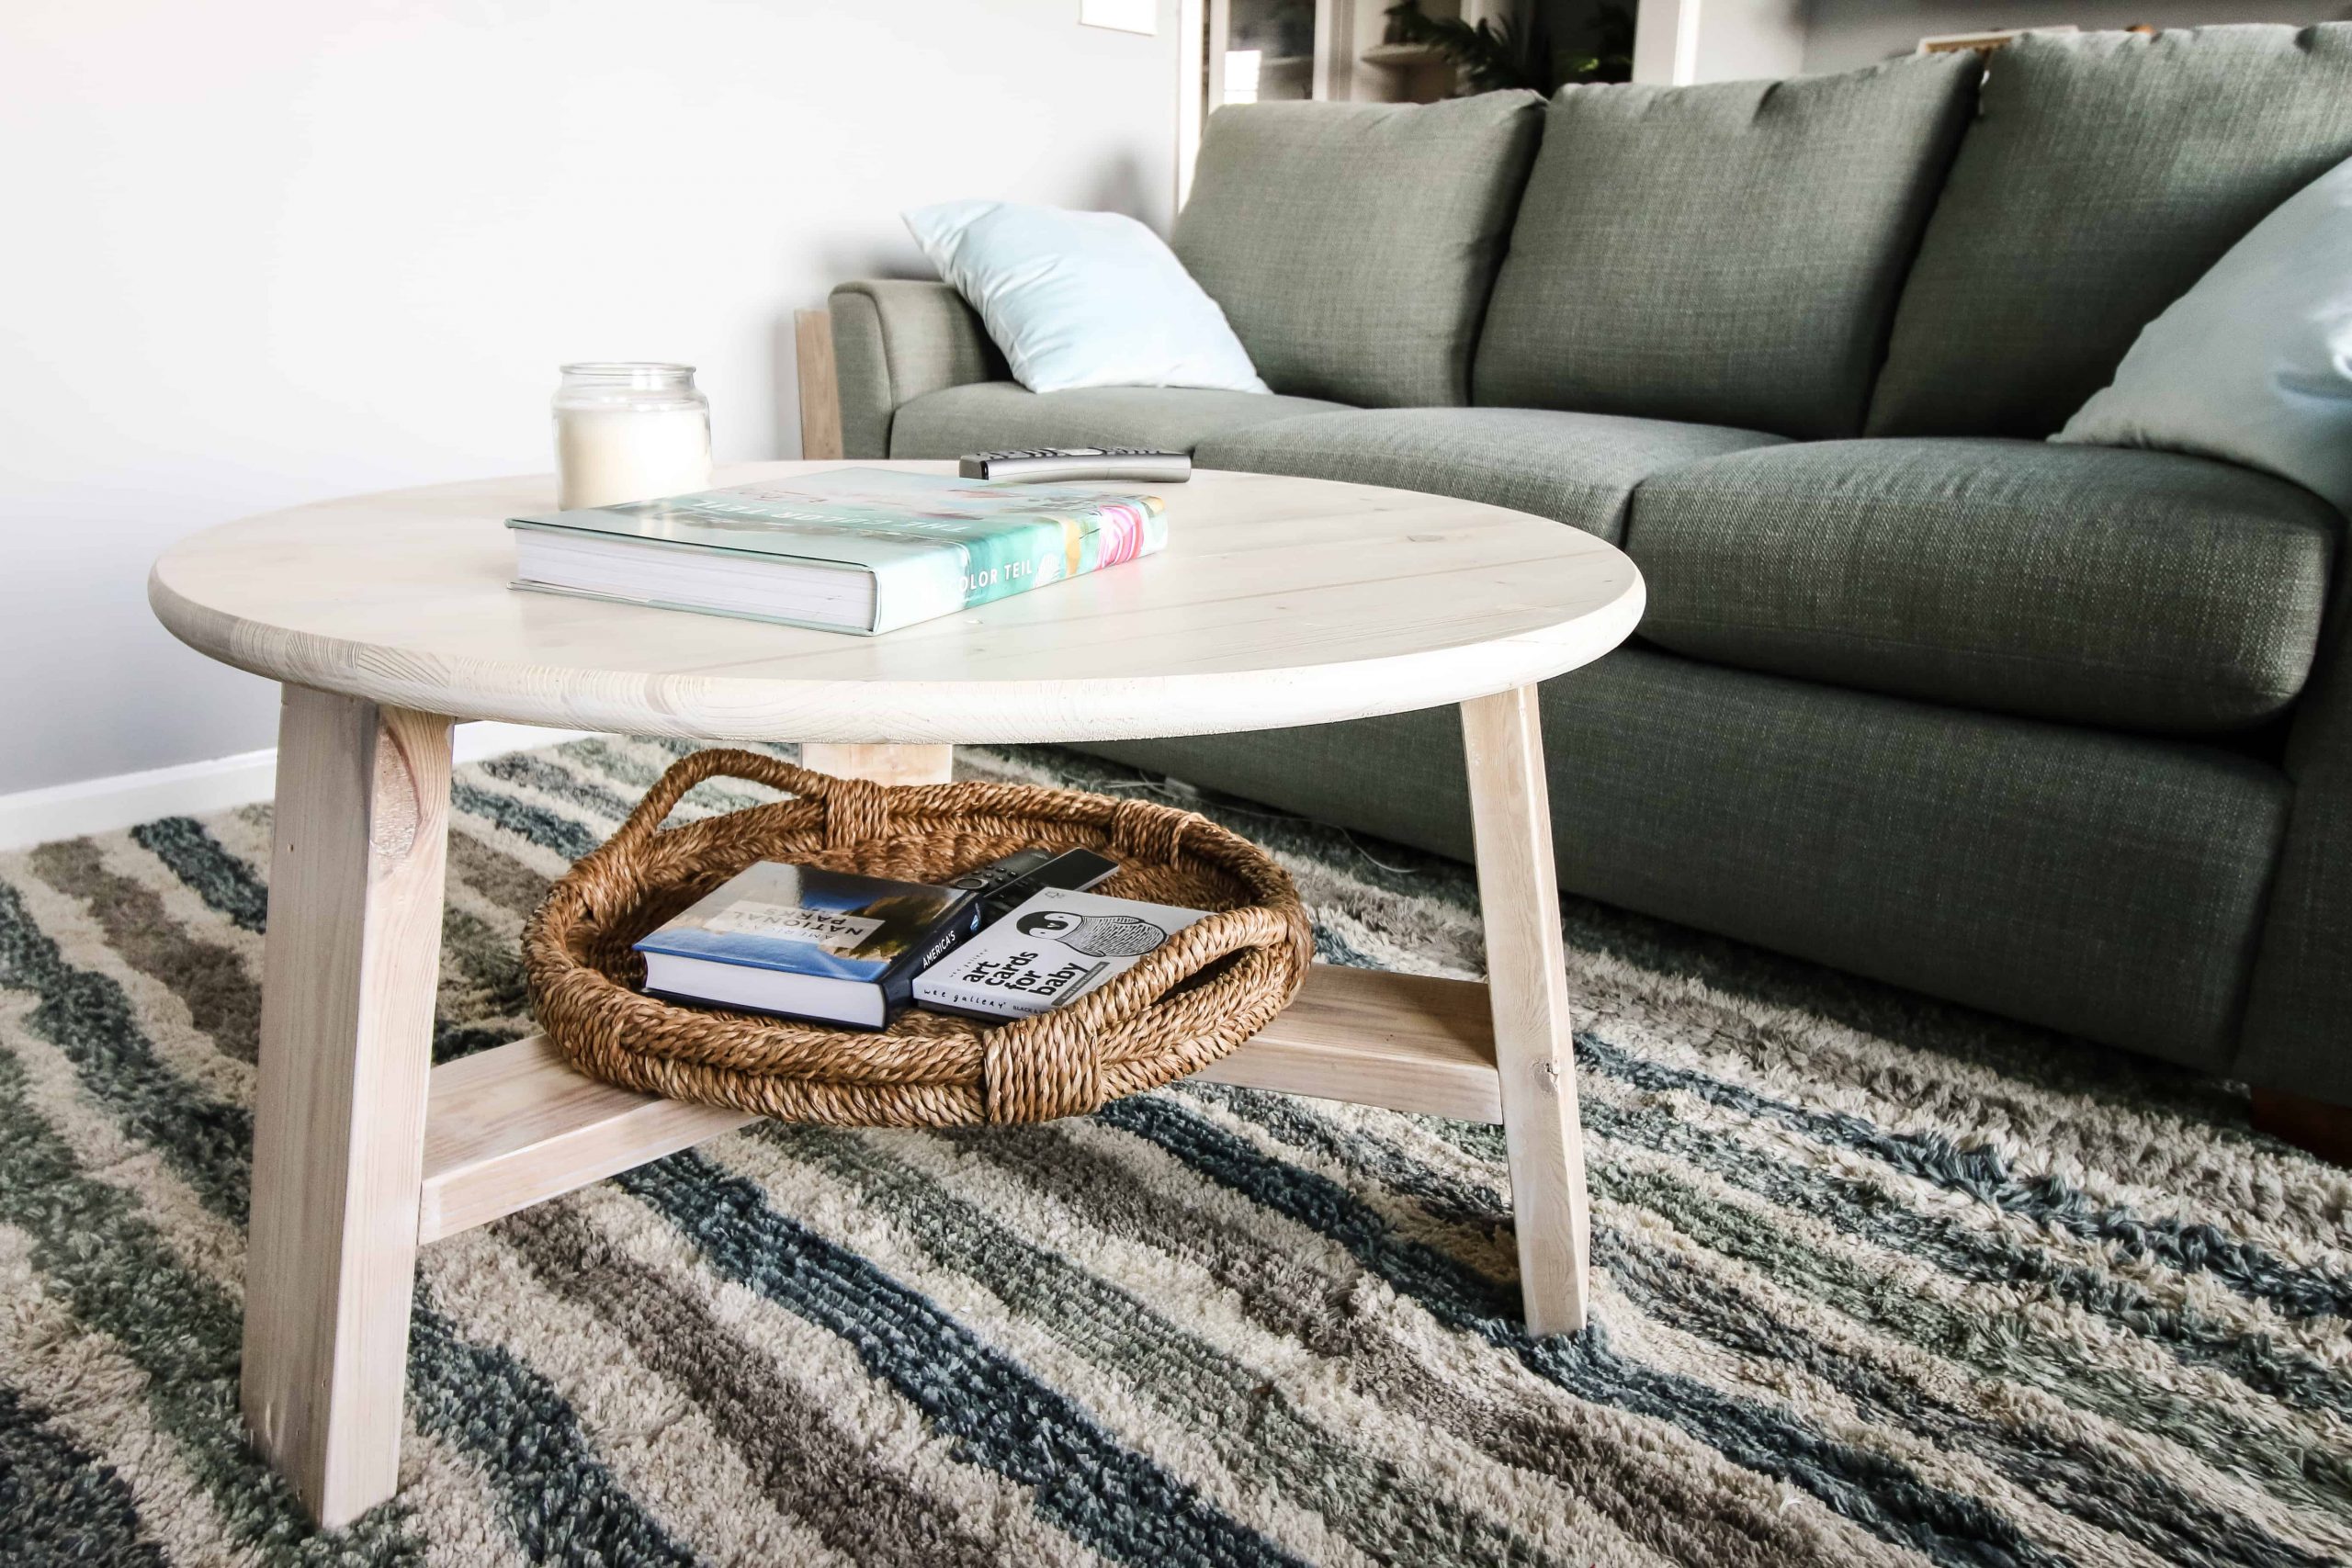
Easy and budget-friendly woodworking ideas for creating personalized wood crafts and home accents.

Showing posts with label Are. Show all posts

How to Build Coffee Tables with Adjustable Height for Versatility

How to Build Coffee Tables with Adjustable Height for Versatility

How to Build Coffee Tables with Adjustable Height for Versatility

A coffee table is a staple in any living room, but what if you could make it even more versatile? Imagine having a coffee table that can easily transform into a dining table, a desk for working from home, or a platform for a cozy movie night. With adjustable height, you can achieve all this and more.

Choosing the Right Materials

The first step is choosing the right materials for your adjustable coffee table. You can opt for a sturdy wood frame with a tabletop made from your choice of wood, glass, or even metal. For the adjustable mechanism, you can consider using:

  • Gas lift mechanisms: These are common in office chairs and provide smooth, effortless height adjustments.
  • Hand crank mechanisms: These offer a more budget-friendly option and are often seen in industrial furniture.
  • Telescoping legs: These provide simple adjustments but require more manual effort.

Building the Frame

Once you have your materials, you can start building the frame. Begin by cutting the wood pieces for the base to the desired dimensions. Use a drill to create pilot holes before inserting screws to prevent wood from splitting. Attach the tabletop to the frame with strong adhesives and screws. Ensure all joints are tight and secure for stability.

Installing the Adjustable Mechanism

The next step is to install the chosen adjustable mechanism. For gas lift mechanisms, you will need to attach a plate to the underside of the tabletop and another plate to the base frame. Insert the gas lift cylinder between these plates, ensuring it is securely attached. For hand crank mechanisms, attach the crank to the base frame and the lifting mechanism to the underside of the tabletop. For telescoping legs, attach the legs to the base frame, making sure they can extend and retract smoothly.

Adding Finishing Touches

After the frame and adjustable mechanism are complete, it's time to add the finishing touches. You can sand down any rough edges and apply stain or paint to your desired color and finish. For a more polished look, consider adding a protective coating like polyurethane or varnish.

Safety Tips

Remember to always prioritize safety while building your adjustable coffee table. Wear safety glasses, gloves, and appropriate clothing. Use tools properly and be cautious when working with power tools. Take breaks to avoid fatigue, and always double-check your measurements and connections before proceeding to the next step.

Enjoying Your Versatile Coffee Table

Once your adjustable coffee table is complete, you'll be able to enjoy its versatility. From coffee time to dinner parties, from working at home to movie nights, your new creation will seamlessly adapt to your needs. With a little effort and the right materials, you can build a coffee table that truly enhances your living space.

Share:

DIY Tiered Plant Stands That Sell Fast and Easy to Make

DIY Tiered Plant Stands That Sell Fast and Easy to Make

DIY Tiered Plant Stands: Turn Your Greenery into a Hot Commodity

Hey plant people! You know how much I love a good DIY project, especially when it comes to making my plant babies look their best. And what's better than a stylish plant stand? A tiered one, of course! Not only does it add a touch of whimsy to your indoor jungle, but it also maximizes your space, letting you showcase more of your leafy friends. The best part? Making these beauties is easier than you think! Get ready to unleash your inner crafter and whip up some plant stand magic.

The Power of Tiered Plant Stands

Let's face it, a well-designed plant stand can be the difference between a "meh" corner and a show-stopping botanical oasis. Tiered stands in particular are absolute game-changers. They offer a unique vertical display that can instantly elevate your plant game. Here's why they're so popular:

  • Space-Saving Superheroes: They're perfect for smaller spaces, allowing you to pack in more plants without sacrificing valuable floor real estate.
  • Eye-Catching Elegance: Tiered stands add visual interest and a touch of architectural flair, creating a stunning focal point in any room.
  • Height Advantage: They bring your plants to eye level, enhancing their beauty and making them stand out even more.
  • Versatile Style: You can customize them to match any decor, whether it's boho chic, farmhouse rustic, or modern minimalist.
  • Easy to Build: Most DIY tiered plant stands are surprisingly simple to put together, even if you're not a seasoned carpenter.

Tiered Plant Stand Ideas That Sell Fast

Okay, let's talk about the real deal: turning your DIY skills into a profitable side hustle. These plant stand ideas are guaranteed to fly off the shelves:

Rustic Charm

Embrace the natural beauty of wood with a tiered plant stand made from reclaimed pallets or salvaged lumber. This look is super trendy and adds a touch of farmhouse chic to any space. You can even personalize it with a natural wood finish, stain, or paint it in a muted color.

Industrial Edge

For a more modern and edgy vibe, create a tiered stand using metal pipes or repurposed metal pieces. Combine metal with wood accents for a cool contrast, and you'll have an industrial-inspired masterpiece that's guaranteed to turn heads.

Macrame Magic

If you're into boho vibes, macrame is your best friend. Create a stunning tiered stand using chunky rope and macrame techniques. It's a little more time-consuming, but the results are seriously worth it. Plus, it's a great way to showcase delicate hanging plants.

Geometric Chic

Embrace clean lines and minimalist elegance with a tiered stand made from geometric shapes. You can use wood, metal, or even acrylic for a modern look. Play with different sizes and angles to create a dynamic and eye-catching design.

DIY Tiered Plant Stand Tutorials: Easy and Affordable

Let's get down to the nitty-gritty! Here's a step-by-step guide to creating your own tiered plant stand. Don't worry, it's easier than you think! I'll break it down into three popular options:

Wooden Tiered Plant Stand

What You'll Need:

  • Wooden planks (different lengths for different tiers)
  • Wood glue
  • Screws
  • Drill
  • Sandpaper
  • Wood stain or paint (optional)

Instructions:

  1. Cut your wooden planks to the desired lengths for each tier. You'll need three planks for a three-tiered stand.
  2. Use wood glue and screws to connect the planks together, creating a sturdy base for each tier.
  3. Once the glue dries, sand the edges and any rough spots for a smooth finish.
  4. Optional: Apply a wood stain or paint to your stand, adding a personal touch and protecting the wood.

Metal Pipe Tiered Plant Stand

What You'll Need:

  • Metal pipes (different lengths for different tiers)
  • Flanges (for connecting the pipes)
  • Screws
  • Drill
  • Wrenches

Instructions:

  1. Cut the metal pipes to the desired lengths for each tier.
  2. Attach flanges to the ends of the pipes, creating a secure connection.
  3. Use screws to connect the pipes together, forming a stable tiered structure.

Macrame Tiered Plant Stand

What You'll Need:

  • Chunky rope (enough for each tier)
  • Wooden dowels (for the base of each tier)
  • Scissors
  • Macrame knots guide (online or book)

Instructions:

  1. Use the macrame knots guide to learn basic macrame techniques like the square knot and lark's head knot.
  2. Create a base for each tier by wrapping the rope around the wooden dowel and securing it with knots.
  3. Attach the tiers together using macrame techniques, creating a cohesive and stunning design.

Tips for Success

Here are some pro tips to ensure your DIY tiered plant stands are both beautiful and sell fast:

  • Choose quality materials: Invest in durable and aesthetically pleasing wood, metal, or rope to create a stand that lasts.
  • Pay attention to detail: A smooth finish, precise cuts, and even knot spacing will make your stand look professional.
  • Offer customization: Allow buyers to choose the size, color, and style of their stand to personalize their purchase.
  • Take stunning photos: High-quality photos showcasing your plant stands in action will help them sell faster.
  • Set competitive prices: Research similar plant stands to determine fair pricing that attracts buyers.

Commonly Asked Questions

Here are some questions people often ask about DIY tiered plant stands:

What are some good places to sell DIY tiered plant stands?

You can sell your creations through online marketplaces like Etsy, Facebook Marketplace, or Instagram. Local craft fairs and plant swap events are also great options.

How do I know what price to charge for my plant stands?

Consider the cost of materials, the time it takes to create each stand, and the current market prices for similar products. Don't be afraid to price your creations fairly, reflecting the value you bring.

What if I'm not a skilled crafter?

Don't worry, there are plenty of simple plant stand designs out there! Start with something easy, like a basic wooden stand, and gradually build your skills.

I hope this guide has inspired you to create your own amazing DIY tiered plant stands! Remember, practice makes perfect. So get creative, have fun, and watch your plant stand business bloom!

Share:

Best Wood Types for Crafting Tiered Plant Stands to Sell

Best Wood Types for Crafting Tiered Plant Stands to Sell

Best Wood Types for Crafting Tiered Plant Stands to Sell

Creating stunning tiered plant stands is a fantastic way to tap into the ever-growing houseplant trend and establish a profitable crafting business. But choosing the right wood is crucial for both aesthetics and durability. Let's dive into the best wood types for crafting plant stands that will not only impress your customers but also stand the test of time.

Consider Your Style and Budget

Before diving into specific wood types, consider the overall style you want to achieve. Are you aiming for a rustic farmhouse look, a sleek modern aesthetic, or something in between? Your budget will also play a significant role, as some woods are naturally more expensive than others.

Popular Wood Choices for Tiered Plant Stands

Here are some popular and versatile wood types perfect for crafting tiered plant stands, each offering unique qualities and price points:

1. Reclaimed Wood

Reclaimed wood adds a touch of history and rustic charm to any piece. You can find reclaimed wood from old barns, pallets, or even salvaged furniture. Reclaimed wood often has unique knots, textures, and color variations, making each piece truly one-of-a-kind.

2. Pine

Pine is a softwood that's readily available and budget-friendly. Its light color and natural grain make it perfect for farmhouse or cottage-style plant stands. However, pine is prone to scratches and dents, so be mindful when handling it.

3. Oak

Oak is a classic hardwood known for its durability and striking grain pattern. It's ideal for creating robust plant stands that will last for years. Oak can be stained or left natural, offering a wide range of aesthetic possibilities.

4. Walnut

Walnut boasts a rich, dark brown color with beautiful grain patterns. It's a luxurious choice for plant stands, adding a touch of elegance and sophistication to any room. However, walnut is a denser and more expensive wood.

5. Mahogany

Mahogany is another premium hardwood with a deep, reddish-brown color. It's known for its strength, stability, and stunning grain patterns. Mahogany is often used for high-end furniture and can create a sophisticated and timeless look for plant stands.

Choosing the Right Wood for You

The best wood for your tiered plant stands depends on your individual needs and preferences. Here are some factors to consider:

  • Style: Choose a wood that complements your desired aesthetic. For example, reclaimed wood is perfect for rustic designs, while mahogany suits a more elegant look.
  • Durability: If you want a stand that will last, opt for a hardwood like oak or walnut. Softer woods like pine are more affordable but may require more care.
  • Cost: Consider your budget and choose a wood that fits your price range.
  • Availability: Check your local lumberyard or online retailers for the availability of different wood types.

With a little research and planning, you can choose the perfect wood type for your tiered plant stands and create beautiful, durable pieces that will delight your customers.

Share:

How to Build Elegant Wooden Candle Holders for Your Coffee Table

How to Build Elegant Wooden Candle Holders for Your Coffee Table

Elevate Your Coffee Table with Elegant Wooden Candle Holders

A well-appointed coffee table is the centerpiece of any living room, inviting conversation and creating a warm ambiance. Adding a touch of rustic charm and sophistication with custom-made wooden candle holders is a timeless way to enhance its appeal. This guide will provide a comprehensive step-by-step approach to building elegant wooden candle holders that will not only illuminate your space but also showcase your craftsmanship.

Materials You’ll Need

Before embarking on your project, ensure you have all the necessary materials at hand. This will ensure a smooth and efficient construction process. Here's a comprehensive list:

  • Wood: Choose a durable and aesthetically pleasing wood like walnut, cherry, oak, or maple. The thickness should be at least 1 inch for stability.
  • Candle Holders: Select candle holders that complement the chosen wood. Consider glass, metal, or ceramic options.
  • Wood Glue: A high-quality wood glue is essential for strong and lasting bonds.
  • Wood Finish: Opt for a finish that enhances the natural beauty of the wood. Consider a clear coat, stain, or paint.
  • Sandpaper: A variety of grits, from coarse to fine, will be required for smoothing the wood.
  • Measuring Tape: Accurate measurements are crucial for a well-proportioned design.
  • Pencil: For marking cutting lines on the wood.
  • Saw: A hand saw, jigsaw, or table saw can be used to cut the wood.
  • Drill: For drilling pilot holes before attaching the candle holders.
  • Screws: Choose screws that match the wood and candle holder materials.
  • Clamps: To hold the pieces together while the glue dries.
  • Safety Glasses and Dust Mask: For eye and respiratory protection during the construction process.

Designing Your Candle Holders

The design of your candle holders is a matter of personal preference and can be tailored to your existing coffee table decor. Here are some ideas to inspire your creative process:

Shapes and Styles

  • Circular: Classic and elegant, circular candle holders add a touch of sophistication to any coffee table.
  • Square or Rectangular: These shapes offer a more modern and minimalist aesthetic.
  • Geometric: For a bolder look, consider incorporating geometric shapes like triangles, hexagons, or octagons.
  • Freeform: Let your creativity flow and design unique shapes inspired by nature or abstract art.

Size and Height

Consider the size of your coffee table and the overall design of your living room when determining the dimensions of your candle holders. A proportionate size will create a harmonious visual balance.

Decorative Touches

Enhance the aesthetic appeal of your candle holders by adding decorative touches:

  • Carving: Add intricate carvings, patterns, or motifs to create a unique and personalized touch.
  • Inlays: Incorporate contrasting wood species or decorative elements to add visual interest.
  • Painted Details: Apply a layer of paint or stain to highlight specific areas or create a decorative effect.

Building the Candle Holders

Now that you have a design in mind, it's time to bring your vision to life. Follow these steps for a meticulous construction process:

Cutting the Wood

  • Measure and Mark: Accurately measure and mark the wood based on your chosen design.
  • Cut with Precision: Utilize your chosen saw to cut the wood according to the marked lines.
  • Sand the Edges: Smooth the edges of the cut pieces with sandpaper to prevent splinters and create a polished look.

Assembling the Candle Holders

  • Apply Glue: Apply a generous layer of wood glue to the surfaces that will be joined.
  • Clamp Together: Securely clamp the pieces together, ensuring they are aligned according to your design.
  • Allow Glue to Dry: Allow the glue to dry completely, typically overnight.

Attaching the Candle Holders

  • Drill Pilot Holes: Drill pilot holes in the base of your wooden structure for attaching the candle holders.
  • Secure with Screws: Attach the candle holders to the base using appropriate screws.

Finishing Touches

The final step in creating elegant wooden candle holders involves enhancing their aesthetic appeal and protecting them from wear and tear.

Sanding and Finishing

  • Sand Smooth: Sand the entire surface of the candle holders using progressively finer grits of sandpaper to achieve a smooth and polished finish.
  • Apply Finish: Choose a suitable finish for your wood, such as a clear coat, stain, or paint. Follow the manufacturer's instructions for application.
  • Allow to Dry: Allow the finish to dry completely before handling the candle holders.

Tips for Success

To ensure a successful project and achieve the best results, consider these helpful tips:

  • Use Quality Materials: Invest in high-quality wood and finishing products to ensure durability and a beautiful aesthetic.
  • Take Your Time: Rushing the process can lead to mistakes. Allow yourself ample time for each step.
  • Practice Safety: Wear safety glasses and a dust mask when cutting and sanding wood.
  • Get Creative: Don't be afraid to experiment with different designs and decorative techniques.
  • Enjoy the Process: Crafting your own candle holders is a rewarding experience, so relax and have fun!

Conclusion

Creating custom-made wooden candle holders is a rewarding project that allows you to express your creativity and elevate the ambiance of your living room. By following these steps, you can build elegant candle holders that will be a focal point of your coffee table, adding a touch of warmth, sophistication, and personal style to your home. Remember, the key is to let your imagination guide you and enjoy the process of creating something beautiful and unique.

Share:

DIY Coffee Tables That Sell Like Hotcakes

DIY Coffee Tables That Sell Like Hotcakes

DIY Coffee Tables That Sell Like Hotcakes: From Beginner to Boss

Hey there, crafty friends! Let's talk about making some extra cash and flexing your creative muscles – by crafting and selling DIY coffee tables. Coffee tables are a must-have in any living room, and people are always on the hunt for unique, stylish, and affordable pieces. This is where you come in, ready to unleash your inner furniture maker and turn your passion into profit!

Not only are DIY coffee tables a great way to make some extra dough, but they're also a fantastic way to personalize your own home, impress your guests, and have a blast experimenting with different materials and designs. Whether you're a seasoned DIY pro or just starting out, we've got you covered with some of the best DIY coffee table ideas to get you started. Get ready to transform some everyday materials into eye-catching centerpieces!

Choosing Your Coffee Table Style: Get Inspired!

First things first, we need to talk style! What vibe are you going for? Do you want a rustic farmhouse feel, a sleek and modern look, or something in between? Here are some of the hottest coffee table styles to get your creative juices flowing:

Rustic Charm

Think reclaimed wood, distressed finishes, and warm, inviting tones. You can even incorporate elements like metal accents or industrial pipes for a touch of industrial chic.

Modern Minimalism

Sleek lines, geometric shapes, and clean finishes are the hallmarks of modern style. Think materials like metal, glass, and polished wood.

Bohemian Rhapsody

Embrace vibrant colors, eclectic textures, and unique patterns. Think Moroccan tile, woven baskets, or vintage suitcases repurposed as tabletops.

Industrial Chic

Raw materials like steel, concrete, and reclaimed wood take center stage, creating a cool, edgy look.

Once you've chosen your style, it's time to get creative! Don't be afraid to experiment with different materials and finishes to make your coffee table truly unique. The beauty of DIY is that you can tailor your creations to fit your own personal style and budget.

Top DIY Coffee Table Ideas to Inspire Your Inner Builder

Ready to turn your vision into reality? Here are some of the hottest DIY coffee table ideas that will have people asking, "Where did you get that?!"

Pallet Power

Pallet wood is a popular and affordable choice for DIY projects. You can create a rustic and charming coffee table by simply sanding and staining pallets or even using them as the base for a tabletop.

  • Pro tip: Look for pallets that are in good condition with no signs of mold or decay.

Crate Creations

Wooden crates are another awesome budget-friendly option. Stack them up, secure them together, and you've got the foundation for a unique and sturdy coffee table. Add a touch of personality with paint, stencils, or decoupage.

Concrete Elegance

Looking for something modern and sleek? Concrete coffee tables are on trend and surprisingly easy to make. You can use molds or build your own forms to create unique shapes. Add a layer of epoxy resin for a high-gloss finish.

Upcycled Wonder

Give old furniture a new lease on life! Repurpose an old dresser, a vintage suitcase, or even a door into a stylish coffee table. Sand, paint, and add some hardware to create a piece that reflects your style.

Industrial Charm

If you're a fan of the industrial look, you can create a cool coffee table by using metal pipes, reclaimed wood, and other industrial-inspired materials. You can even incorporate a vintage toolbox or a metal drum as a unique tabletop element.

Essential Tools for DIY Coffee Table Success

Before you jump into the crafting world, let's make sure you've got the right tools for the job. Here are some essential tools to get you started:

  • Saw (circular, jigsaw, or handsaw): For cutting wood to size.
  • Drill: For creating holes and attaching hardware.
  • Screwdriver: For assembling and securing parts.
  • Sandpaper: For smoothing surfaces and removing rough edges.
  • Measuring tape and pencil: For precise measurements and marking.
  • Level: To ensure your tabletop is level.
  • Clamps: To hold pieces together securely while you work.
  • Safety glasses and gloves: To protect your eyes and hands.

DIY Coffee Table Success Tips: From Zero to Hero

Ready to unleash your inner DIY master? Here are some tips to help you build a coffee table that will make your heart (and your bank account) happy:

  • Start with a plan: Sketch out your design and create a list of materials and tools needed. This will help you stay organized and on track.
  • Choose your materials wisely: Consider the style, durability, and budget of the materials you choose. Don't be afraid to experiment with different materials and finishes.
  • Measure twice, cut once: Accuracy is key when it comes to woodworking. Make sure to measure carefully before making any cuts.
  • Sand for smoothness: A well-sanded finish is essential for a professional-looking coffee table. Start with coarse sandpaper and gradually work your way to finer grits.
  • Finish it off: Apply a protective sealant, stain, or paint to finish your table and enhance its beauty.
  • Don't be afraid to personalize: Add your own unique touches with hardware, paint, stencils, or other decorative elements.
  • Safety first: Always wear safety glasses and gloves while working with power tools. Be aware of your surroundings and take precautions to avoid injuries.
  • Have fun! DIY should be enjoyable. Embrace the creative process and don't be afraid to make mistakes. Every project is a learning experience.

Marketing Your DIY Coffee Tables: Get the Word Out!

You've created some gorgeous coffee tables – now it's time to get them in front of the world! Here are some tips to sell your creations and make some extra cash:

  • Craft fairs and markets: Connect with potential buyers in person at local craft fairs and markets. It's a great way to showcase your work and build relationships with customers.
  • Social media: Use Instagram, Facebook, and Pinterest to share your work and promote your creations. Use high-quality photos and captivating descriptions to capture attention.
  • Online marketplaces: List your coffee tables on platforms like Etsy, Facebook Marketplace, or Craigslist. Provide detailed descriptions and clear photos to help buyers make informed decisions.
  • Local shops and boutiques: Contact local shops and boutiques to see if they're interested in carrying your coffee tables. This can be a great way to reach a wider audience.
  • Word-of-mouth: Don't underestimate the power of word-of-mouth marketing. Tell your friends, family, and colleagues about your creations and encourage them to spread the word.

Pricing Your DIY Coffee Tables: Finding the Sweet Spot

You've poured your heart and soul into your coffee tables – now it's time to set a price that reflects their value. Here are some factors to consider when pricing your work:

  • Cost of materials: Calculate the total cost of materials, including wood, hardware, paint, and finishing supplies.
  • Time investment: Consider the time you spent designing, building, and finishing the coffee table. Factor in your time at an hourly rate that you're comfortable with.
  • Market value: Research similar coffee tables on online marketplaces and at local shops to get a sense of the current market prices.
  • Profit margin: Decide on a profit margin that allows you to cover your expenses and make a reasonable profit. Don't be afraid to price your work competitively.

Frequently Asked Questions (FAQs)

Where can I find inspiration for DIY coffee table designs?

There are tons of resources out there to spark your creativity! Explore Pinterest, Instagram, and DIY blogs for a wealth of ideas. You can also find inspiration in magazines, home decor websites, and even by browsing your local furniture stores.

What are some of the best wood choices for coffee tables?

Popular wood choices for coffee tables include pine, oak, maple, walnut, and cherry. Consider factors like durability, color, and grain pattern when selecting your wood.

How do I protect my coffee table from stains and scratches?

Apply a protective sealant, stain, or paint to your coffee table to create a durable and easy-to-clean surface. Use coasters to protect the tabletop from spills and scratches.

Do I need special tools to build a DIY coffee table?

You can certainly create a basic coffee table with just a few essential tools like a saw, drill, screwdriver, and sandpaper. However, depending on your project, you may need additional tools like a router, planer, or sander.

Can I sell my DIY coffee tables online?

Absolutely! Platforms like Etsy, Facebook Marketplace, and Craigslist are great places to sell handmade furniture online. Make sure to create detailed descriptions, clear photos, and accurate pricing.

Now you're ready to dive into the world of DIY coffee tables! Remember, the key is to have fun, experiment, and let your creativity shine. You've got this!


Share:

人気の投稿

Powered by Blogger.