Easy and budget-friendly woodworking ideas for creating personalized wood crafts and home accents.

Showing posts with label Creative. Show all posts

How to Craft a Wooden Plant Stand with a Scandinavian or Mid-Century Modern Look

How to Craft a Wooden Plant Stand with a Scandinavian or Mid-Century Modern Look

Craft a Wooden Plant Stand with Scandinavian or Mid-Century Modern Flair

Elevate your greenery with a stylish wooden plant stand that embodies the minimalist aesthetic of Scandinavian or Mid-Century Modern design. Whether you're a seasoned woodworker or a DIY novice, this guide will walk you through crafting a unique and functional piece that complements your home's decor.

Choosing Your Materials

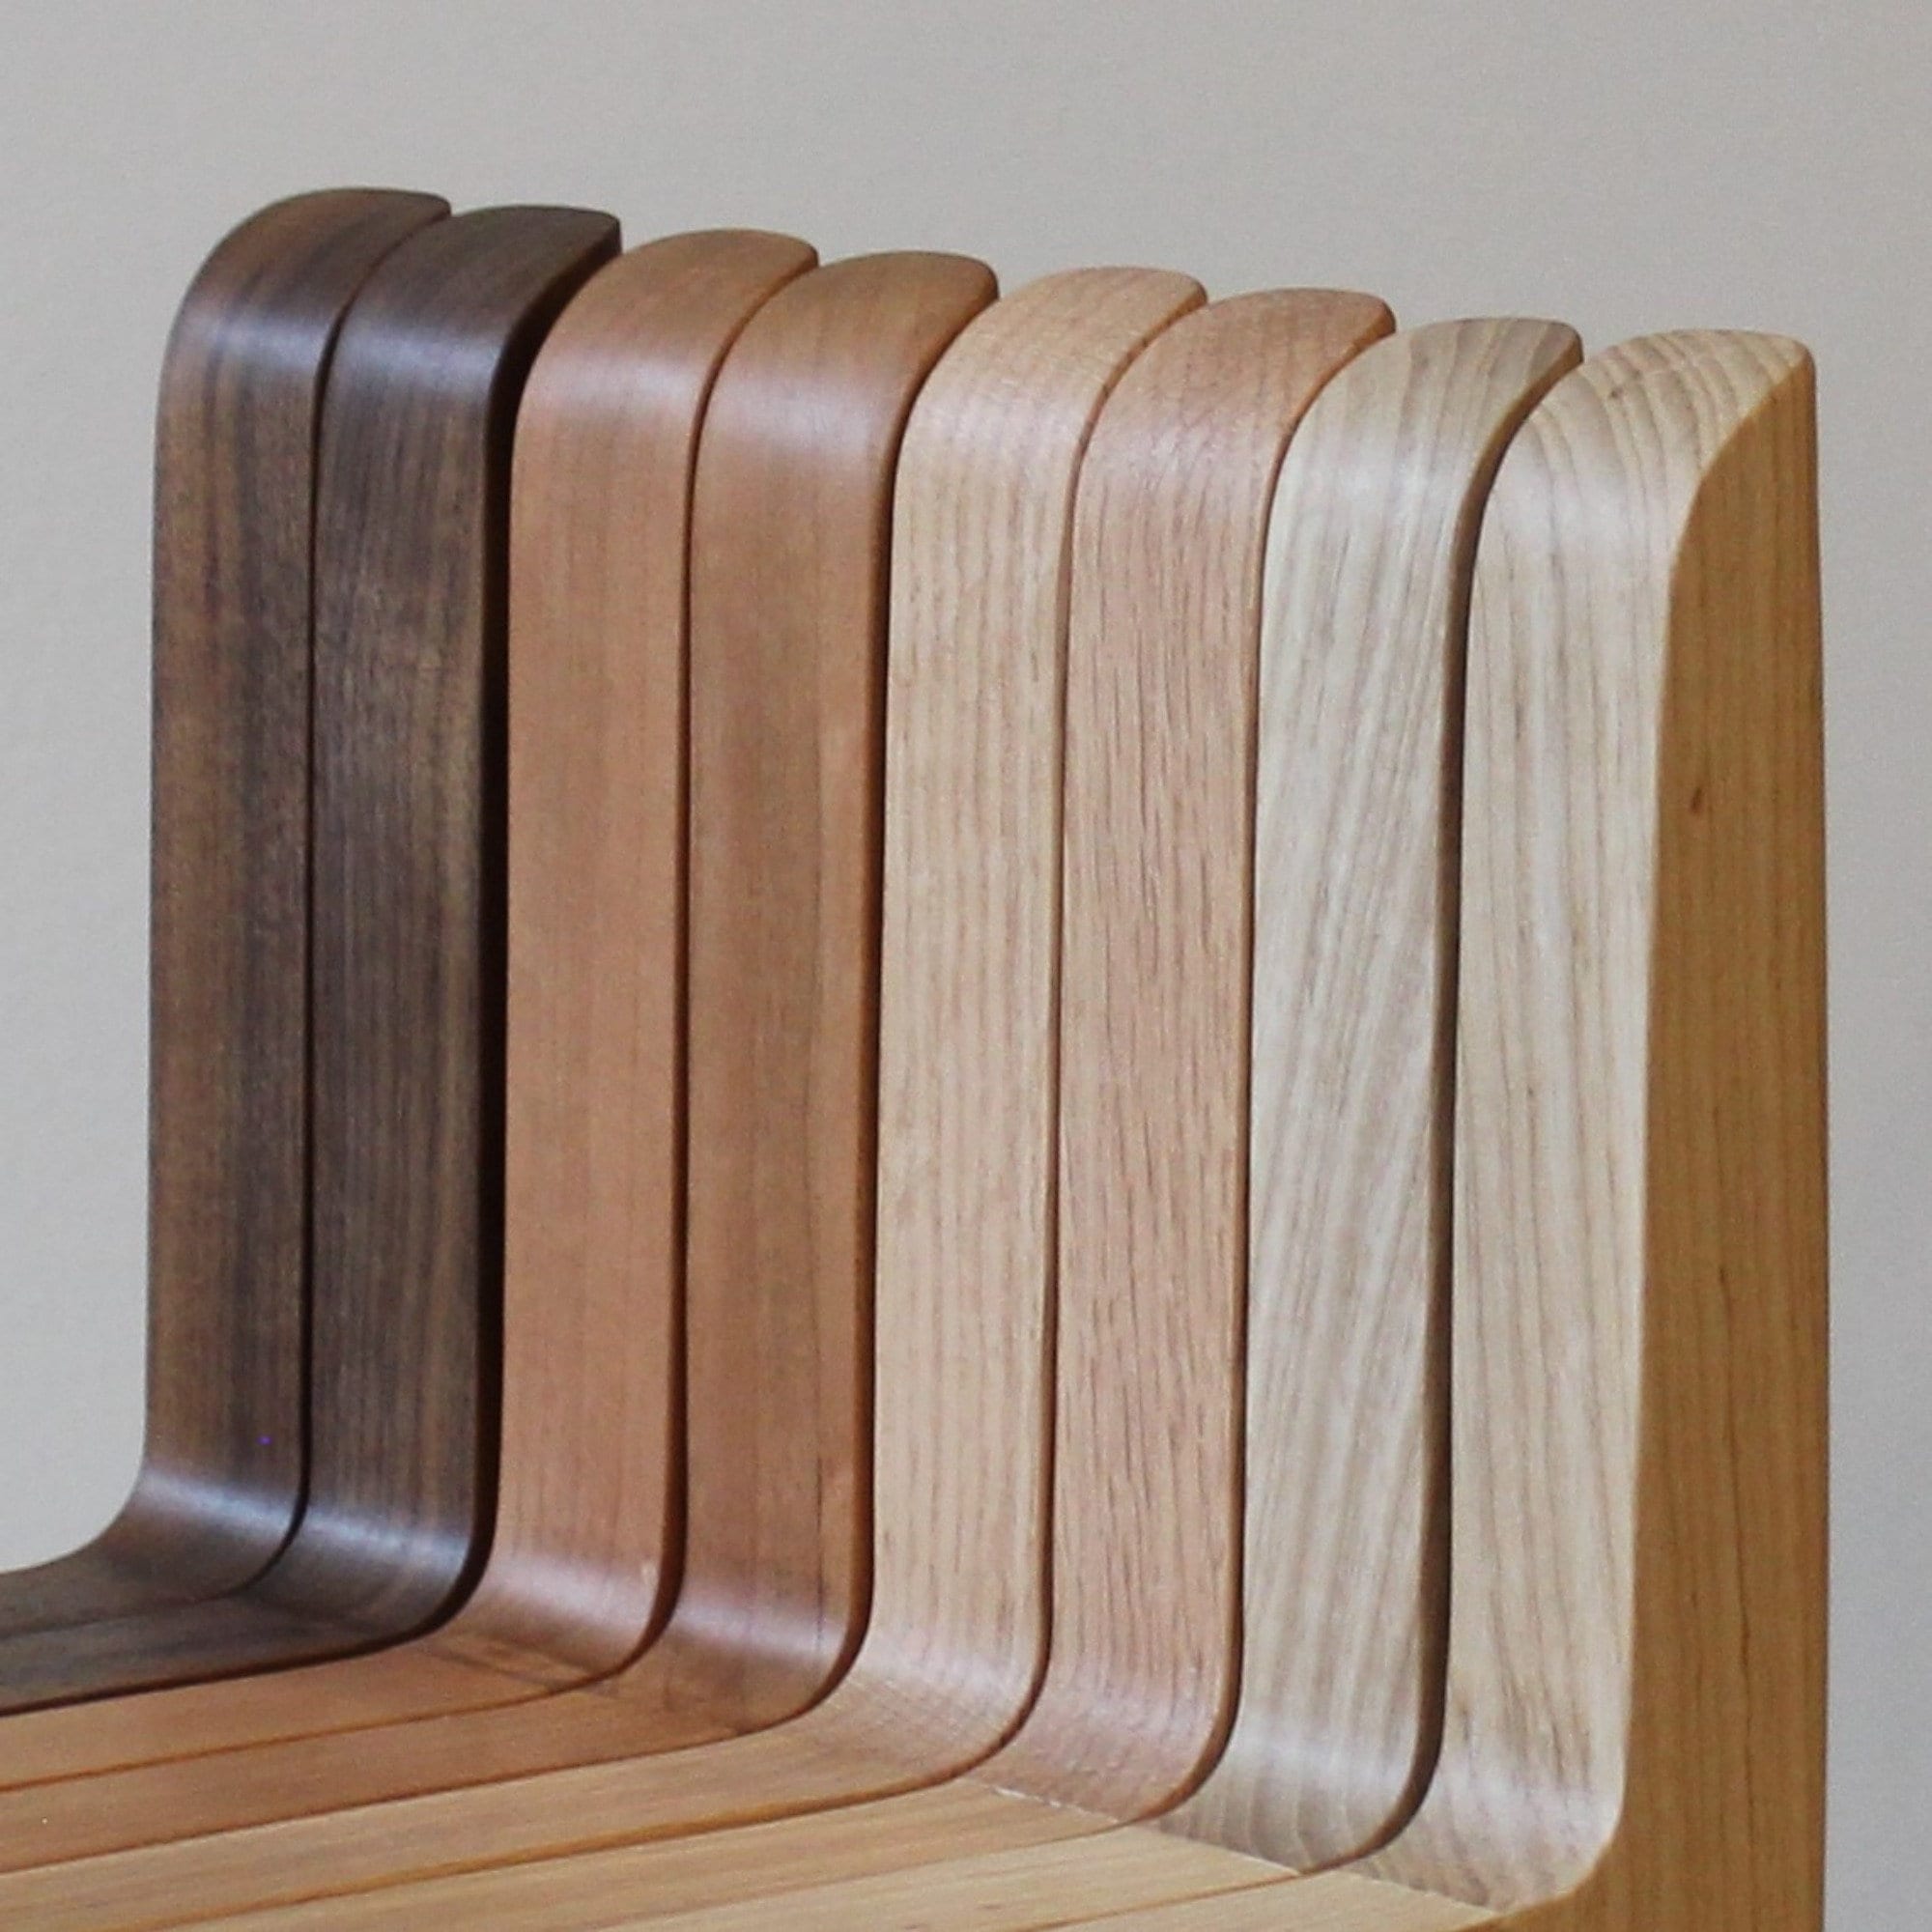
The heart of your plant stand lies in the choice of wood. Opt for materials known for their durability and natural beauty, echoing the core values of Scandinavian and Mid-Century design. Here are some excellent choices:

Scandinavian Style

Embrace the light and airy feel of Scandinavian design with:

  • Pine: Its soft, pale hue and affordability make pine a classic choice for Scandinavian projects.
  • Birch: Birch's natural grain patterns and light color add warmth and sophistication.

Mid-Century Modern Style

Embrace the bolder aesthetic of Mid-Century Modern with:

  • Walnut: Walnut's rich, dark tones and distinctive grain patterns deliver a timeless appeal.
  • Teak: Teak boasts a unique, golden hue and durability that ages gracefully.

Designing Your Plant Stand

Before diving into construction, sketch your plant stand's design. Consider:

Shape and Size

Choose from classic shapes like a round, square, or rectangular base. Determine the height and width that best accommodate your plants and your space.

Legs

Scandinavian designs often favor simple, tapered legs or hairpin legs. Mid-Century Modern styles often feature splayed legs for a more dramatic look.

Shelves

Decide on the number of shelves and their configuration. A single shelf provides a simple platform, while multiple shelves allow you to display a collection of plants.

Building Your Plant Stand

Now for the hands-on part!

Cutting and Assembling

Cut your wood pieces to your desired dimensions using a saw. Join the base and legs securely with wood glue and screws.

Adding Shelves

Attach shelves to the base, ensuring stability and alignment. You can use brackets, cleats, or dowels to create a secure and aesthetically pleasing finish.

Finishing Touches

Enhance your plant stand's beauty and durability with a finishing touch.

Sanding and Staining

Sand your wood smooth to create a uniform surface. Apply a stain in a color that complements your chosen wood and desired style.

Sealing

Seal your stand with a clear polyurethane or wax to protect it from scratches, moisture, and daily wear and tear.

Displaying Your Greenery

Your plant stand is ready to showcase your favorite houseplants! Arrange them thoughtfully, taking into account light requirements and creating a visually pleasing display.

With your own handcrafted plant stand, you'll have a stylish and functional piece that enhances your home's ambiance and celebrates the beauty of your plants.

Share:

Portable Wood Toolbox Organizers That Sell Well

Portable Wood Toolbox Organizers That Sell Well

Portable Wood Toolbox Organizers: The Ultimate Guide to Finding the Right Fit

Hey there, fellow tool enthusiasts! Whether you're a seasoned pro or just starting out, we all know the struggle of keeping our toolboxes organized. A cluttered toolbox can be a real pain, wasting precious time and making it hard to find the right tool when you need it. That's where portable wood toolbox organizers come in! These handy little helpers transform your toolbox into a well-oiled machine, making your tool-hunting days a thing of the past.

But with so many options out there, how do you choose the right organizer for your needs? Don't worry, we've got you covered! This comprehensive guide will walk you through everything you need to know about portable wood toolbox organizers, helping you find the perfect fit for your toolbox and your projects.

Why Choose a Portable Wood Toolbox Organizer?

First things first, let's talk about why wood toolbox organizers are a fantastic choice:

  • Durability: Wood is a sturdy and long-lasting material that can withstand the wear and tear of daily use. Unlike plastic organizers, wood won't crack or break easily, ensuring your investment lasts for years to come.
  • Customization: Many wood organizers come with customizable compartments and dividers, allowing you to tailor them to your specific tool collection. You can create the perfect setup for everything from screwdrivers and pliers to hammers and saws.
  • Aesthetics: Let's be honest, a well-organized toolbox looks darn good! Wood organizers bring a classic and professional aesthetic to your workspace, adding a touch of craftsmanship to your toolbox.
  • Portability: While wood organizers may be a bit heavier than their plastic counterparts, they are still easily transportable. Look for organizers with a built-in handle or the option to add one for easy carrying.

Types of Portable Wood Toolbox Organizers

Now, let's delve into the different types of wood toolbox organizers available:

1. Drawer Organizers

Drawer organizers are perfect for keeping your smaller tools, like screwdrivers, wrenches, and sockets, neatly organized. They typically feature multiple compartments and dividers, allowing you to separate your tools by size and type.

2. Tray Organizers

Tray organizers are a versatile option that can be used for both small and large tools. They often have deep compartments that can accommodate power tools, measuring tapes, and even hand saws.

3. Tool Caddy Organizers

Tool caddy organizers are ideal for keeping your most frequently used tools within easy reach. They are usually small and compact, making them perfect for adding to your toolbox or hanging from your workbench.

4. Customizable Organizers

If you're looking for the ultimate in organization, customizable organizers are the way to go. These organizers allow you to create a layout that perfectly suits your tool collection. Many come with adjustable dividers and compartments, making them incredibly versatile.

Factors to Consider When Choosing a Wood Toolbox Organizer

Now that you know about the different types of wood toolbox organizers, let's discuss some key factors to consider before making your purchase:

1. Size and Capacity

Measure your toolbox to ensure the organizer you choose will fit properly. Consider the size and quantity of your tools to determine the organizer's capacity.

2. Compartment Design

Think about the specific tools you need to organize. Do you need dedicated compartments for larger items like hammers and saws? How many smaller compartments do you need for screwdrivers, wrenches, and other hand tools?

3. Material and Construction

While wood is generally sturdy, look for organizers made from high-quality wood that is resistant to scratches and moisture. Pay attention to the joinery and construction of the organizer to ensure it is durable and built to last.

4. Budget

Portable wood toolbox organizers come in a wide range of prices. Set a budget and shop around to find the best value for your money. You can often find great deals on quality organizers without breaking the bank.

Tips for Maintaining Your Wood Toolbox Organizer

You've invested in a great wood organizer, now let's keep it looking and functioning its best:

  • Clean it Regularly: Dust and debris can accumulate in the compartments, making it harder to find your tools. Wipe down the organizer with a damp cloth to keep it clean and organized.
  • Apply a Protective Finish: For added protection, consider applying a sealant or wood finish to help prevent scratches, dents, and moisture damage.
  • Organize Regularly: Take a few minutes each week to reorganize your toolbox and ensure everything is in its proper place.

Commonly Asked Questions

Let's address some common questions about portable wood toolbox organizers:

Q: What is the best wood for toolbox organizers?

A: Some popular choices for wood toolbox organizers include pine, oak, maple, and cherry. These woods are durable, attractive, and relatively affordable.

Q: How do I clean a wood toolbox organizer?

A: Simply use a damp cloth to wipe down the organizer, making sure to dry it thoroughly afterwards. You can also use a mild soap solution if needed.

Q: Can I customize a wood toolbox organizer?

A: Yes, many wood toolbox organizers come with adjustable dividers and compartments that you can customize to fit your tool collection. You can also find organizers that allow you to add your own custom compartments and dividers.

We hope this guide has helped you gain a better understanding of portable wood toolbox organizers. With the right organizer, you can transform your toolbox into a well-organized and efficient tool-hunting haven. Happy organizing!

Share:

How to Make Custom Shoe Racks for Larger Shoe Collections

How to Make Custom Shoe Racks for Larger Shoe Collections

Conquer Your Shoe Chaos: Building Custom Shoe Racks for Large Collections

Shoe lovers, rejoice! We all know the struggle of a growing shoe collection that threatens to engulf your entryway. But fear not, because you don't need to sacrifice style for function. Building your own custom shoe racks allows you to create the perfect storage solution tailored to your specific needs and aesthetic preferences. This guide provides a detailed plan, from choosing materials to assembling your masterpiece, empowering you to tame your shoe collection.

Planning Your Shoe Rack Paradise

Before you start hammering, take a moment to envision your ideal shoe storage system. Consider the following:

1. Size and Space

Measure the available space where you plan to install your shoe rack. Determine the length, width, and height you need. Remember to account for the thickness of materials and any necessary clearance for opening doors or drawers.

2. Shoe Types and Quantity

Take inventory of your footwear. Do you have a mix of sneakers, heels, sandals, or boots? Consider the different heights and shapes of your shoes to determine the appropriate shelf spacing and design elements.

3. Style and Aesthetics

What aesthetic do you want for your shoe rack? Do you prefer a sleek modern look, rustic charm, or industrial vibes? Choose materials and finishes that complement your existing decor.

Choosing Your Weapon: Materials and Tools

The materials you choose will significantly impact the look and functionality of your shoe rack. Here are some popular options:

1. Wood

Pros: Natural beauty, durability, easy to work with.

Cons: Can be expensive, susceptible to moisture damage.

2. Metal

Pros: Sturdy, modern look, rust-resistant.

Cons: Can be heavy, may require welding or specialized tools.

3. Plastic

Pros: Lightweight, affordable, easy to clean.

Cons: May not be as durable as wood or metal, less stylish.

Once you've chosen your material, gather the necessary tools, including:

  • Saw (circular, miter, or hand saw)
  • Drill
  • Screwdriver
  • Measuring tape
  • Level
  • Sandpaper
  • Clamps
  • Safety glasses and gloves

Construction Time: Building Your Shoe Rack

Now for the fun part! Follow these steps to build your custom shoe rack:

1. Cut and Assemble the Frame

Cut your chosen material to the desired dimensions for the frame. Use a saw and ensure all cuts are accurate. Assemble the frame using screws or glue. Use clamps to hold the pieces together while securing them.

2. Create the Shelves

Cut the shelves to the desired width and depth. If using wood, consider adding decorative trim or edging for a polished look.

3. Attach the Shelves

Secure the shelves to the frame using screws or brackets. Ensure the shelves are level and spaced appropriately for your shoes.

4. Finishing Touches

Sand the surfaces smooth and apply any desired paint, stain, or sealant. For a unique look, consider adding decorative elements like handles or decorative hardware.

Installation and Enjoyment

Once your shoe rack is fully assembled, choose a location in your home. Use a level to ensure it is securely mounted to the wall. Finally, fill your masterpiece with your beloved footwear, and revel in the joy of an organized and visually appealing shoe collection.

Share:

Fun and Easy Wood Project Ideas to Try at Home

Fun and Easy Wood Project Ideas to Try at Home

Fun and Easy Wood Projects to Try at Home

Hey there, DIY enthusiasts! Are you itching to get your hands on some wood and create something amazing? Maybe you're looking for a fun weekend project or just a creative outlet to unwind. Whatever your reason, you've come to the right place. I'm going to share some fun and easy wood project ideas that are perfect for beginners and seasoned woodworkers alike.

Don't worry, these projects don't require you to be a master carpenter. We're talking about projects that you can tackle even if you've never touched a saw before. And the best part? They're all super satisfying to complete, and you'll end up with something awesome to show off or use in your home.

Simple Projects for Beginners

Let's start with some basic projects that are perfect for getting your feet wet in the world of woodworking. These projects are quick, easy, and don't require a ton of tools or materials.

Wooden Coasters

Who doesn't love a good set of coasters? They're a great way to protect your furniture and add a touch of personality to your home. You can make them out of scraps of wood, or even use pre-cut squares from your local craft store. Just sand the edges, stain or paint them, and you're good to go.

Wooden Jewelry Stand

If you're a jewelry lover, a wooden jewelry stand is a must-have. You can find simple designs online that you can easily follow. All you need is some wood, a few screws, and maybe some decorative elements like beads or knobs. It's a great way to organize your jewelry and add a touch of rustic charm to your bedroom or vanity.

Wooden Key Holder

Tired of keys scattered everywhere? A wooden key holder is the perfect solution. You can use a piece of wood with a unique shape or even a simple plank. Add some hooks, a cute sign, and maybe even some hooks for mail. You can personalize it by adding your initials or a funny quote.

Step Up Your Game with Intermediate Projects

Feeling confident after those beginner projects? Let's move on to something a little more challenging. These projects might require a bit more planning and precision, but they're still manageable for DIY beginners.

Wooden Serving Tray

A wooden serving tray is a versatile piece of furniture that can be used for everything from serving appetizers to holding drinks. You can find plans online that will guide you through the process. You'll need to cut and assemble the pieces, then sand and finish them to your liking. Add some handles for a professional touch.

Wooden Picture Frame

There's something so special about displaying your favorite photos in a frame you made yourself. You can find frame plans for all shapes and sizes, from classic rectangles to fun geometric designs. Just cut the pieces, assemble them, and add a glass pane and backing. You can even customize it by carving a special message or design into the wood.

Wooden Plant Stand

Give your plants a stylish home with a custom wooden plant stand. You can make a simple one with a single shelf, or get creative and build a tiered stand with multiple levels. Use wood that complements your existing decor and finish it with stain or paint to match your style. And if you're feeling really ambitious, try adding a decorative base or some intricate carvings.

More Advanced Woodworking Projects

Ready to dive into the world of woodworking? These projects will push your skills to the next level, but they're still doable for beginners with a little patience and guidance.

Wooden Coffee Table

A coffee table is a staple in most living rooms, and you can build one yourself that's both beautiful and functional. You can find tons of coffee table plans online, with different styles and designs to choose from. Don't be afraid to get creative and add your own personal touch.

Wooden Storage Bench

Storage benches are a great way to add extra seating and storage space to your home. They're perfect for entryways, bedrooms, or even the foot of your bed. You can use simple construction methods to build a sturdy bench with a hinged top for storage. Add a cushion for extra comfort.

Wooden Wall Shelf

Wall shelves are a versatile way to add storage and display space to any room. You can build simple shelves with brackets, or create more intricate designs with floating shelves. Choose wood that complements your decor and use stain or paint to achieve the desired look. Get creative with the shapes and sizes, and don't be afraid to add some decorative details.

Tips for Woodworking Beginners

Now that you're ready to get started, here are a few tips to make your woodworking journey smoother and more enjoyable:

  • Start small. Don't try to tackle a huge project right away. Choose something manageable and build up your skills gradually.
  • Use the right tools. Make sure you have the necessary tools for the project you're working on. Don't be afraid to ask for help if you're not sure what you need.
  • Follow the instructions carefully. Read the plans thoroughly and understand each step before you start. Don't rush the process and take your time to ensure accuracy.
  • Practice safety first. Always wear safety glasses and use proper tools to protect yourself from injury.
  • Don't be afraid to experiment. Woodworking is all about creativity and finding what works best for you. Don't be afraid to try new techniques and experiment with different materials.
  • Have fun! The most important thing is to enjoy the process. Relax, be patient, and have fun creating something beautiful with your hands.

Commonly Asked Questions

What kind of wood should I use for my first project?

For beginners, softwoods like pine or fir are good choices because they're relatively easy to work with. Hardwoods like oak or maple are more durable but can be more challenging to cut and shape.

What tools do I need for woodworking?

For basic projects, you'll need a saw, a hammer, a screwdriver, sandpaper, and a measuring tape. As you progress, you might want to invest in more specialized tools like a drill press, a router, or a table saw.

Where can I find woodworking plans?

There are countless free and paid woodworking plans available online. You can find them on websites like Pinterest, Instructables, and Ana White. Many woodworking magazines also offer plans and project ideas.

How do I finish my wood projects?

You can finish your wood projects with stain, paint, or varnish. Stain will enhance the natural grain of the wood, while paint will provide a solid color. Varnish will protect the wood and give it a shiny finish.

So, there you have it - a whole world of woodworking fun waiting for you. Don't be intimidated by the tools or the process. Just choose a project that interests you, gather your materials, and dive in! Remember, even the most experienced woodworkers started somewhere. And who knows, maybe you'll discover a hidden talent that you never knew you had. Happy woodworking!

Share:

人気の投稿

Powered by Blogger.