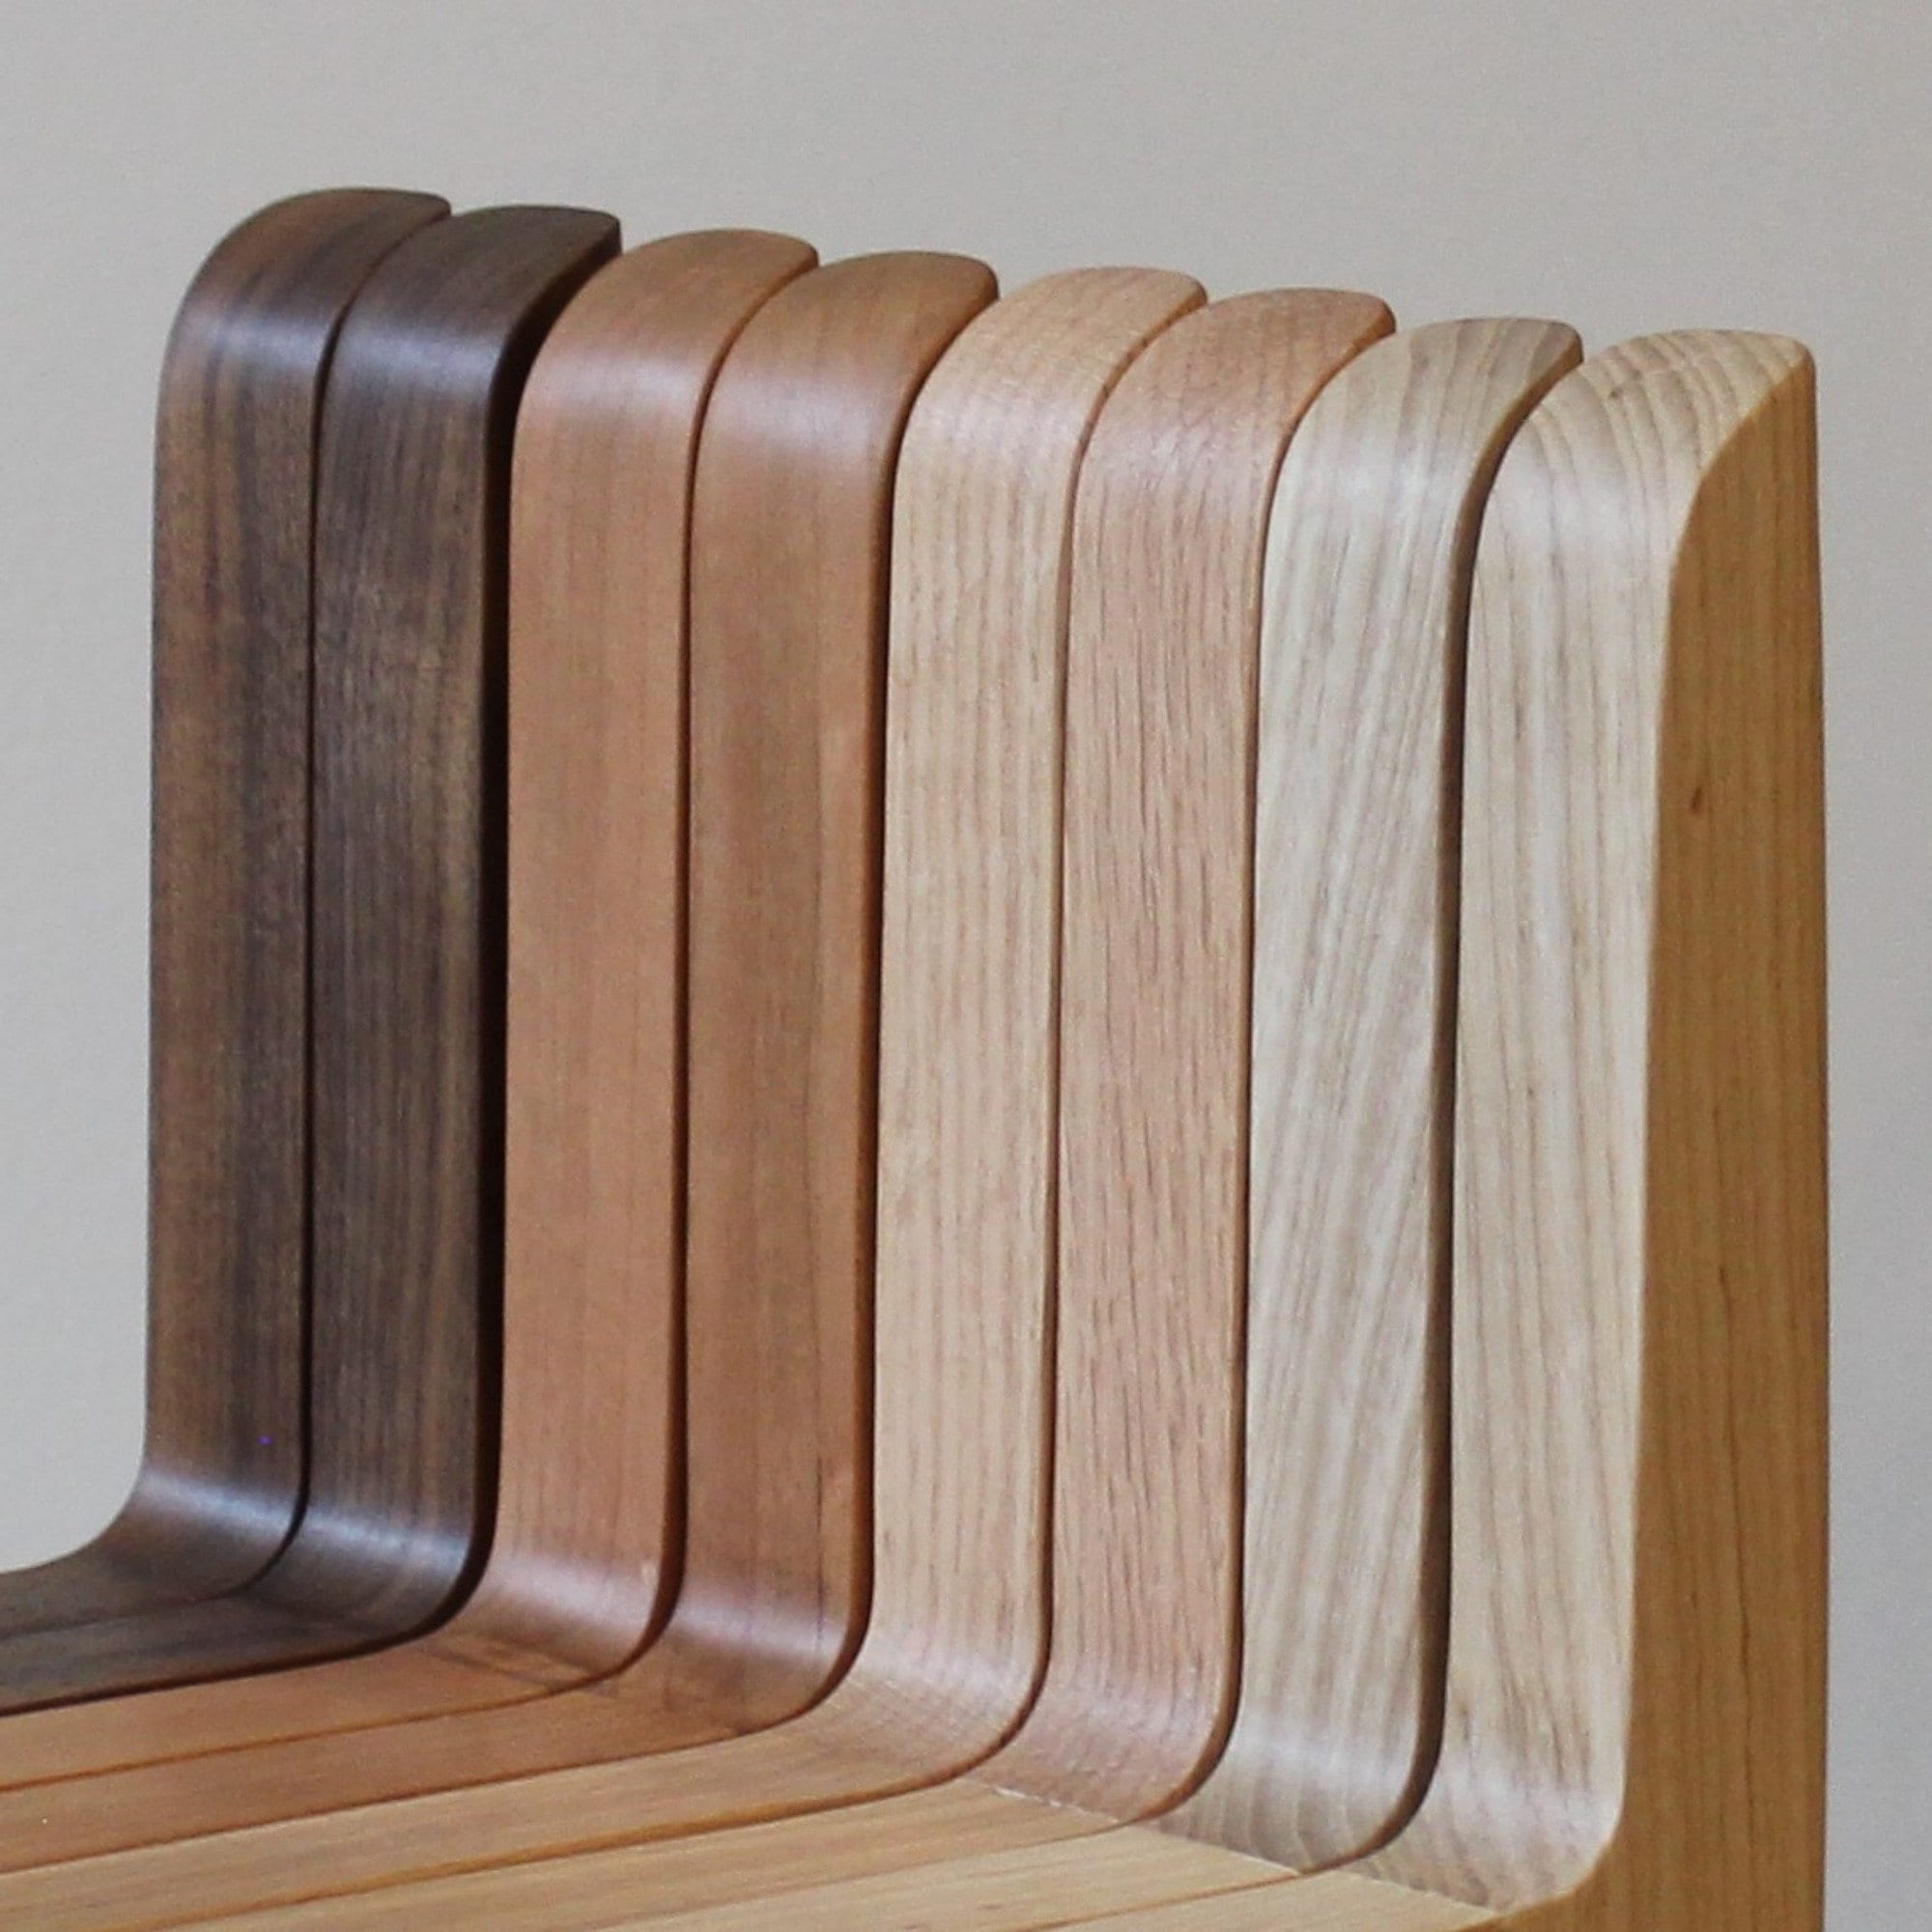
Easy and budget-friendly woodworking ideas for creating personalized wood crafts and home accents.

Budget-Friendly Modern Coffee Table Projects That Are Easy to Build and Sell

Budget-Friendly Modern Coffee Table Projects That Are Easy to Build and Sell

Budget-Friendly Modern Coffee Table Projects That Are Easy to Build and Sell

Hey there, crafty friends! Are you looking to tap into the lucrative furniture market without breaking the bank? Well, look no further because we're about to dive into some super cool and easy DIY coffee table projects that you can build and sell, turning your passion into profit.

Why Coffee Tables?

Okay, so why coffee tables? Well, they're a staple in most living rooms, and people are always on the lookout for stylish and affordable options. Plus, they're relatively simple to build, even for beginner woodworkers.

The Magic of Modern Design

Let's talk about modern design â€" it's all about clean lines, minimalist aesthetics, and a focus on functionality. It's timeless, adaptable, and super popular right now. So, let's tap into that trend and create some modern masterpieces that will make your customers swoon!

Budget-Friendly Materials That Rock

One of the best things about these projects is that you don't need to spend a fortune on materials. We're talking affordable options like:
  • **Pine wood:** It's readily available, easy to work with, and surprisingly strong.
  • **Plywood:** It's affordable, durable, and comes in a variety of finishes.
  • **Metal pipe legs:** You can find these at most hardware stores, and they're a great way to add a modern industrial touch.
  • **Recycled materials:** Let's be eco-conscious! Think reclaimed wood, vintage crates, or even old pallets.

Coffee Table Project Ideas You Can Build and Sell

Alright, enough talking, let's get to the good stuff! Here are a few coffee table project ideas that are easy to build, sell, and budget-friendly:

1. The Simple Slab Coffee Table

This one is a classic for a reason! Find a nice slab of wood (pine, oak, or even reclaimed wood), sand it down, apply a finish (stain, paint, or a clear coat), and add some simple legs. For a modern touch, go with sleek metal pipe legs. Bam! You've got yourself a stylish coffee table that's ready to rock any living room.

2. The Industrial Pipe and Wood Coffee Table

This one is a little more complex, but it's still doable! You'll use metal pipes to create the base, and you can choose a wood top (plywood, reclaimed wood, or even a thin piece of butcher block). The pipe legs can be welded together or joined with fittings. You can also paint the pipes black to create a more industrial look.

3. The Pallet Coffee Table

Want to save even more money and get a unique look? Use pallets! You can create a simple square coffee table by using two pallets or get creative and build a more intricate design. Sand the pallets, stain or paint them, and add some legs. If you're using old pallets, make sure to sand down any rough edges and clean them thoroughly.

4. The Mid-Century Modern Coffee Table

Embrace the retro vibe! A simple rectangular or round top with tapered legs or a floating shelf gives it that mid-century modern flair. Use a nice wood like walnut or cherry for a high-end look, or opt for a more affordable option like pine with a stained finish.

5. The X-Frame Coffee Table

This is a simple yet striking design. Use two pieces of wood for the top and bottom, then create an X-frame with two more pieces of wood for the base. The X-frame adds a unique and stylish touch. You can use a variety of wood types and finishes.

Tips for Building and Selling Your Coffee Tables

Now that you have some project ideas, here are some tips to help you build and sell your creations:

  • **Plan your design and gather materials:** Don't just jump in â€" take some time to plan out your coffee table design, measure your space, and gather all the necessary materials.
  • **Cut your wood to size:** Use a saw to cut your wood to the desired size. Don't forget to measure twice and cut once!
  • **Assemble the frame:** Depending on your design, you may need to assemble the frame with glue, screws, or nails.
  • **Sand the wood:** Use sandpaper to smooth down the wood, getting rid of any rough edges or imperfections.
  • **Apply a finish:** Give your coffee table a final touch with a stain, paint, or clear coat.
  • **Add legs:** Attach the legs to the base.
  • **Showcase your work:** Take high-quality photos of your coffee tables in a well-lit and stylish setting.
  • **Price your tables strategically:** Research the market to see what other coffee tables are selling for and set a competitive price.
  • **Sell online and locally:** List your coffee tables on sites like Etsy, Facebook Marketplace, or Craigslist, or set up shop at local craft fairs or flea markets.

Marketing Your Creations

Alright, now it's time to show off your creations! Here are some tips to get the word out about your fabulous coffee tables:

  • **Build a social media presence:** Create profiles on platforms like Instagram, Facebook, or Pinterest to share photos of your coffee tables and connect with potential customers.
  • **Use hashtags effectively:** Use relevant hashtags to reach a wider audience on social media.
  • **Run targeted ads:** Invest in some paid social media ads to reach specific audiences interested in your style of coffee tables.
  • **Partner with local businesses:** See if you can collaborate with local furniture stores, home decor shops, or interior designers to showcase and sell your coffee tables.

Commonly Asked Questions

You bet, let's address some common questions about starting a coffee table building business:

1. What kind of tools do I need?

You'll need some basic woodworking tools like a saw, drill, sander, measuring tape, and some clamps.

2. What is the best way to protect the wood finish?

Use a good quality wood sealant or polyurethane to protect the finish from scratches, spills, and water damage.

3. How do I determine the price for my coffee tables?

Consider the cost of materials, the time it takes to build the coffee table, and the market value of similar pieces. You want to make a profit, but also be competitive.

4. How can I promote my coffee table business?

Social media, online marketplaces, local craft fairs, and collaborating with local businesses are all great ways to promote your business.

5. Is there a lot of competition in the coffee table market?

Yes, but there's always room for unique and well-crafted designs. Find your niche, showcase your skills, and stand out with your creativity!

So, there you have it! A whole world of coffee table building and selling awaits you. Get creative, tap into that modern design aesthetic, and start building your own profitable furniture business! Happy crafting!

Share:

How to Craft Jewelry Boxes with a Custom Design for Extra Value

How to Craft Jewelry Boxes with a Custom Design for Extra Value

How to Craft Jewelry Boxes with a Custom Design for Extra Value

Hey there, jewelry lovers and crafty souls! Ready to add an extra touch of sparkle to your jewelry? Let's talk about crafting custom jewelry boxes - not just for storing your treasures, but for turning them into beautiful works of art that enhance their value.

Why Custom Jewelry Boxes?

Think about it: A custom jewelry box isn't just a box; it's a statement. It elevates your jewelry, making it feel even more special and valuable. Think of it like a personalized frame for your most prized possessions.

Here's why custom boxes are such a great idea:

  • Makes a Perfect Gift: You can personalize the box to reflect the recipient's style or the occasion.
  • Adds Value to Your Jewelry: Think of it as an investment - a beautiful container that showcases your jewelry and makes it stand out.
  • Unique and Creative: Express yourself and showcase your design skills! There are no limits to what you can create.
  • Makes a Great Hobby: Get crafty and enjoy the process of building something beautiful with your own two hands.

Crafting Your Custom Design: Unlocking Creative Possibilities

Now, let's get into the fun part: creating your custom jewelry box. Think of this as a blank canvas for your creativity.

Materials and Tools: Getting Started

  • Wood: Wooden boxes provide a classic and sturdy base. Choose from various wood types like pine, oak, or cherry, each with its unique look and feel.
  • Cardboard: A great budget-friendly option for practice or smaller boxes.
  • Felt: Perfect for lining the inside of your box to protect your delicate jewelry. You can choose a variety of colors and textures.
  • Paper: Get creative with patterned paper, decorative paper, or even old book pages to add unique touches.
  • Embellishments: Let your imagination run wild! Think about beads, buttons, ribbon, lace, fabric scraps, and even dried flowers to add extra flair.
  • Tools: You'll need basic tools like a ruler, pencil, scissors, glue, and a craft knife. If you're working with wood, consider a saw, sandpaper, and a drill.

Design Inspiration: Finding Your Style

  • Inspiration from Nature: Look around you - the textures of tree bark, the intricate patterns of leaves, the colors of flowers. These natural elements can translate beautifully into your design.
  • Geometric Patterns: Simple lines and shapes can be incredibly elegant. Think of abstract patterns, triangles, squares, or even circles.
  • Favorite Artists and Styles: Do you admire the work of a particular painter or sculptor? Their style can inspire you to create something unique.
  • Your Personal Style: What speaks to you? What colors, textures, and patterns do you love? Let your own personality shine through in your design.

Putting Your Design Together: The Steps

  • Sketch It Out: Start by sketching your design on paper. This will help you visualize the final product and make any necessary adjustments before you begin cutting.
  • Cutting and Shaping: Using your chosen materials and tools, carefully cut out your design elements. If you're working with wood, sanding the edges will create a smooth finish.
  • Assembly: Follow your design plan to assemble your jewelry box. Use glue, tape, or other fastening techniques to secure the different parts together.
  • Embellishments: Now's the time to add those special touches. Glue or sew on beads, buttons, ribbon, or any other embellishments that you have chosen.
  • Finishing Touches: Add the finishing touches. Consider adding a layer of varnish or sealant to protect the box, especially if you're working with wood.

Adding Extra Value: Turning Your Box into a Treasure

So you've got a beautiful custom jewelry box, but how do you make it even more special?

The Power of Personalization

  • Engraving: Add a personal touch with an engraved message, a date, or even a special symbol. You can do this yourself with a handheld engraving tool or get it professionally engraved.
  • Custom Hardware: Give your box a touch of elegance with high-quality hinges and clasps. You can find a wide variety of options to complement your design.
  • Unique Linings: Go beyond basic felt. Consider using silk, velvet, or even a special fabric that reflects the recipient's interests.
  • Handmade Details: Take the time to hand-paint intricate details or add delicate handmade embellishments. These touches demonstrate a level of care and craftsmanship.

Creating a Brand: More Than Just a Box

Think about the overall experience you want to create.
  • Brand Name or Logo: If you're making these boxes for sale, consider creating a brand name and logo that reflects your style.
  • Branding Elements: Create a consistent visual identity using colors, fonts, and patterns. This will help you stand out from the competition.
  • Presentation: Make your boxes even more appealing by packaging them beautifully in a signature box or bag.
  • Marketing: Use social media, online platforms, or local craft markets to showcase your unique jewelry boxes.

Crafting a Legacy: Sharing Your Passion

  • Turning Your Hobby into a Business: If you love crafting jewelry boxes, consider turning it into a small business. You can sell your creations online, at craft fairs, or even directly to jewelry stores.
  • Workshops and Classes: Share your knowledge and passion by teaching jewelry box crafting workshops or classes.
  • Giving Back: Use your crafting skills to support a good cause. Consider donating your creations to charity or organizing a fundraiser where people can purchase your boxes.

Commonly Asked Questions

  • What's the best type of wood to use for jewelry boxes? * It really depends on your preference and budget. Pine is a softer wood that's easy to work with, while oak and cherry are more durable and have a beautiful grain.
  • How can I make my jewelry boxes more durable? * Using sturdy materials like wood, choosing high-quality hinges and clasps, and adding a protective layer of varnish or sealant will help to make your boxes more durable.
  • What's the best way to add a custom touch to a jewelry box? * Engraving, using personalized hardware, unique linings, and handmade details are all great ways to add a custom touch.
  • How can I find inspiration for my jewelry box designs? * Look around you for inspiration! Nature, art, and your own personal style can all be great sources of ideas.
  • How do I find a market for my custom jewelry boxes? * Explore online platforms like Etsy, social media, craft fairs, and local jewelry stores.
Now, go forth and craft something beautiful! Remember, there's magic in creating something unique with your own hands. And who knows, you might even spark a new love for the art of jewelry box making. Have fun, be creative, and enjoy the journey!
Share:

How to Create a Custom Wooden Wine Rack

How to Create a Custom Wooden Wine Rack

Crafting a Custom Wooden Wine Rack: A Comprehensive Guide

A well-crafted wine rack not only serves as a functional storage solution for your prized collection but also adds a touch of elegance and sophistication to your home. While pre-made racks are readily available, the satisfaction of creating a custom wine rack tailored to your specific needs and aesthetic preferences is unmatched. This comprehensive guide will walk you through the process of designing, building, and finishing a beautiful and durable wooden wine rack.

Step 1: Planning and Design

The first step in crafting a custom wine rack is to plan and design your project. Consider the following factors:

A. Desired Capacity and Bottle Configuration

Determine the number of bottles you wish to store and the desired configuration. Do you prefer a vertical or horizontal arrangement? Do you need space for different bottle sizes or shapes? Knowing these details will influence the overall size and structure of your wine rack.

B. Space Constraints

Measure the available space in your home where you plan to install the wine rack. This will help you determine the maximum dimensions and shape of the rack. Ensure that the rack fits comfortably within your designated area without obstructing walkways or other furniture.

C. Style and Aesthetics

Visualize the overall aesthetic of your wine rack. Do you prefer a rustic, modern, or traditional style? Choose wood species, finishes, and design elements that align with your home decor.

D. Material Selection

The choice of wood is essential for both functionality and aesthetics. Hardwoods like oak, maple, and walnut offer durability and a rich appearance. Softwoods such as pine and cedar are more affordable but may require additional treatments to enhance durability. Consider the following factors when selecting your wood:

  • Strength and Durability: Choose a wood species that can withstand the weight of your wine bottles without warping or cracking.
  • Aesthetics: Select wood with grain patterns and colors that complement your home décor and personal taste.
  • Availability: Ensure that the chosen wood species is readily available in your area.

Step 2: Building the Wine Rack

Once your design is finalized, you can begin building the wine rack. This process involves cutting, assembling, and securing the various components. The specific steps will vary depending on your design, but here's a general guide:

A. Cutting the Wood

Using a saw, cut the wood according to your design specifications. Accuracy is crucial for a stable and aesthetically pleasing rack. Consider using a miter saw for precise cuts and a jigsaw for intricate shapes. Be sure to wear appropriate safety gear, including safety glasses and gloves.

B. Creating the Wine Bottle Slats

The slats that hold the wine bottles can be created from individual pieces of wood or by using a router to create grooves or channels in a single piece of wood. The width of the slats should be slightly larger than the diameter of your wine bottles to ensure a secure fit.

C. Assembling the Rack

Assemble the rack according to your design. This may involve joining the slats to create a grid, attaching the slats to vertical supports, or creating a frame with shelves. Use wood glue and appropriate fasteners, such as screws or nails, to securely join the components. Consider using pocket hole joinery for concealed and strong connections.

D. Finishing Touches

After assembly, sand the wine rack smooth to remove any rough edges and imperfections. This will enhance the appearance and make it easier to apply finishes. Apply a stain or paint if desired to achieve your desired color and finish.

Step 3: Installation and Finishing

Once the wine rack is built and finished, it's time to install and finalize the project.

A. Installation

Secure the wine rack to the wall using appropriate anchors and fasteners. Ensure that the rack is level and securely mounted to prevent any accidents. The installation process may vary depending on the design and weight of your rack. Consider using a stud finder to locate wall studs for optimal stability.

B. Finishing Touches

Apply a final coat of polyurethane or wax to protect the wood from spills, stains, and everyday wear and tear. This will enhance the durability and beauty of your wine rack. Choose a finish that complements your design and provides the desired level of protection.

Step 4: Customization and Personalization

To add a unique touch to your wine rack, explore various customization and personalization options:

A. Engraving

Consider engraving the wood with your initials, a special date, or a meaningful message. This will create a one-of-a-kind piece that reflects your personality and style.

B. Lighting

Integrate lighting into your wine rack to create a stunning visual display. LED lights, recessed lighting, or even a simple string of lights can add a touch of elegance and enhance the ambiance of your space.

C. Additional Features

Explore adding additional features to your wine rack, such as a built-in drawer for accessories, a bottle opener, or a label holder. These features can enhance the functionality and appeal of your project.

Conclusion

Crafting a custom wooden wine rack is a rewarding project that combines craftsmanship, creativity, and personal expression. With careful planning, meticulous execution, and a touch of personalization, you can create a unique and functional piece that enhances your home and reflects your passion for wine.

Share:

How to Create Custom Floating Shelves for Your Home Office

How to Create Custom Floating Shelves for Your Home Office

How to Create Custom Floating Shelves for Your Home Office: A DIY Guide

Hey there, fellow home office enthusiast! Tired of staring at the same boring walls? Want to add some personality and functionality to your workspace? Look no further! We're about to dive into the exciting world of DIY floating shelves.

Why Choose Floating Shelves?

Let's be real, floating shelves are awesome. They're super stylish, offering a clean, minimalist look that just screams "organized and put-together." But that's not all! They also provide:
  • Maximum storage space: No bulky brackets or legs to get in the way, so you can maximize your vertical space and keep things organized.
  • Visual appeal: Floating shelves add a touch of contemporary design to your home office, giving it a modern edge.
  • Flexibility: Want to rearrange your shelves or switch up the decor? No problem! Floating shelves are easy to move and adjust.
  • Customizability: The beauty of DIY is that you can create shelves that perfectly fit your space and style. Think unique materials, sizes, and finishes!

Planning Your DIY Floating Shelves

Before you grab your tools and start sawing, it's important to plan your shelves. This will ensure your project runs smoothly and you end up with exactly what you envisioned:

1. Decide on the Size and Quantity

* Think about the space you're working with: Measure the wall where you want to install the shelves to determine how many shelves you can fit and the optimal size for each. * Consider what you'll be storing: Need space for books? Artwork? Office supplies? The size and quantity of your shelves will depend on what you plan to store on them.

2. Choose Your Materials

* Wood: A popular choice for its durability and affordability. Consider pine, oak, or walnut for a classic look. * Metal: Metal shelves can add a modern and industrial vibe. Look for materials like iron or steel. * Reclaimed wood: Give your shelves a unique and sustainable touch with reclaimed wood. Think old barn wood, salvaged pallets, or repurposed wood.

3. Pick Your Finishing Touches

* Paint or Stain: Match your shelves to your existing decor or create a statement piece with a bold color. * Hardware: Consider the type of mounting hardware (hidden brackets, shelf pins, etc.) that best suits your needs. * Decorative elements: Add character to your shelves with unique finishes, like metal accents, stencils, or decorative edging.

Building Your Floating Shelves

Okay, let's get down to the fun part - building those shelves! Here's a step-by-step guide:

1. Cut Your Shelf Boards

* Measure carefully: Use a tape measure to ensure accurate measurements and make sure your shelves will fit perfectly. * Use a saw: A circular saw, jigsaw, or miter saw will help you cut the boards to the desired length. * Sand the edges: Smooth out any rough edges with sandpaper for a clean and finished look.

2. Install the Mounting Brackets

* Locate the studs: Use a stud finder to locate the wall studs, which will provide the most secure support for your shelves. * Mark the bracket positions: Mark the desired positions for the brackets using a pencil or marker. * Install the brackets: Secure the brackets to the wall using appropriate screws or anchors. Make sure they are level and aligned.

3. Finish Your Shelves

* Apply paint or stain: If desired, paint or stain your shelves to achieve your desired look. * Add any decorative elements: Get creative with your finishing touches to create a truly personalized look.

4. Mount Your Shelves

* Align the shelves: Carefully place the shelves onto the brackets, ensuring they are level and secure. * Secure the shelves: Use shelf pins, hidden brackets, or other mounting mechanisms to secure the shelves to the wall.

Styling Your Home Office Floating Shelves

Now that you've got your DIY floating shelves in place, it's time to style them! Here are some ideas to get you started:
  • Create a visual flow: Arrange your items in a way that creates a cohesive and eye-catching display. Think about the colors, shapes, and textures of your objects.
  • Mix and match: Don't be afraid to combine different items, textures, and colors to add interest and personality to your shelves.
  • Add greenery: Plants add a touch of nature and life to any space. Choose small potted plants or succulents to place on your shelves.
  • Highlight your favorite items: Use your shelves to display your favorite books, artwork, or sentimental items. Let your personality shine!
  • Keep it organized: While you want your shelves to look stylish, it's also important to keep them organized. Use baskets, trays, or other storage solutions to keep things tidy.

Commonly Asked Questions

1. How do I make sure my floating shelves are strong enough?

* Use strong materials like hardwood or metal for your shelves. * Make sure your mounting brackets are securely attached to wall studs. * Don't overload your shelves with heavy items.

2. What tools do I need for this project?

* Tape measure * Pencil * Saw (circular saw, jigsaw, or miter saw) * Sandpaper * Stud finder * Drill * Screwdriver * Level * Paint or stain (optional) * Paintbrush or roller (optional)

3. How can I hide the brackets?

* Use hidden brackets that attach directly to the back of the shelf. * Paint the brackets to match the wall color. * Use decorative elements to cover the brackets, such as a plant or a piece of art.

4. Can I create floating shelves without using wall studs?

* Yes, you can use heavy-duty anchors for attaching the brackets to drywall. However, make sure the anchors are rated for the weight you plan to put on the shelves.

5. What are some alternative floating shelf designs?

* L-shaped shelves: Create a unique look with shelves that extend out from the wall at a 90-degree angle. * Corner shelves: Maximize space in corners with shelves designed to fit snugly. * Floating desks: Combine a floating shelf with a desk top for a sleek and functional workspace. There you have it, your complete guide to DIY floating shelves! With a little planning and creativity, you can transform your home office into a stylish and functional space. Get those tools ready, and let's get building!
Share:

How to Craft a Wooden Plant Stand with a Scandinavian or Mid-Century Modern Look

How to Craft a Wooden Plant Stand with a Scandinavian or Mid-Century Modern Look

Craft a Wooden Plant Stand with Scandinavian or Mid-Century Modern Flair

Elevate your greenery with a stylish wooden plant stand that embodies the minimalist aesthetic of Scandinavian or Mid-Century Modern design. Whether you're a seasoned woodworker or a DIY novice, this guide will walk you through crafting a unique and functional piece that complements your home's decor.

Choosing Your Materials

The heart of your plant stand lies in the choice of wood. Opt for materials known for their durability and natural beauty, echoing the core values of Scandinavian and Mid-Century design. Here are some excellent choices:

Scandinavian Style

Embrace the light and airy feel of Scandinavian design with:

  • Pine: Its soft, pale hue and affordability make pine a classic choice for Scandinavian projects.
  • Birch: Birch's natural grain patterns and light color add warmth and sophistication.

Mid-Century Modern Style

Embrace the bolder aesthetic of Mid-Century Modern with:

  • Walnut: Walnut's rich, dark tones and distinctive grain patterns deliver a timeless appeal.
  • Teak: Teak boasts a unique, golden hue and durability that ages gracefully.

Designing Your Plant Stand

Before diving into construction, sketch your plant stand's design. Consider:

Shape and Size

Choose from classic shapes like a round, square, or rectangular base. Determine the height and width that best accommodate your plants and your space.

Legs

Scandinavian designs often favor simple, tapered legs or hairpin legs. Mid-Century Modern styles often feature splayed legs for a more dramatic look.

Shelves

Decide on the number of shelves and their configuration. A single shelf provides a simple platform, while multiple shelves allow you to display a collection of plants.

Building Your Plant Stand

Now for the hands-on part!

Cutting and Assembling

Cut your wood pieces to your desired dimensions using a saw. Join the base and legs securely with wood glue and screws.

Adding Shelves

Attach shelves to the base, ensuring stability and alignment. You can use brackets, cleats, or dowels to create a secure and aesthetically pleasing finish.

Finishing Touches

Enhance your plant stand's beauty and durability with a finishing touch.

Sanding and Staining

Sand your wood smooth to create a uniform surface. Apply a stain in a color that complements your chosen wood and desired style.

Sealing

Seal your stand with a clear polyurethane or wax to protect it from scratches, moisture, and daily wear and tear.

Displaying Your Greenery

Your plant stand is ready to showcase your favorite houseplants! Arrange them thoughtfully, taking into account light requirements and creating a visually pleasing display.

With your own handcrafted plant stand, you'll have a stylish and functional piece that enhances your home's ambiance and celebrates the beauty of your plants.

Share:

How to Choose the Right Beginner Woodworking Project for Your Skill Level

How to Choose the Right Beginner Woodworking Project for Your Skill Level

Choosing the Right Beginner Woodworking Project

Stepping into the world of woodworking can be exciting, but it can also feel overwhelming. With countless projects to choose from, it's crucial to select one that matches your skill level. Starting with a project that's too complex can lead to frustration and discouragement, while one that's too simple might not be satisfying enough. Here's a guide to help you pick the perfect beginner woodworking project.

Assessing Your Skill Level

Before you dive into project ideas, take a moment to honestly evaluate your woodworking skills. Do you have any prior experience, even basic DIY projects? Are you comfortable using hand tools like saws, hammers, and screwdrivers? If you're a complete novice, starting with the simplest projects is essential.

Beginner:

If you're a complete beginner, look for projects with straightforward designs and minimal cuts. Projects like simple shelves, birdhouses, or small wooden boxes are great options. These projects focus on basic hand tool skills and introduce you to woodworking fundamentals like measuring, cutting, and assembling.

Intermediate:

Once you've gained some experience, you can move on to slightly more complex projects. This could involve using power tools like drills, sanders, or table saws. Look for projects like small furniture pieces, cutting boards, or decorative items that require more precise cuts and joinery techniques.

Advanced:

If you're comfortable with most woodworking techniques, feel free to challenge yourself with intricate projects. This could involve building furniture with complex joinery, working with different wood species, or experimenting with finishing techniques.

Project Considerations

Beyond your skill level, consider these factors when choosing a project:

  • Time commitment: Some projects take hours or even days to complete. Choose one that fits your schedule and available time.
  • Materials: Research the cost and availability of the materials you need for the project. Consider using readily available woods and hardware.
  • Tools: Determine the tools you'll need for the project. If you don't have the necessary tools, you can consider renting or borrowing them.
  • Personal interest: Most importantly, choose a project that excites you! You'll be more motivated to complete it if you're genuinely interested in the final product.

Popular Beginner Woodworking Projects

Here are some classic beginner projects that are well-suited for woodworkers of all skill levels:

  • Simple Shelf: This project is perfect for beginners as it requires basic cuts and assembly techniques. You can create a shelf in various sizes and styles to suit your needs.
  • Birdhouse: Birdhouses are fun and functional projects that introduce basic joinery techniques. Choose a design that matches your skill level and enjoy watching birds visit your creation.
  • Wooden Box: Building a wooden box is a great way to practice basic woodworking skills. You can use various joinery techniques and customize the box with different finishes.
  • Cutting Board: Cutting boards are practical and versatile woodworking projects. Learn to cut and shape wood to create a beautiful and functional kitchen tool.
  • Small Table: If you're feeling adventurous, you can try building a small table. Choose a simple design with basic joinery techniques and enjoy the satisfaction of creating a piece of furniture.

Starting Your Woodworking Journey

Once you've chosen your project, it's time to gather your tools and materials. Don't hesitate to ask for help from more experienced woodworkers. There are also countless resources available online and in libraries that can provide guidance and inspiration. Remember, the key to success in woodworking is patience, practice, and a willingness to learn. Enjoy the journey and have fun creating!

Share:

Profitable Wood Toolbox Organizer Projects to Sell

Profitable Wood Toolbox Organizer Projects to Sell

Profitable Wood Toolbox Organizer Projects to Sell

Hey there, woodworking enthusiasts! Are you looking for some profitable wood projects to sell? Look no further than toolbox organizers! These practical and customizable projects are always in demand, especially among tradespeople and DIYers. Plus, they're relatively simple to make, even for beginners. Let's dive into some woodworking projects you can start building and selling today!

Toolbox Organizer Ideas: Where Function Meets Form

The beauty of toolbox organizers is that they can be as simple or as elaborate as you like. Here are some popular project ideas to get your creative juices flowing:

Classic Tool Trays

These are the bread and butter of toolbox organization. They provide a simple, flat surface for tools to be laid out neatly. You can make them in different sizes to accommodate various toolboxes.

Dividing Tool Trays

Take the classic tool tray a step further by adding dividers. These partitions create dedicated spaces for specific tools, keeping everything in its place and preventing them from clanging together.

Tool Roll-Ups

These are perfect for storing smaller tools and accessories. They're compact, roll up neatly, and can be easily transported. You can use different fabrics or leathers for a more custom look.

Specialty Tool Organizers

Think outside the box! You can create organizers for specific tool types, such as:

  • Screwdriver organizers: With slots for different screwdriver bits.
  • Hammer holders: With a built-in stand for easy access.
  • Drill bit organizers: With compartments to hold various bit sizes.
  • Level holders: With a secure way to store and carry levels.
  • Measuring tape holders: With clips or loops to keep the tape secure.

Multi-Purpose Toolboxes

Combine your woodworking skills with your imagination! Create toolboxes with built-in organizers, such as:

  • Workbenches with storage: Add drawers, shelves, and tool compartments to the workbench itself.
  • Mobile tool carts: Construct sturdy carts with rolling wheels, complete with drawers, shelves, and tool holders.
  • Tool cabinets: Make a cabinet with lockable doors and custom organizers inside.

Tips for Building Profitable Wood Toolbox Organizers

Now that you're brimming with ideas, let's get practical. Here are some tips to ensure your projects are high-quality, desirable, and profitable:

Choose the Right Wood

For durability and longevity, choose hardwoods like oak, maple, or cherry. You can also use plywood for less expensive projects.

Focus on Functionality

Remember, these organizers are primarily functional. Make sure your designs are practical, easy to use, and cater to the needs of your target audience.

Prioritize Quality Craftsmanship

Workmanship is everything! Pay attention to details like smooth finishes, sturdy construction, and precise cuts.

Add Personalized Touches

Don't underestimate the power of personalization! Offer customers customization options like:

  • Custom dimensions: To fit specific toolboxes.
  • Laser engraving: Add the customer's name, initials, or logo.
  • Stain and finish options: Provide a range of wood finishes to suit different preferences.
  • Hardware choices: Allow customers to select different handles, hinges, or fasteners.

Price Your Projects Competitively

Research similar products online and in your local area. Factor in your materials, labor, and desired profit margin when setting your prices.

Market Your Products Effectively

Spread the word! Promote your work online through social media, your own website, or online marketplaces. Consider selling locally at craft fairs or woodworking events.

Marketing Your Wood Toolbox Organizers

You've built the perfect toolbox organizers, now it's time to get them in the hands of your customers! Here are some marketing tips to help you succeed:

Show Off Your Skills

Take high-quality photos and videos of your projects. Showcase the craftsmanship, functionality, and unique features. Share them online and in your marketing materials.

Highlight the Benefits

Emphasize how your organizers will make life easier for tradespeople and DIYers. Mention how they'll improve organization, productivity, and tool protection.

Target Your Audience

Identify who your ideal customer is. Are you targeting contractors, electricians, plumbers, or hobbyists? Customize your marketing messages to resonate with their specific needs.

Engage Online

Build an online presence! Use social media platforms, create a website or blog, and consider selling on online marketplaces like Etsy or Amazon Handmade. Engage with your audience, respond to comments, and build relationships.

Offer Incentives

Attract customers with special offers, discounts, or bundled deals. Consider free shipping or a discount for multiple purchases.

Get Feedback

Ask customers for their feedback on your products and your service. Use this information to improve your offerings and refine your marketing strategies.

Frequently Asked Questions

Here are some questions you might have about selling wood toolbox organizers:

How do I get started selling my wood toolbox organizers?

Start by creating a small batch of organizers to test the market. You can sell them locally at craft fairs or online marketplaces. Gather feedback and refine your designs and marketing strategies.

What are the best places to sell wood toolbox organizers?

Online marketplaces like Etsy, Amazon Handmade, and Facebook Marketplace are great options. You can also sell through your own website or social media platforms. Consider selling locally at craft fairs, woodworking events, or directly to tradespeople in your area.

How much can I expect to make selling wood toolbox organizers?

The potential profit depends on your materials, labor, pricing, and sales volume. Research competitors, consider your costs, and set prices that are competitive yet profitable.

What are some tips for photographing my wood toolbox organizers?

Use good lighting, a clean background, and showcase the functionality of your organizers. Highlight the craftsmanship and unique features of your products.

How can I build a customer base for my woodworking business?

Engage online, build relationships, offer excellent customer service, and consistently create high-quality products. Participate in online woodworking communities, network with other businesses, and promote your work through social media and online marketplaces.

Remember, building a successful woodworking business takes time, effort, and a passion for your craft. But with dedication and the right strategies, you can turn your woodworking hobby into a thriving business. So get out there, build some amazing toolbox organizers, and watch your business grow!

Share:

人気の投稿

Powered by Blogger.